Unlocking the Secrets of Propagation: Growing a New Generation of Melaleuca Pallida
The Melaleuca pallida, known for its beautiful, papery bark and delicate, creamy-white flowers, is a stunning addition to any garden. But have you ever thought about growing your own from scratch? The good news is, it’s easier than you might think! This fascinating plant can be propagated using a variety of methods, making it a rewarding project for beginner and experienced gardeners alike.
Branch Out: The Power of Cuttings
One of the most popular methods for propagating Melaleuca pallida is through cuttings. This involves taking a piece of healthy stem from a mature plant and encouraging it to develop roots. Here’s a step-by-step guide:
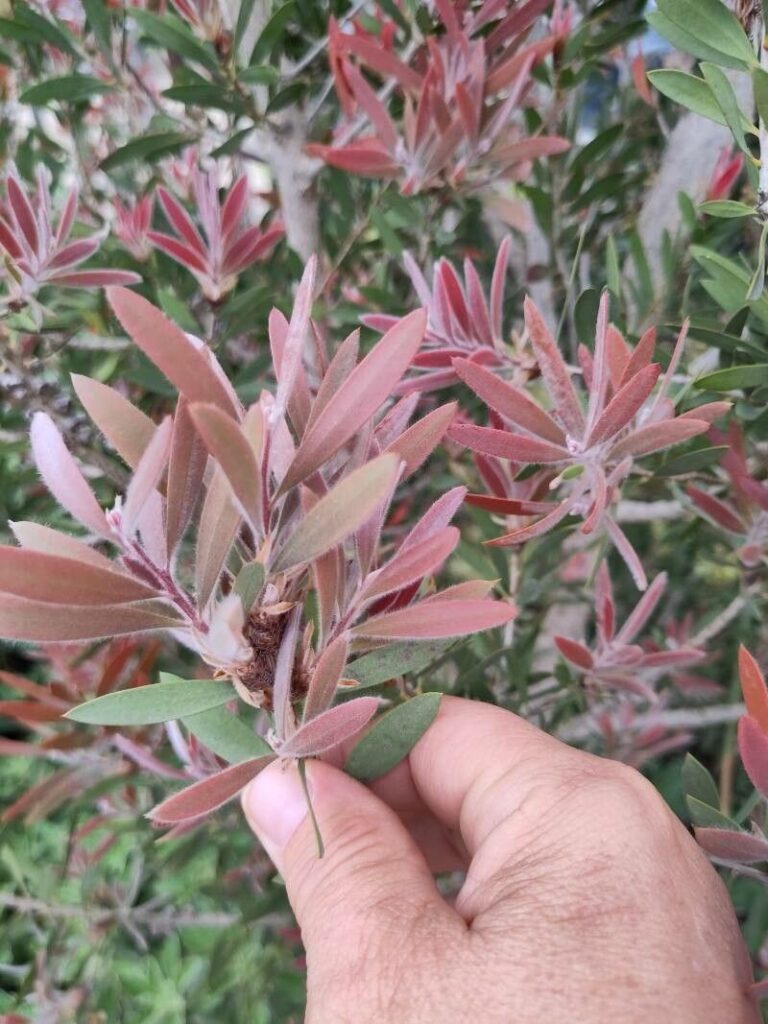
- Choosing the Perfect Cutting: Select a non-flowering, semi-hardwood stem about 6-8 inches long. Look for healthy, vigorous growth with a slight browning at the base.
- Prepare the Cutting: Make a clean, angled cut just below a node (where leaves sprout). Remove any leaves from the bottom 2-3 inches of the stem.
- Root Medium Magic: Dip the cut end of the stem into rooting hormone powder and place it in a pot filled with a well-draining potting mix. Keep the mix moist but not soggy.
- Shelter and Support: Cover the pot with a clear plastic bag or dome to create a humid environment. Place it in a bright, indirect light location. Rooting typically takes 4-6 weeks.
- Time to Transplant: Once roots develop, carefully remove the plastic covering and begin acclimating the cutting to outdoor conditions. After a few weeks, your new Melaleuca pallida is ready to be transplanted into a pot or directly into the garden.
Seeds of Success: A Sprout of New Life
While slightly less popular than cuttings, propagating Melaleuca pallida from seeds is a satisfying option for gardeners who enjoy a bit more patience and adventure. Here’s how to nurture a seed into a thriving young plant:
- Harvesting Seeds: Collect mature seed pods from the plant in late summer or early fall. They will appear brown and dry.
- Prepping for Germination: Gently remove the seeds from the pods and soak them in warm water for 24 hours. This will help soften the seed coat and encourage germination.
- Sowing the Seeds: Fill a seed tray with a well-draining seed-starting mix and sow the seeds about ¼ inch deep, spacing them a few inches apart.
- Moisture and Light: Keep the soil moist and provide indirect sunshine. Seedlings should emerge in 2-4 weeks.
- Transplanting Time: Once the seedlings develop 2-3 sets of true leaves, carefully transplant them into individual pots or directly into the garden.
Nurturing Your New Growth
Whether propagated from cuttings or seeds, Melaleuca pallida needs consistent care during its early stages. This includes:
- Consistent Watering: Avoid overwatering, ensuring the soil dries slightly between watering.
- Sunshine Exposure: Provide plenty of sunlight, but avoid harsh midday sun, especially during the hottest months.
- Fertilizer Boost: A light application of balanced fertilizer once a month during the growing season can help promote strong growth.
Patience is Key
Melaleuca pallida may take a few years to establish itself and reach its full potential, but the wait is certainly worth it. With consistent care and attention, these remarkable plants will reward you with years of beauty and interest in your garden.
So, get ready to embark on your own propagation journey and discover the joy of cultivating new life from your beloved Melaleuca pallida!