Sweet Success with Yellow Sweet Clover: A Guide to Propagating Melilotus officinalis
Known for its cheerful yellow blooms and sweet fragrance, Yellow Sweet Clover (Melilotus officinalis) is an attractive addition to wildflower meadows, pollinator gardens, and even naturalized landscapes. While it often self-seeds prolifically, knowing how to propagate this beneficial plant yourself gives you greater control over its presence in your garden. Whether you’re a seasoned gardener or just starting out, this guide will equip you with the knowledge to successfully grow Yellow Sweet Clover from seed.
Understanding the Plant
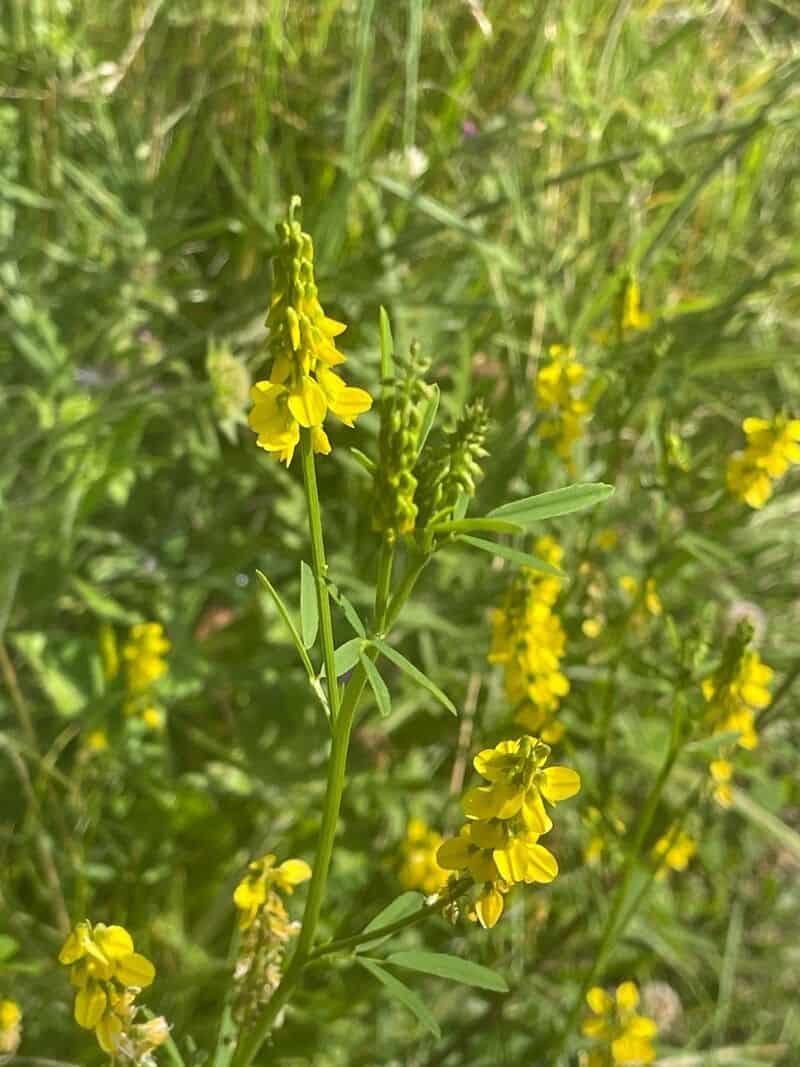
Before diving into propagation, let’s get acquainted with Melilotus officinalis. This hardy legume, also known as Yellow Melilot, is a biennial plant, meaning it completes its lifecycle in two years. In the first year, it develops a rosette of leaves and a strong taproot. The second year is when the magic happens, with tall stalks emerging and producing an abundance of small, fragrant yellow flowers that attract a myriad of pollinators, especially bees.
Seed Starting: Your Gateway to Yellow Sweet Clover Abundance
The most common and reliable method for propagating Yellow Sweet Clover is by seed. Here’s a step-by-step guide:
1. Seed Collection:
You can purchase Yellow Sweet Clover seeds online or from reputable nurseries. If you have existing plants, you can collect seeds from the dried flower heads in late summer.
2. Timing is Key:
You have two options for sowing Yellow Sweet Clover seeds:
- Direct Sowing (Recommended): Sow seeds directly into your prepared garden bed in early spring as soon as the ground can be worked, or in late summer after the last frost.
- Indoor Sowing: Begin seeds indoors 6-8 weeks before the last expected frost for earlier blooms.
3. Preparing the Seedbed:
Yellow Sweet Clover prefers well-drained soil in a sunny location. Loosen the soil to a depth of 6-8 inches and remove any weeds. If your soil is heavy clay, amend it with compost or sand to improve drainage.
4. Sowing the Seeds:
- Direct Sowing: Scatter seeds thinly over the prepared soil and gently rake them in about 1/4 inch deep.
- Indoor Sowing: Use seed starting mix and sow seeds in individual pots or trays. Cover lightly with soil and keep moist.
5. Watering:
Keep the soil consistently moist but not waterlogged. Water gently to avoid disturbing the seeds.
6. Thinning (Direct Sowing):
As seedlings emerge and grow a few inches tall, thin them out to a spacing of 6-12 inches apart. This allows for good air circulation and prevents overcrowding.
7. Transplanting (Indoor Sowing):
Harden off your seedlings by gradually introducing them to outdoor conditions before transplanting them into the garden after the danger of frost has passed. Space them 6-12 inches apart.
Ongoing Care
Yellow Sweet Clover is relatively low-maintenance once established.
- Watering: Water during dry periods, especially during the first year while the plants are establishing themselves.
- Fertilizing: As a legume, Yellow Sweet Clover has nitrogen-fixing capabilities and generally doesn’t require supplemental fertilization.
- Deadheading: While not essential, deadheading spent flower stalks can encourage more blooms and prevent excessive self-seeding if desired.
A Word of Caution
While a beneficial plant for pollinators, keep in mind that in some regions, Yellow Sweet Clover is considered invasive due to its self-seeding nature. Check with your local extension office if you have concerns about its invasiveness in your area.
By following these simple steps, you’ll be well on your way to enjoying the beauty and benefits of Yellow Sweet Clover in your own garden. This easy-to-grow plant will reward you with vibrant blooms, a delightful fragrance, and a haven for buzzing pollinators.