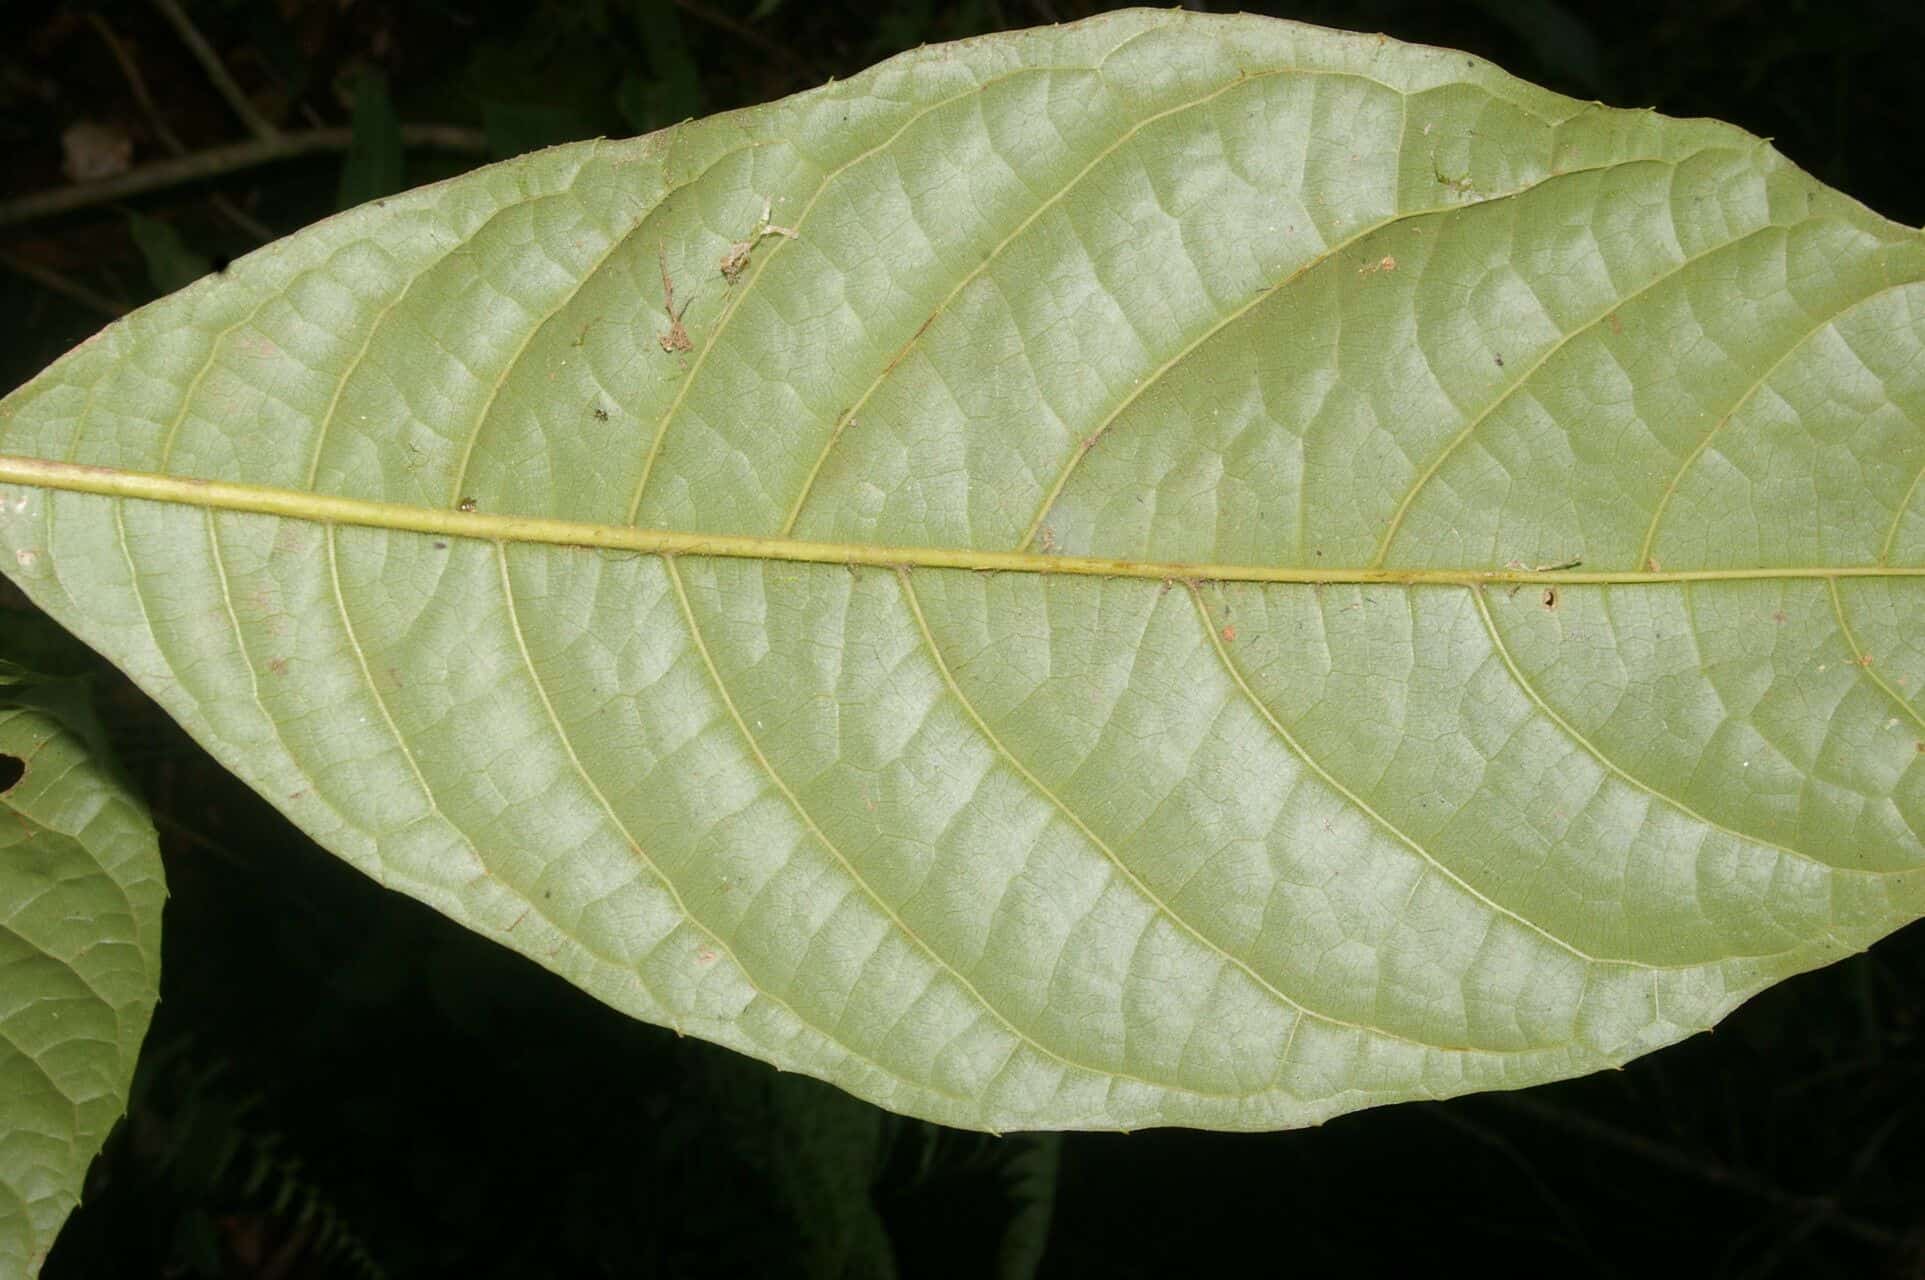
Unlocking the Secrets of Meliosma Depressiva Propagation: A Guide for Enthusiasts
Meliosma depressiva, with its lush foliage and delicate flower clusters, can be a stunning addition to any garden. But finding this alluring beauty in nurseries can be a challenge. So, why not embark on a rewarding journey of propagating your own Meliosma depressiva? Don’t worry, it’s not as daunting as it sounds! Let’s unravel the secrets of successfully propagating this wonderful plant.
The Two Paths: Seeds vs. Cuttings
When it comes to propagating Meliosma depressiva, you have two primary options: seeds and cuttings. Each method has its own set of advantages and challenges, making it essential to choose the path that best suits your experience and resources.
1. Starting from Seed: A Test of Patience
Propagating Meliosma depressiva from seed requires a healthy dose of patience, as germination can be slow and somewhat erratic. Here’s what you need to know:
- Seed Collection: Collect mature seeds from existing Meliosma depressiva plants during the fall. Look for seed capsules that have turned brown and begun to split open.
- Seed Preparation: Gently remove the seeds from the capsules and clean off any debris. For best results, cold stratify the seeds by storing them in a moist paper towel inside a sealed plastic bag in the refrigerator for 4-6 weeks.
- Sowing: Sow the seeds in a well-draining seed-starting mix, covering them lightly with soil. Keep the soil consistently moist but not waterlogged.
- Patience is Key: Germination can take anywhere from a few weeks to several months. Be patient and provide consistent care.
2. Taking the Cutting Edge: A Quicker Route
Propagating from cuttings offers a faster and often more reliable method for Meliosma depressiva:
- Timing is Everything: The best time to take cuttings is during the plant’s active growing season in late spring or early summer.
- Selecting the Cuttings: Choose healthy, non-flowering stems about 4-6 inches long. Make a clean cut just below a leaf node.
- Promoting Root Development: Remove the lower leaves from the cutting and dip the cut end in rooting hormone (optional but recommended).
- Planting and Care: Plant the cuttings in a well-draining potting mix and keep them consistently moist. Cover the pot with a plastic bag or humidity dome to create a warm, humid environment.
- Rooting Success: With proper care, cuttings should root within 4-8 weeks.
Nurturing Your Meliosma Depressiva Progeny
Regardless of your chosen propagation method, providing the right care is crucial for your Meliosma depressiva’s success:
- Light: These beauties thrive in partial shade to full sun conditions.
- Water: Maintain consistently moist soil, but avoid overwatering.
- Soil: Ensure well-drained soil with slightly acidic to neutral pH levels.
- Fertilizer: Feed with a balanced fertilizer during the growing season.
Reap the Rewards of Your Propagation Journey
Propagating your own Meliosma depressiva might require a bit of effort, but the rewards are plentiful. Not only will you enjoy the satisfaction of nurturing new life, but you’ll also have the pleasure of adding this remarkable plant to your garden, creating a legacy of beauty for years to come. So why wait? Embark on your propagation adventure today!