Taming the Miniature: Propagating the Delicate Charm of Micromeria nervosa
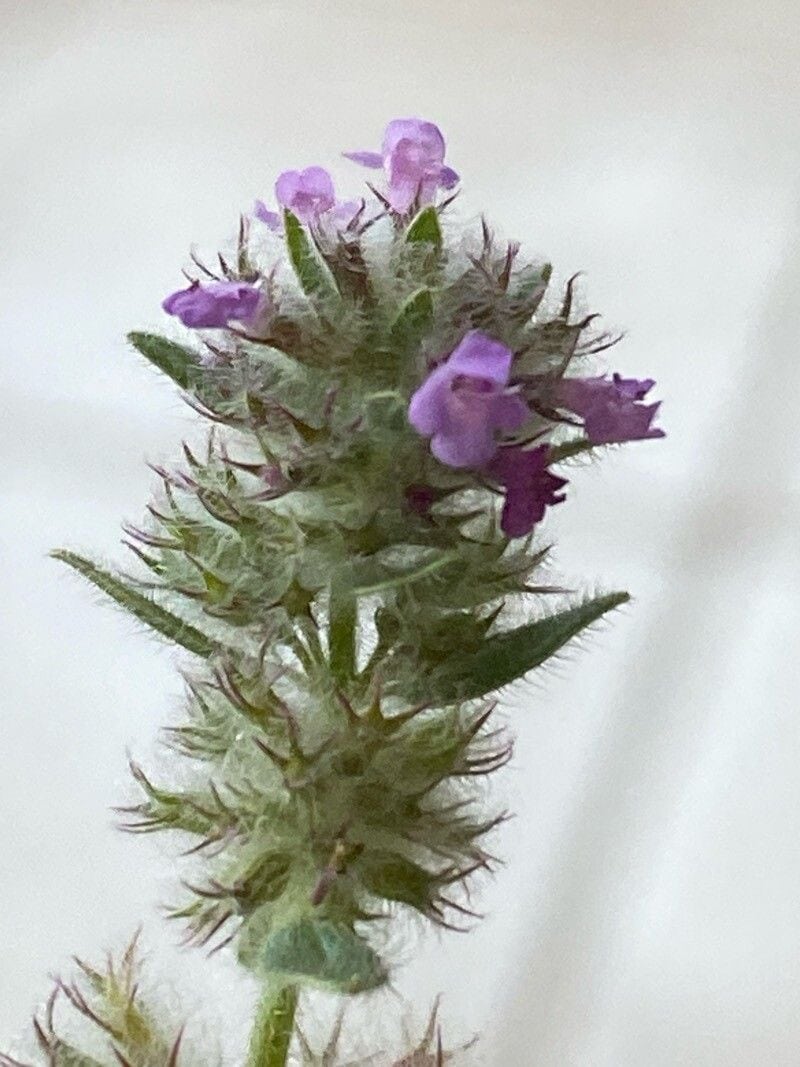
Micromeria nervosa, with its whisper-thin leaves and charming miniature stature, is a plant that captivates with its subtlety. Native to the Mediterranean and often found gracing rocky outcrops, this semi-evergreen perennial brings a touch of wild beauty to gardens and homes. While it’s relatively low-maintenance once established, propagating Micromeria nervosa can seem a bit daunting. Fear not, fellow plant enthusiasts, for we’re about to unlock the secrets to multiplying this delicate gem!
Two Paths to Propagation:
Seed Starting:
- Timing is Key: Spring is the optimal time to sow Micromeria nervosa seeds.
- Sowing the Seeds: Use a well-draining seed starting mix and sprinkle the tiny seeds on the surface. Don’t bury them! Just lightly press them down to ensure good contact with the soil.
- Light and Moisture: Place the seed tray in a bright location, but out of direct sunlight. Keep the soil consistently moist but not waterlogged.
- Patience is a Virtue: Germination can take anywhere from 2-4 weeks. Once the seedlings have a couple of sets of true leaves, you can thin them out, giving the strongest ones some breathing room.
Cuttings:
- When to Take Cuttings: Early summer, when the plant is actively growing, is the ideal time for taking cuttings.
- Selecting the Right Stems: Choose healthy, non-flowering stems about 3-4 inches long. Make a clean cut just below a leaf node (where the leaf attaches to the stem).
- Preparing the Cuttings: Remove the lower leaves, leaving only a couple of pairs at the top. If you wish, you can dip the cut end in rooting hormone powder to encourage faster root development.
- Planting the Cuttings: Insert the cuttings into a well-draining potting mix, burying the bottom node. Water gently and place them in a bright location, out of direct sunlight.
- Creating Humidity: Consider covering the cuttings with a plastic bag or using a humidity dome to create a warm, moist environment. This will help prevent the cuttings from drying out.
Nurturing Your New Micromeria nervosa Plants:
Regardless of the propagation method you choose, remember these key care tips:
- Well-Draining Soil: Micromeria nervosa thrives in well-draining soil. Choose a potting mix that won’t retain excessive moisture.
- Bright, Indirect Light: While it enjoys plenty of light, direct sunlight can scorch its delicate leaves. Aim for a bright spot that receives indirect sunlight.
- Watering Wisely: Allow the soil to dry out slightly between waterings. Overwatering can lead to root rot.
- Pinching for Fullness: Encourage bushier growth by pinching back the stem tips as the plants mature. This will promote branching and create a fuller appearance.
Propagating Micromeria nervosa might require a touch of patience, but the rewards are well worth the effort. Seeing those tiny seeds sprout or those cuttings take root brings a sense of accomplishment that only fellow plant lovers can truly understand. Soon, you’ll have a collection of these charming miniatures, each one a testament to your green thumb and a reminder of the joys of plant propagation.