From Cutting to Thriving: Propagating Your Mitracarpus megapotamicus
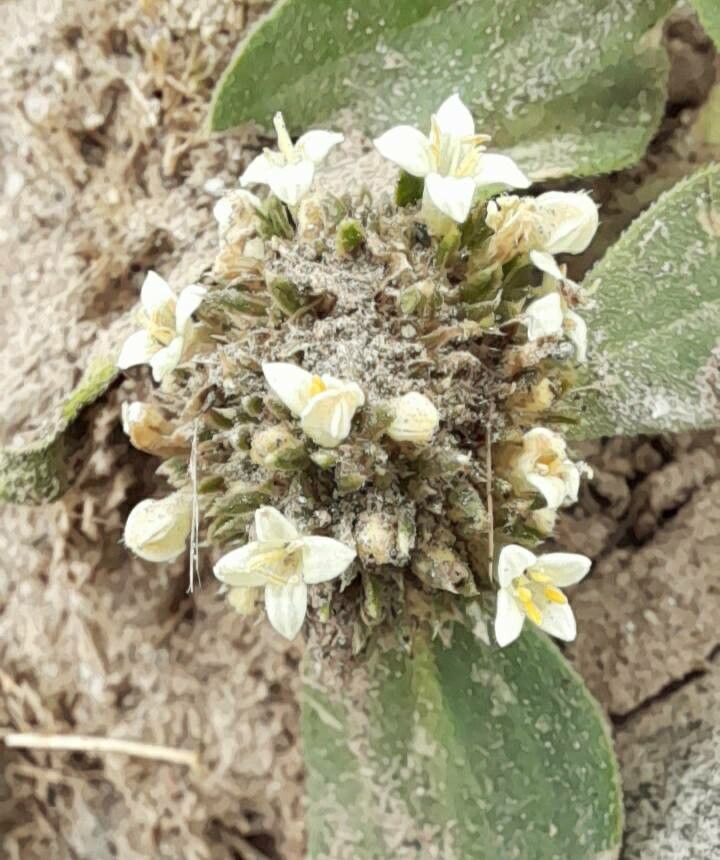
The Mitracarpus megapotamicus, also known as the “Velvet Leaf,” is a captivating tropical plant with velvety foliage and clusters of delicate white flowers. If you’re lucky enough to have one, you might be tempted to share its beauty with others. Fortunately, propagating this plant is surprisingly easy, and you can start new plants from cuttings without any special equipment.
Why Propagate?
Propagation allows you to create new plants from existing ones, essentially cloning your favorite Mitracarpus megapotamicus. This is a great way to expand your collection, share with friends and family, or even replace a plant that’s gone through a tough time.
Understanding the Process
Mitracarpus megapotamicus propagates readily through stem cuttings. This involves taking a portion of the plant’s stem and encouraging it to develop roots. The process relies on the plant’s natural ability to regenerate.
Getting Started: The Essentials
- Choose Your Cutting: Select a healthy, non-flowering stem with at least 3-4 nodes (the points where leaves grow).
- Sharp Tools: Use a clean, sharp pair of scissors or a knife to make a clean cut just below a node.
- Cut Preparation: Remove any leaves below the waterline.
- Rooting Medium: A mix of equal parts perlite and vermiculite works well, or you can use a commercial rooting compound.
Method 1: Water Propagation
- Fill a Jar: Use a clean glass jar or container. Fill it with water, ensuring it covers at least the bottom node of your cutting.
- Placement: Position the jar in a bright, indirect light location, avoiding direct sunlight.
- Maintenance: Change the water every 2-3 days to prevent contamination.
- Root Development: Roots should appear within a few weeks.
Method 2: Soil Propagation
- Potting: Prepare a small pot with a drainage hole. Fill it with your chosen rooting medium.
- Planting: Make a hole, insert the cutting, and gently firm the soil around it.
- Moistening: Water the cutting well, ensuring the soil is consistently moist but not soggy.
- Covering: Optionally, cover the cutting with a clear plastic bag or cloche to create a mini-greenhouse effect and increase humidity.
- Maintenance: Maintain consistent moisture and leave the cutting in a bright, indirect location.
Signs of Success
How do you know if your Mitracarpus megapotamicus cutting is taking root? Look for these signs:
- New Growth: Tiny, new leaves will sprout from the cutting’s stem.
- Root Development: If you’re propagating in water, you’ll see roots emerging from the base.
- Firmness: The stem should feel firm and sturdy, not brittle.
Transition to a Pot
Once your cutting has established strong roots (usually 2-4 weeks), you can transfer it to a larger pot with regular potting mix.
Tips for Success:
- Timing: The best time to propagate Mitracarpus megapotamicus is during the spring or early summer when the plant is actively growing.
- Humidity: High humidity encourages root development. You can achieve this by using a humidity dome or misting the cutting regularly.
- Patience: Give your cutting time to develop roots. Don’t be discouraged if it takes a few weeks.
With a little care and attention, your Mitracarpus megapotamicus cuttings will soon develop into thriving new plants, allowing you to share the beauty of this tropical gem with even more people.