Unlocking the Secrets of Moltkia Propagation: A Guide to Multipying This Blue Beauty
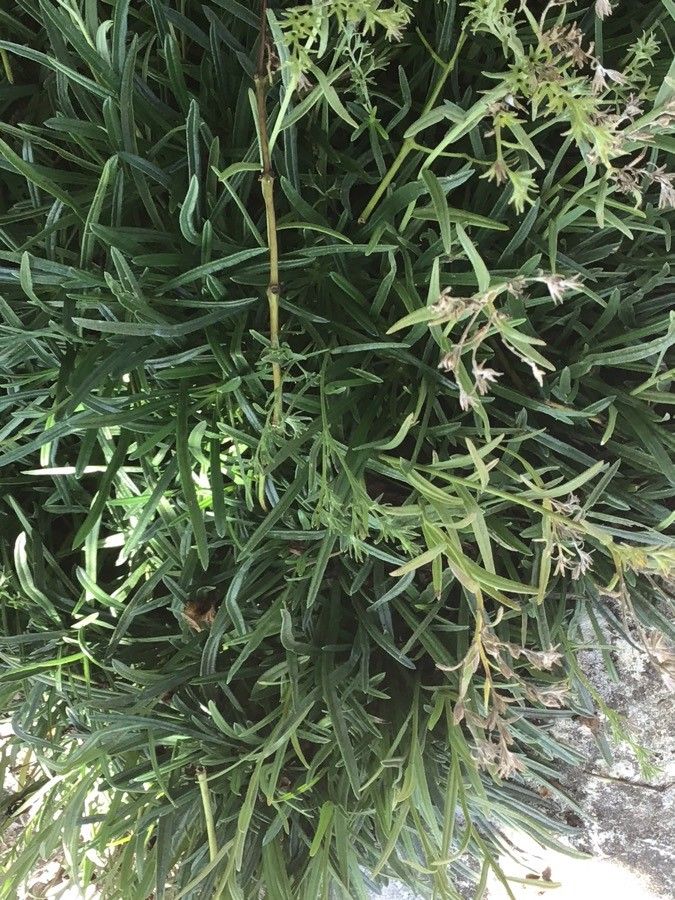
Moltkia suffruticosa, with its clusters of vibrant blue flowers and charmingly unkempt foliage, brings a touch of Mediterranean charm to any garden. This semi-evergreen subshrub, while relatively low-maintenance, can be surprisingly difficult to find commercially. But don’t despair! Propagating Moltkia suffruticosa is entirely achievable, even for beginner gardeners. So, let’s delve into the methods that will have you multiplying your stock and painting your garden blue in no time.
Method 1: Seed Starting – A Game of Patience
While propagating Moltkia from seed requires a longer timeframe, it’s a rewarding process that lets you witness the entire lifecycle.
- Timing is Key: Late summer or early fall, immediately after the seeds mature, offers the best chance of germination.
- Sowing the Seeds: Use a well-draining seed starting mix and lightly press the seeds into the surface. Don’t bury them deeply; they need light to germinate.
- Creating the Perfect Environment: Keep the soil consistently moist and maintain a temperature of around 65-70°F (18-21°C). A propagator or a plastic bag over the pot can help retain moisture and warmth.
- Patience is a Virtue: Germination can take anywhere from a few weeks to a couple of months. Once the seedlings are large enough to handle, carefully transplant them into individual pots.
Method 2: Taking Cuttings – A Quicker Route to Success
For those seeking quicker results, taking cuttings in late spring or early summer is a fantastic option.
- Choosing the Right Material: Select healthy, non-flowering shoots about 3-4 inches long. It’s best to take cuttings from new growth, as it tends to root more easily.
- Preparing the Cuttings: Remove the lower leaves from the cutting, leaving only a couple of pairs at the top. Dip the cut end in rooting hormone powder (optional but recommended).
- Planting and Care: Plant the cuttings in a well-draining potting mix, burying at least one node below the surface. Water well and cover with a plastic bag or use a propagator to create a humid environment.
- Monitoring Growth: Within 4-6 weeks, you should see new growth, which indicates successful rooting. Once the roots are well established, you can pot the cuttings individually.
Method 3: Division – The Easiest Approach
For established Moltkia plants, division is undoubtedly the simplest propagation method.
- The Best Time to Divide: Early spring or late fall, when the plant is dormant, is the ideal time for division.
- Dividing the Plant: Carefully dig up the entire plant and gently tease apart the root ball into smaller sections, making sure each section has ample roots and shoots.
- Replanting and Care: Replant the divisions at the same depth they were originally growing and water them well.
Nurturing Your New Moltkia Plants:
No matter which propagation method you choose, ensure your new Moltkia plants receive adequate sunlight (at least 6 hours a day) and well-draining soil. Water regularly, especially during the first growing season, and fertilize sparingly.
By following these methods, you’ll soon have a thriving colony of Moltkia suffruticosa, transforming your garden into a sea of captivating blue blooms!