Unlocking the Secrets of Myrtopsis sellingii Propagation: A Beginner’s Guide to Growing More of this Stunning Plant
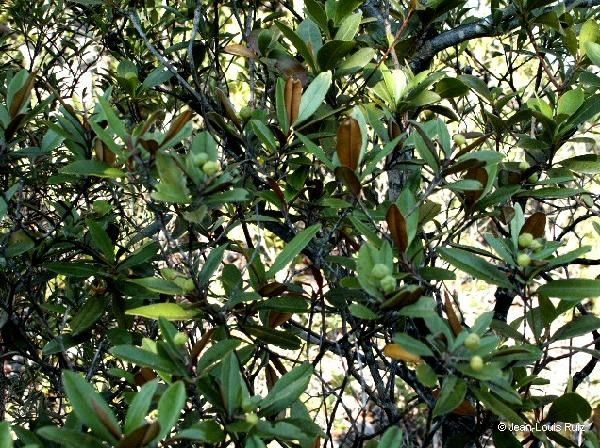
Myrtopsis sellingii, with its captivating purple foliage and charming, delicate flowers, is a botanical gem that many gardeners yearn to add to their collections. But acquiring this unique plant can be challenging. Thankfully, the solution lies within its own vibrant life: propagation. This blog post will empower you to successfully propagate Myrtopsis sellingii, allowing you to grow more of this exquisite beauty and share it with others.
Understanding the Method: A Tale of Two Approaches
Myrtopsis sellingii can primarily be propagated through two methods:
-
Seed Propagation: This method, while possible, is often laborious and yields inconsistent results. Seeds need specific conditions for germination, and the resulting plants may not completely resemble the parent.
- Cuttings Propagation: Hands down, this is the most reliable and efficient way to propagate Myrtopsis sellingii. It allows you to create genetic clones of your existing plants, preserving their unique characteristics.
The Art of Cutting Propagation: Step-by-Step
Let’s delve into the successful propagation of Myrtopsis sellingii through cuttings:
1. Selecting the Right Cuttings: Choose healthy, non-flowering stems that are at least 4-6 inches long. Look for firm, sturdy stems with a few nodes (the points where leaves grow).
2. Timing is Key: The best time to take cuttings is during the spring or early summer when the plant is actively growing.
3. Prepare the Cuttings: Use a sharp, clean knife or pruning shears to make a clean cut just below a node. Remove any leaves that will be submerged in the rooting medium.
4. The Rooting Process: You have several options for rooting:
* **Water Propagation:**  Place your cuttings in a glass jar filled with clean water, ensuring the nodes are submerged.  Change the water every few days to prevent bacterial growth.

* **Soil Propagation:**  Fill a small pot with a well-draining rooting mix.  Dip the cut ends of the cuttings in a rooting hormone powder, then gently insert them into the soil, ensuring they are secure.
5. Providing Optimal Rooting Conditions:
* **Light:**  Place the cuttings in a bright, indirect light location where they receive several hours of sunlight each day. Avoid harsh, direct sunlight.

* **Temperature:**  Maintain a consistent temperature of around 65-75°F (18-24°C) for successful root development.

* **Humidity:**  Myrtopsis sellingii cuttings thrive in humid environments.  You can create a humid environment by placing the cuttings under a clear plastic dome or plastic bag.  Mist the cuttings regularly with water to maintain high humidity levels.
6. Patience is a Virtue: Root development can take anywhere from 4-6 weeks, depending on the environmental conditions. Be patient and observe for signs of new growth, indicating successful rooting.
7. Repotting and Caring for Your New Plants: Once the cuttings have developed a strong root system, you can repot them into individual pots with well-draining potting mix. Continue to provide them with bright indirect light, moderate watering, and a well-ventilated environment.
Success Through Propagation:
By following these steps, you can successfully propagate Myrtopsis sellingii, expand your collection, and share this unique plant with others. It’s not just about growing more plants; it’s about connecting with nature and fostering a vibrant community of plant lovers. Embrace the journey of propagation and uncover the fascinating world of Myrtopsis sellingii!