Unlocking the Secrets of Nageia Nagi Propagation: A Guide to Growing This Ancient Beauty
The Nageia nagi, also known as the Asian bayberry or the nagi podocarp, is a living fossil. This ancient conifer, with its elegant, dark green foliage and unique history, can be a stunning addition to your garden. But propagating Nageia nagi is often seen as challenging. Fear not! This guide will demystify the process and equip you with the knowledge to successfully grow this botanical treasure from cuttings or seeds.
Understanding Nageia Nagi
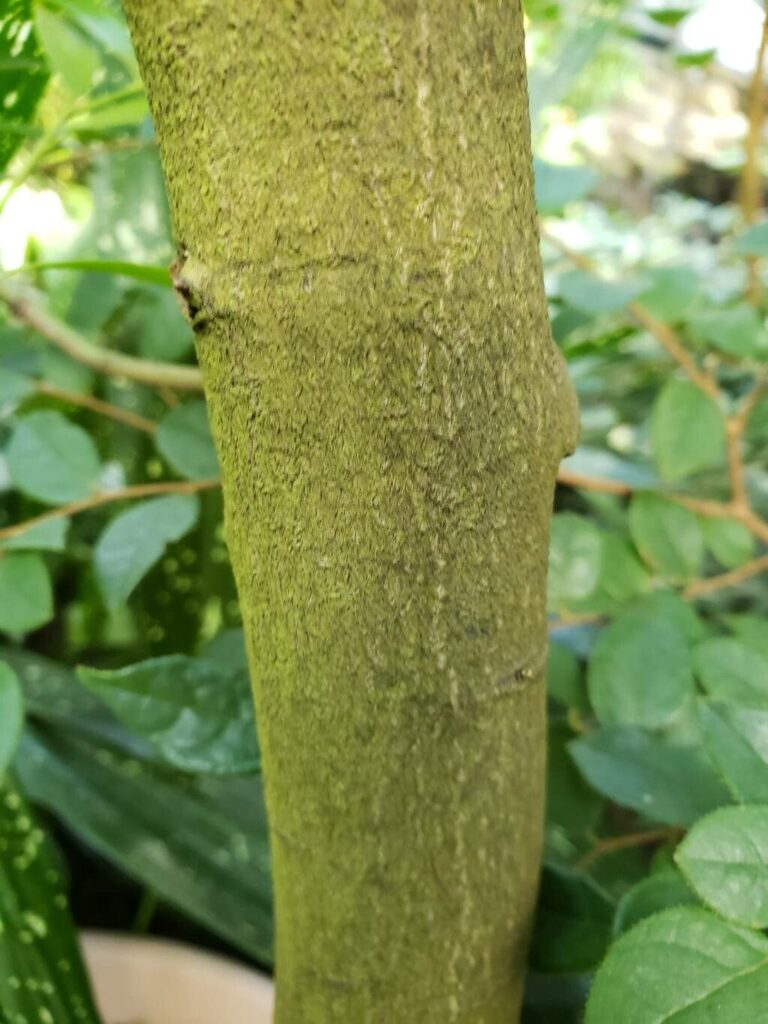
Originating from East Asia, Nageia nagi is a slow-growing, evergreen tree that thrives in warm, humid climates. It’s known for its hardiness and resistance to pests and diseases, making it a relatively low-maintenance choice for gardeners.
Two Paths to Propagation: Cuttings vs. Seeds
While Nageia nagi can be propagated from both cuttings and seeds, each method has its pros and cons.
1. Propagating Nageia Nagi from Cuttings:
- Pros: Faster results, genetically identical plants ensuring the preservation of desirable traits.
- Cons: Requires more attention and specific conditions, success rate can be variable.
Steps for Propagating from Cuttings:
- Timing is Key: Take cuttings during late spring or early summer when the plant is actively growing.
- Choose Wisely: Select healthy, semi-hardwood cuttings, about 4-6 inches long, from the current year’s growth.
- Prepare the Cuttings: Remove lower leaves, leaving only a few at the top. Make a fresh cut at the base of the cutting and treat it with rooting hormone powder to encourage root development.
- Planting Medium: Use a well-draining mix, such as a blend of perlite and peat moss.
- Create the Right Environment: Plant the cuttings in pots, ensuring the bottom nodes are buried. Cover the pots with a plastic bag or place them in a propagator to create a humid, greenhouse-like environment.
- Patience is a Virtue: Keep the cuttings in a warm, shaded area, misting regularly to maintain humidity. Rooting can take several weeks to months.
- Transplanting: Once the cuttings show signs of new growth, carefully transplant them into individual pots or a prepared garden bed.
2. Propagating Nageia Nagi from Seeds:
- Pros: More cost-effective, offers genetic diversity.
- Cons: Slower process, requires patience as germination can take several months.
Steps for Propagating from Seeds:
- Seed Collection: Collect mature seeds from the fleshy, berry-like fruit of the female Nageia nagi tree in the fall.
- Seed Preparation: Remove the fleshy outer layer and soak the seeds in water for 24 hours to enhance germination.
- Sowing the Seeds: Sow seeds in a well-draining seed starting mix, pressing them gently into the soil.
- Creating a Greenhouse Effect: Cover the seed tray with a plastic dome or wrap to trap moisture.
- Light and Warmth: Place the tray in a warm, bright location, but out of direct sunlight.
- Germination Time: Be patient! Germination can take anywhere from a few months to a year.
- Transplanting Time: Once seedlings have developed a few sets of true leaves, they are ready to be carefully transplanted into individual pots or your garden.
Nurturing Your Nageia Nagi
Whether you choose cuttings or seeds, remember that Nageia nagi thrives in well-draining soil and prefers partial shade. Regular watering, especially during dry periods, is essential.
With a little patience and care, you can successfully propagate and grow your own Nageia nagi. This ancient beauty, once established, will reward you with its graceful presence and timeless elegance for generations to come.