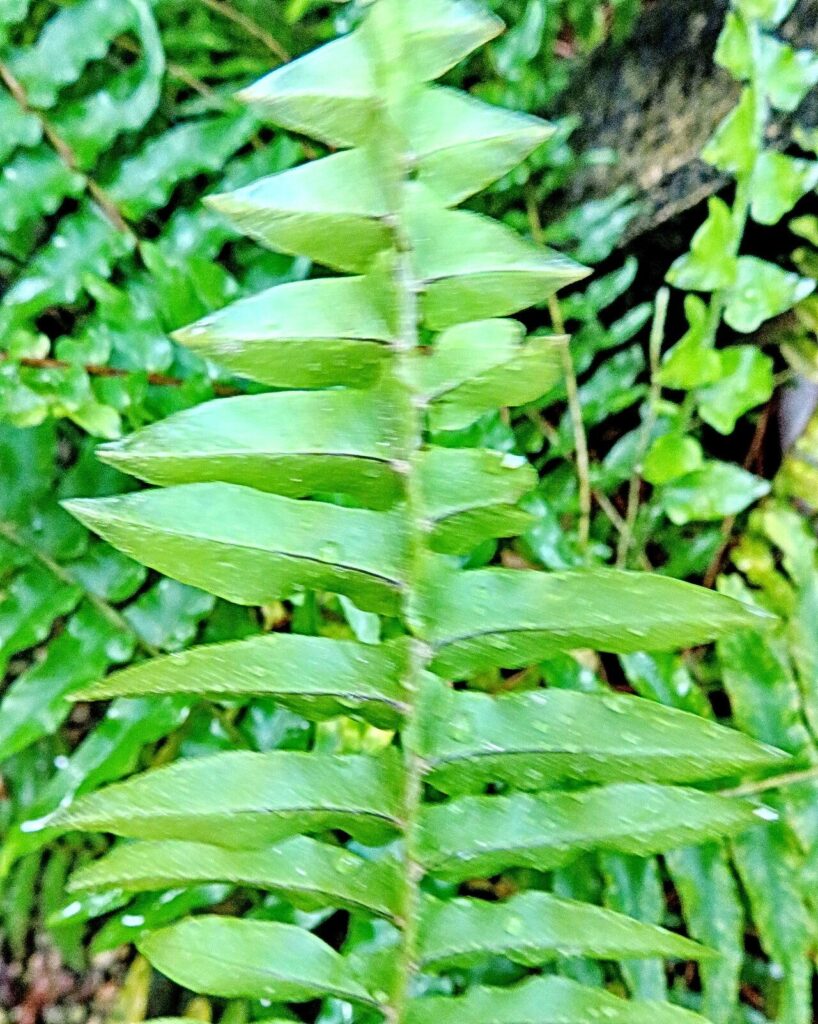
Unfurling the Secrets: Propagating Your Lush Boston Fern
The Boston fern (Nephrolepis exaltata), with its cascading fronds and air-purifying qualities, brings a touch of the wild indoors. While caring for an established Boston fern is relatively simple, many wonder about the best way to multiply their green companions. Fear not, fellow plant enthusiasts! This guide will demystify the art of Boston fern propagation, empowering you to create new life from your existing plant.
Understanding the Propagation Powerhouse: Runners and Divisions
Unlike some plants that propagate from cuttings, Boston ferns rely on two primary methods:
1. Runners: Imagine tiny, adventurous ferns venturing out from the mother plant. These are called runners, also known as stolons. They appear as thin, wiry stems with small, developing plantlets at their tips. These baby ferns hold the key to easy propagation!
2. Divisions: For a more mature Boston fern, division is a viable method. This involves gently separating the plant’s root ball into smaller sections, each containing healthy roots and fronds.
Method 1: Propagating Boston Fern with Runners
This method is ideal for beginners due to its high success rate:
Step 1: Identify Healthy Runners: Look for runners that have developed small plantlets with a few leaves.
Step 2: Prepare Your Pots: Choose small pots (4-6 inches) and fill them with a well-draining potting mix. A mixture of peat moss, perlite, and vermiculite works well.
Step 3: Pin the Runners: Without detaching the runner from the mother plant, gently pin the plantlet onto the surface of the potting mix using a small piece of wire or a bobby pin.
Step 4: Provide Moisture and Light: Keep the soil consistently moist but not soggy. Place the pots in a bright location, away from direct sunlight.
Step 5: Separation Time: After a few weeks, the plantlets will have developed their own root systems. Once you see new growth, carefully cut the runner connecting them to the mother plant. Congratulations, you have new Boston ferns!
Method 2: Propagating Boston Fern through Division
If your Boston fern is large and robust, division is an excellent way to create multiple new plants:
Step 1: Timing is Key: The best time for division is during spring, just before the growing season takes off.
Step 2: Prepare for Surgery: Gently remove the fern from its pot and inspect the root ball. Using a clean, sharp knife or garden shears, carefully divide the plant into sections, ensuring each section has a healthy amount of roots and fronds.
Step 3: Potting the Divisions: Plant each division in a pot slightly larger than its root system. Use the same well-draining potting mix recommended for runner propagation.
Step 4: Post-Division Care: Water the newly potted divisions thoroughly and place them in a humid environment with indirect light. Misting the fronds regularly will help them retain moisture.
Patience is a Virtue
While propagating Boston ferns is rewarding, remember that patience is key. It might take several weeks for the new plants to establish themselves. Once they start putting out new growth, you’ll know your propagation efforts have been successful!
So, unleash your inner plant parent and multiply those magnificent Boston ferns. With a bit of care and attention, you’ll soon have an abundance of these feathery wonders gracing your home.