From One to Many: The Easy Ways to Multiply Your Nephrolepis obtusiloba
The Nephrolepis obtusiloba, better known as the “Boston Fern”, is a beloved houseplant for its graceful, cascading fronds and ability to add life to any space. But what happens when you fall deeply in love with your Boston Fern and want to share its beauty with others, or simply want to fill your home with more of its lush greenery? The answer lies in propagation – the art of creating new plants from existing ones.
Thankfully, propagating Boston Ferns is surprisingly easy! There are several methods you can employ, each with its own advantages and limitations. Here’s a breakdown of the most common and successful ways to grow new Boston Ferns from your existing plant:
1. Division:
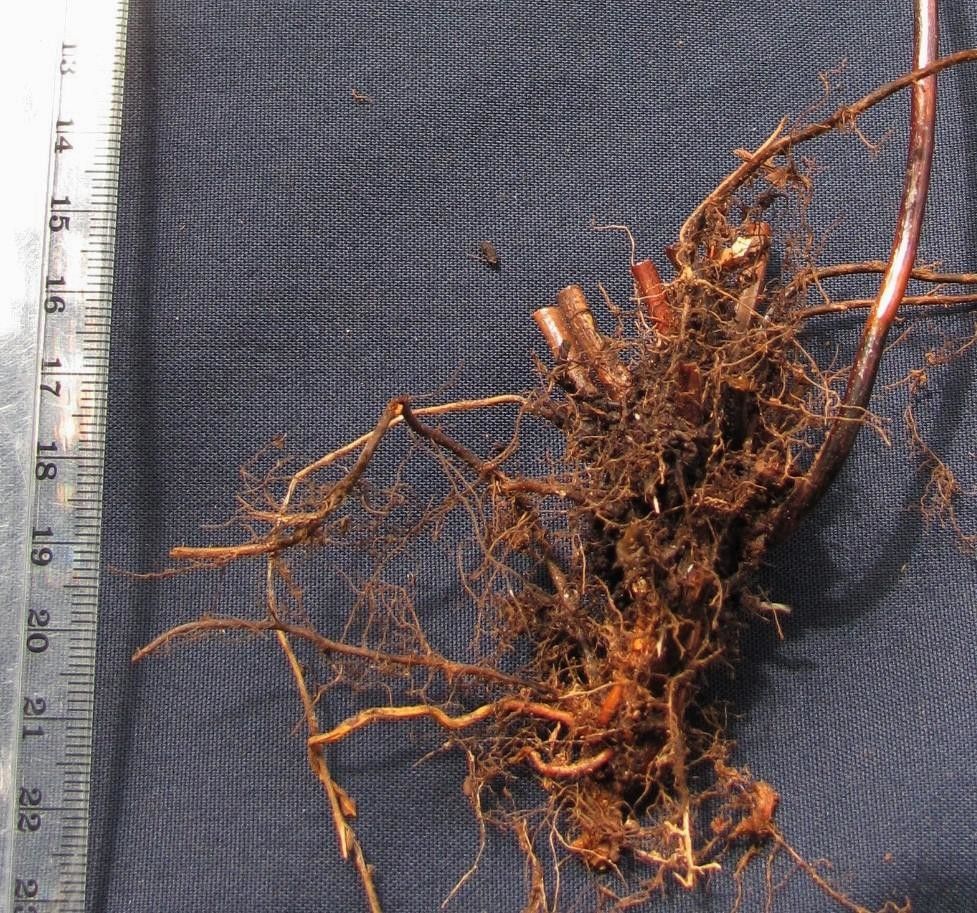
- The concept: Division is the simplest form of propagation for ferns. You literally separate the plant into smaller portions, each containing roots and a healthy crown of fronds.
- How to do it: Gently remove the fern from its pot, and use your hands or a sharp knife to carefully divide the roots. Aim for each division to have a good amount of roots and at least a few fronds.
- Advantages: Division is quick and easy, with new ferns starting to grow within weeks.
- Drawbacks: You need a mature fern with a large root system for this method to be successful.
2. Spores:
- The concept: Ferns, unlike most flowering plants, reproduce through tiny spores. These are found on the underside of mature fronds.
- How to do it: Carefully scrape the spores from the underside of the fronds using a knife or a spoon. Sow them in a sterilized seed tray filled with a sterile potting mix. Keep the soil moist and in a warm, humid environment.
- Advantages: This method allows you to propagate a large number of ferns from a single plant.
- Drawbacks: This can be a slightly more involved method, requiring precise conditions and taking a longer time for germination (several weeks or months).
3. Cuttings:
- The concept: This involves cutting portions from the fern’s fronds or rhizomes (underground stems) and encouraging them to grow roots.
- How to do it:
- Frond cuttings: Take a healthy frond and cut a section 4-6 inches long, including the base. Place the frond in a jar of water, making sure the base is submerged. Change the water every few days. Roots should start to develop within a couple of weeks.
- Rhizome cuttings: Locate the rhizomes growing near the base of your fern. Carefully cut a section of the rhizome with a sharp knife. Plant the cutting in a pot filled with a well-draining potting mix. Keep the soil moist and in a warm, humid environment.
- Advantages: This method is relatively straightforward and allows for quick propagation.
- Drawbacks: Rhizome cuttings may not always produce healthy plants, as they rely on a portion of the parent plant’s energy for growth.
Important considerations for successful propagation:
- Environment: Ferns thrive in humid environments. Use a humidity dome or a plastic bag to create a moist atmosphere when starting your new ferns.
- Light: Avoid direct sunlight, but ensure your new ferns receive bright, indirect light.
- Water: Keep the soil consistently moist, but not waterlogged.
- Patience: Be patient! It may take a few weeks or even months for new ferns to start growing, but once they do, you’ll be rewarded with stunning new plants.
Whether you choose division, spores, or cuttings, propagation can be a rewarding experience. It gives you the chance to expand your plant collection and witness the magic of new life emerging from the roots and fronds of your beloved Boston Fern. So grab your tools, embrace the process, and enjoy the beauty of propagation!