Multiply Your Miniature Marvels: Propagating Nierembergia Ericoides
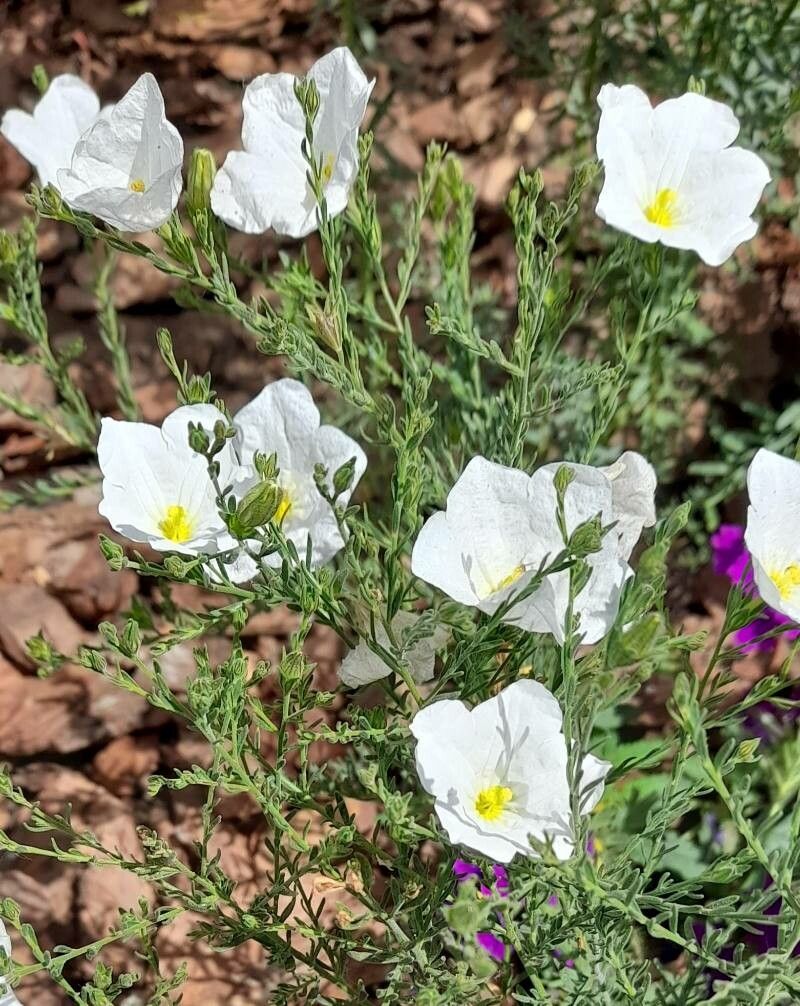
Nierembergia ericoides, also known as the heath-leaved cupflower, is a charming groundcover that bursts with a profusion of delicate, purple-blue flowers resembling tiny petunias. Its cascading habit and long flowering season, from late spring to fall, make it a stunning addition to rock gardens, hanging baskets, and borders.
While acquiring Nierembergia ericoides from nurseries is an option, propagating your own plants offers a satisfying and economical way to expand your floral collection. This resilient plant readily propagates through two primary methods: cuttings and seeds.
Method 1: Striking Success with Cuttings
Propagating Nierembergia ericoides from cuttings is the most common and arguably the easiest method. Here’s a step-by-step guide:
-
Timing is Key: The ideal time for taking cuttings is in late spring or early summer, when the plant is actively growing.
-
Choose Wisely: Select healthy, non-flowering shoots, about 3-4 inches long, from the current year’s growth.
-
Prepare the Cuttings: Using a sharp, sterilized knife or pruning shears, make a clean cut just below a leaf node (where the leaf joins the stem). Remove the leaves from the lower half of the cutting.
-
Hormone Boost (Optional): While not essential, dipping the cut end in rooting hormone powder can accelerate root development.
-
Planting Medium: Fill small pots or seed trays with a well-draining potting mix specifically formulated for cuttings.
-
Planting Time: Insert the cuttings gently into the moist potting mix, ensuring the leaf nodes are buried.
-
Humidity is Key: Create a humid environment for your cuttings by covering the pots with a clear plastic bag or using a propagation dome. This will help retain moisture and encourage rooting.
-
Patience is a Virtue: Place the cuttings in a bright location, out of direct sunlight. Rooting can take anywhere from 4 to 8 weeks.
- Transplanting Time: Once the cuttings have developed a strong root system, they can be transplanted into individual pots or directly into the garden.
Method 2: The Magic of Seeds
While slightly less common, Nierembergia ericoides can also be propagated from seeds. Here’s how:
-
Seed Collection: After flowering, the plant produces small seed capsules. Collect these capsules once they turn brown and dry.
-
Seed Extraction: Gently crush the dried capsules to release the tiny seeds within.
-
Sowing the Seeds: Sow the seeds in late winter or early spring in seed trays filled with a well-draining seed starting mix. Lightly press the seeds onto the surface, as they require light to germinate.
-
Maintaining Moisture: Mist the soil regularly to keep it consistently moist but not waterlogged.
-
Warmth and Light: Place the seed tray in a warm location with bright, indirect light. Germination can take 2-3 weeks.
-
Thinning Out: Once the seedlings have developed a couple of true leaves, thin them out, selecting the strongest ones.
- Transplanting: When the seedlings are large enough to handle, transplant them into individual pots or outdoors after the danger of frost has passed.
Nierembergia ericoides: A Propagation Dream
Propagating your own Nierembergia ericoides is a rewarding experience that allows you to expand your garden with minimal effort. Whether you choose the quick reward of cuttings or the delayed gratification of seeds, success is within reach. With a little patience and care, you’ll soon be enjoying a cascade of enchanting purple-blue blooms, a testament to your own propagation prowess.