Unleashing the Beauty of Nissolia Fruticosa: A Propagation Guide
Nissolia fruticosa, with its vibrant orange flowers and delicate fern-like foliage, is a true showstopper. This tropical climber, native to Central and South America, can add a touch of exotic charm to any garden or indoor space. But how do you go about propagating this stunning plant?
While finding Nissolia fruticosa in your local nursery might be a challenge, propagating it at home is surprisingly achievable. Let’s explore the two main methods:
1. Propagating Nissolia Fruticosa from Seed: A Rewarding Challenge
For the patient gardener, growing Nissolia fruticosa from seed offers a deep sense of satisfaction. Here’s a step-by-step guide:
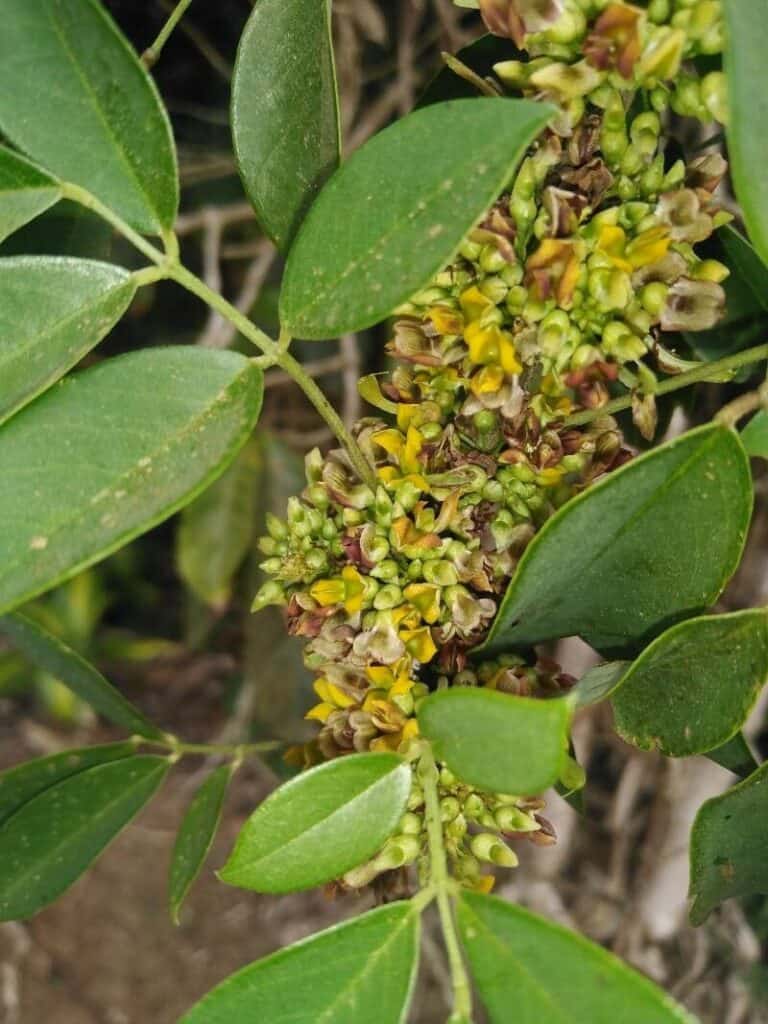
- Seed Collection: Nissolia fruticosa produces small pods containing the seeds. Allow the pods to dry completely on the plant before collecting.
- Seed Preparation: Gently open the dried pods and extract the seeds. It’s beneficial to scarify the seeds, which means lightly scratching their surface with sandpaper. This process helps moisture penetrate the tough outer layer, encouraging germination.
- Sowing: Use a well-draining seed starting mix. Sow the seeds shallowly, about ¼ inch deep, and mist the soil generously.
- Environment: Place the seed tray in a warm, brightly lit location, but away from direct sunlight. Maintain a consistently humid environment by covering the tray with a plastic dome or humidity dome.
- Patience is Key: Germination can take anywhere from a few weeks to a couple of months. Be patient and continue to mist the soil regularly, ensuring it doesn’t dry out completely.
2. Propagating Nissolia Fruticosa from Cuttings: The Faster Route
For quicker results, propagating from stem cuttings is the preferred method. Follow these steps:
- Selecting Cuttings: Choose healthy, non-flowering stems for your cuttings. Ideally, the cutting should be around 4-6 inches long with at least two sets of leaves.
- Preparing the Cuttings: Make a clean cut just below a leaf node using a sharp, sterilized knife or pruning shears. Remove the lower leaves, leaving only a couple at the top.
- Rooting Hormone (Optional): While not essential, dipping the cut end in rooting hormone can stimulate faster root development.
- Planting the Cuttings: Choose a well-draining potting mix or create your own using peat moss, perlite, and vermiculite. Make a small hole in the mix and gently insert the cutting.
- Creating a Humid Environment: Cover the pot with a clear plastic bag or use a propagator to maintain high humidity. Place the pot in a warm, brightly lit location, but out of direct sunlight.
- Root Development: After 4-6 weeks, check for root development by gently tugging on the cutting. If you feel resistance, it indicates successful rooting.
- Transplanting: Once the roots are well-established, transplant the new plants into individual pots filled with a well-draining potting mix.
Caring for Your New Nissolia Fruticosa Plants:
Whether you choose to propagate from seed or cuttings, providing the right care will ensure healthy growth:
- Light: Nissolia Fruticosa thrives in bright, indirect light. Avoid placing it in direct sunlight, which can scorch the delicate foliage.
- Watering: Water regularly, allowing the soil to dry slightly between waterings. Overwatering can lead to root rot.
- Humidity: As a tropical plant, Nissolia enjoys humidity. Misting the leaves regularly or placing the pot on a tray filled with pebbles and water can increase humidity levels.
- Support: Provide a trellis, stake, or other support structure for this climbing vine to thrive.
Propagating and nurturing Nissolia fruticosa is a fulfilling endeavor, rewarding you with its vibrant beauty and exotic charm. With a little patience and care, you can successfully grow this stunning climber and enjoy its tropical elegance in your own home or garden.