From Seed to Sapling: Propagating the Majestic Chilean Beech (Nothofagus balansae)
The Chilean Beech, also known as Nothofagus balansae, is a stunning tree with a rich history. Native to the forests of Chile and Argentina, this species boasts a unique, sculptural silhouette and striking foliage. But did you know that you can actually grow your own Chilean Beech from seed?
While it might seem daunting, propagating Nothofagus balansae is a rewarding experience that allows you to connect with the beauty of nature in a unique way. Here’s a deep dive into the fascinating world of Chilean Beech propagation.
Getting Started: The Seed Collection
The journey to propagate your own Chilean Beech starts with sourcing seeds. Ideally, these should be fresh and viable. Here are a few ways to obtain them:
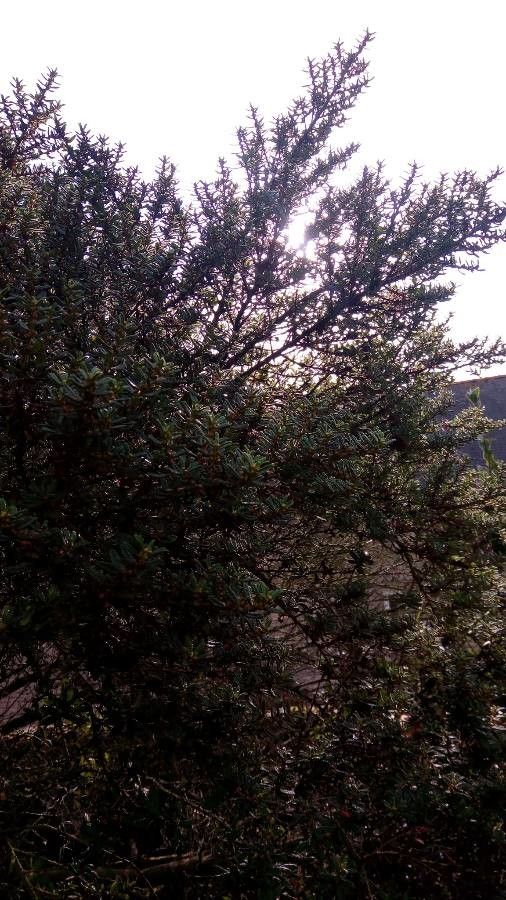
- Collect from nature: If you live in a region where Nothofagus balansae is native, you can collect seeds directly from mature trees. Look for mature fruits, which are about the size of a small acorn, and carefully extract the seeds.
- Purchase from reputable sources: Many online retailers specialize in rare and exotic seeds, and you can find Nothofagus balansae seeds there. Just ensure the source is trustworthy and that the seeds are properly stored.
Preparation is Key: Seed Stratification
Once you have your seeds, it’s crucial to understand that Nothofagus balansae seeds require a period of stratification before they can germinate. This process mimics the natural conditions they experience in the wild. Essentially, you’re tricking the seeds into believing they’ve endured a winter period before spring.
Here’s how to stratify Nothofagus balansae seeds:
- Moisture Control: Mix the seeds with a moist, sterile medium like vermiculite or peat moss.
- Cold Storage: Place the seeds in a sealed plastic bag, airtight container, or a seed starting tray and refrigerate them for 6-8 weeks at around 35-40 degrees Fahrenheit. This simulates the cold winter months.
- Monitoring: Regularly check the moisture level and ensure it stays consistently moist.
From Seed to Sprout: The Exciting Germination Phase
After the stratification period, remove the seeds from the refrigerator and sow them in a seed tray filled with a well-draining seed starting mix. Ensure the seeds are about ½ inch deep. Place the tray in a bright location, but avoid direct sunlight.
Keep the soil consistently moist but not soggy, and wait patiently for the seedlings to emerge. Germination can take anywhere from a few weeks to a few months. During this time, be patient and provide the necessary moisture and warmth to encourage the seedlings to develop their first true leaves.
Stepping Up: Transplanting and Growing On
Once the seedlings have developed their first true leaves and are a few inches tall, you can carefully transplant them into individual pots. Use a good quality potting mix that is well-draining. As they grow, you can continue to repot them into larger pots as needed.
From Seed to Sapling: A Journey Worthwhile
Growing Nothofagus balansae from seed is a journey of patience and care. However, the reward is immense: witnessing the transformation of a tiny seed into a majestic tree that you have nurtured from the beginning.
With proper care and attention, your Chilean Beech will eventually grow into a stunning specimen that will grace your garden for years to come, bringing a touch of the Chilean wilderness into your own home.