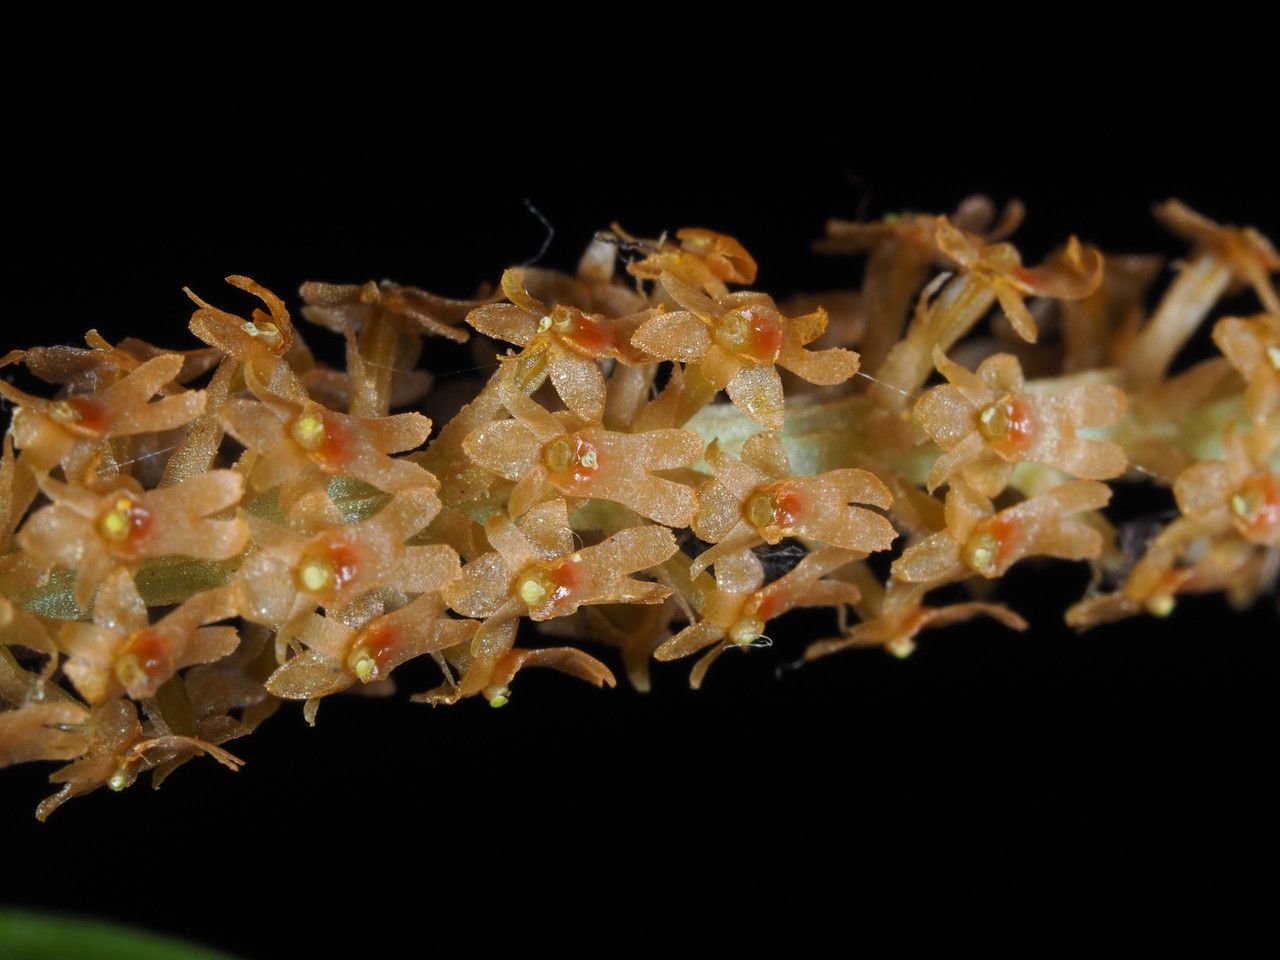
Unlocking the Secrets of Oberonia bifida: A Guide to Successful Propagation
Oberonia bifida, with its delicate, orchid-like blooms and charmingly miniature stature, is a captivating addition to any plant collection. But how do you bring more of this beauty into your life? The answer lies in propagation – the art of creating new plants from existing ones.
While Oberonia bifida might seem like a delicate creature, it is surprisingly easy to replicate through a few straightforward methods:
1. Division:
This method, ideal for established plants, involves carefully separating the plant into smaller divisions, each containing roots and healthy growth points. Here’s how:
- Timing: The best time to divide Oberonia bifida is during the spring when new growth emerges.
- Preparation: Gently remove the plant from its pot and examine the root system. Look for natural division points where the stems are separating.
- Division: Use a sharp, clean knife or garden shears to carefully separate the plant into two or more sections. Ensure each section has healthy roots and at least one growth point.
- Repotting: Plant each new division in a pot slightly larger than its root ball, using a well-draining orchid potting mix. Water thoroughly to help settle the soil.
2. Stem Cuttings:
This is a fascinating and efficient method for Oberonia bifida, as it allows you to multiply your plant quickly. Here’s how to get started:
- Timing: The best time for taking stem cuttings is during the active growing season, usually late spring or early summer.
- Preparation: Select a healthy, mature stem with several nodes (the points where leaves emerge). Using a sharp knife or shears, cut the stem into sections, ensuring that each section has at least two nodes.
- Rooting Medium: Prepare a container with a well-draining rooting medium like moistened sphagnum moss or a mix of perlite and vermiculite.
- Planting & Care: Dip the cut ends of your stem cuttings in rooting hormone (optional) and gently insert them into the rooting medium, ensuring at least one node is buried. Cover the container with a clear plastic dome or bag to maintain humidity. Place the container in a bright, indirect light location.
- Patience: It can take several weeks for roots to develop. Keep the rooting medium moist but not soggy. Once roots appear, slowly acclimate the cuttings to their new environment.
3. Seed Propagation:
This method is less common for Oberonia bifida as it involves pollinating the flowers to obtain viable seeds. Success depends on careful pollination techniques, sterile conditions, and specialized seed-starting setups. However, if successfully achieved, this method can generate genetic diversity within your plant community.
Pro Tips for Oberonia bifida Propagation:
- Use sharp, sterile tools: This minimizes the risk of introducing diseases.
- Maintain high humidity: Provide a humid environment for newly divided plants and cuttings to promote root development.
- Provide bright, indirect light: Oberonia bifida thrives in bright, filtered light, but avoid direct sunlight.
Beyond Propagation:
Once your new Oberonia bifida plants are established, provide them with the following care:
- Potting Medium: Use a well-draining orchid potting mix or a mix of perlite and bark.
- Watering: Water when the top inch of soil has dried out. Avoid overwatering, as this can lead to root rot.
- Feeding: Feed your Oberonia bifida with a balanced orchid fertilizer during the active growing season.
- Temperature & Humidity: Oberonia bifida prefers warm temperatures (65-80°F) and moderate humidity.
- Air Circulation: Ensure good air circulation to prevent fungal diseases.
By following these steps and caring for your new plants diligently, you can unlock the secrets of Oberonia bifida propagation and experience the joy of watching these charming orchids flourish. Remember, patience and attention to detail are the key to successful propagation and enjoying the beauty of Oberonia bifida in your home for years to come.