From One to Many: Propagating the Stunning Cleveland Penstemon
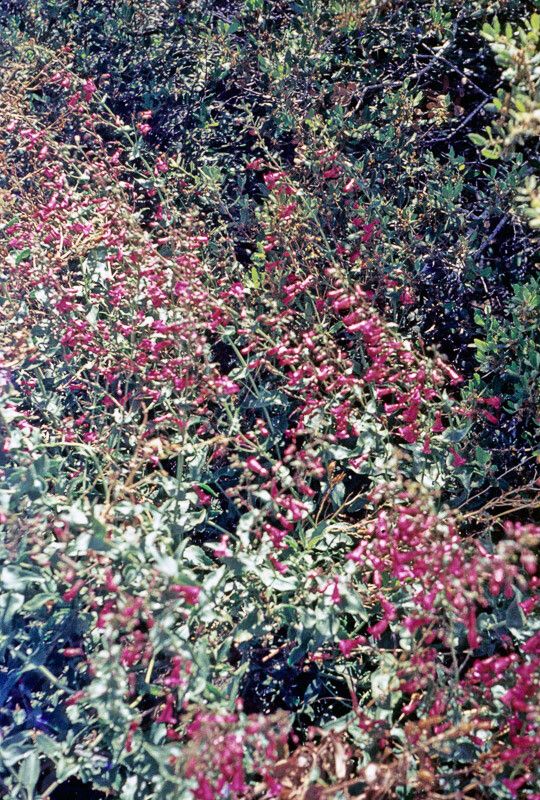
The Cleveland Penstemon (Penstemon clevelandii) is a showstopper in any garden. Its vibrant crimson blooms and silvery foliage make it a welcome addition to sunny borders and rock gardens. But what if you could create more of these beauties? Thankfully, propagating Penstemon clevelandii isn’t as daunting as it might seem. With some patience and basic knowledge, you can easily grow new plants from cuttings or seeds, expanding your garden’s splendor.
The Power of Cuttings:
For the most direct and reliable method, try propagation by stem cuttings. This technique allows you to clone the exact genetic makeup of your existing plant, guaranteeing those same stunning crimson flowers.
Here’s how to do it:
- Timing is Key: The best time to take cuttings is during spring or early summer when the plant is actively growing.
- Select a Healthy Stem: Choose a non-flowering stem. This stem should be about 4 inches long and free of disease or damage.
- The Cut: Make a clean cut with a sharp knife or pair of shears just below a leaf node.
- Prepare the Cutting: Remove any leaves below the soil line. You can leave a few leaves at the top to help the cutting photosynthesize.
- Rooting Medium: Potting mix or a mixture of perlite and peat moss is suitable rooting media. Dip the cut end of the stem in rooting hormone (optional, though helpful) and insert it into the medium.
- The Right Environment: Maintain a humid environment by placing the cutting in a clear plastic bag with a few holes for ventilation, or use a humidity dome. Place the container in a bright location, but avoid direct sunlight.
- Patience is a Virtue: Keep the rooting medium consistently moist. It can take several weeks for the cutting to root, so be patient!
The Joy of Seeds:
While it takes a bit more time, propagating Cleveland Penstemon from seeds is a rewarding experience. Seeds are available online or from specialty nurseries.
Here’s how to get started:
- Start Inside: Sow the seeds in a seed tray filled with a well-draining seed starting mix.
- Light and Moisture: Keep the seeds moist and provide them with bright, indirect light.
- Germination: Seeds usually germinate within 1 to 2 weeks at a temperature of 70°F (21°C).
- Thinning: Once the seedlings have a few true leaves, thin them out to give them enough space to grow.
- Gradually Harden Off: Before transplanting outdoors, gradually acclimate the seedlings to outdoor conditions by exposing them to increasing amounts of sunlight and wind over a week or two.
- Transplanting: Once the outdoor temperature is consistently above freezing, transplant the seedlings into their permanent location, spacing them about 18 inches apart.
Beyond Propagation:
Regardless of your chosen method, remember these tips:
- Well-Drained Soil: Cleveland Penstemon prefers well-draining soil, as it’s susceptible to root rot.
- Sunlight: Provide it with full sun to partial shade, at least 6 hours of sunlight daily.
- Water Wisely: Water deeply but infrequently. Allow the soil to dry slightly between waterings to prevent overwatering.
Deadheading: Deadheading spent flowers promotes continuous blooming.
By following these simple steps, you can enjoy the splendor of Cleveland Penstemon in your garden for years to come. Share your success with friends and spread the beauty of this remarkable plant!