
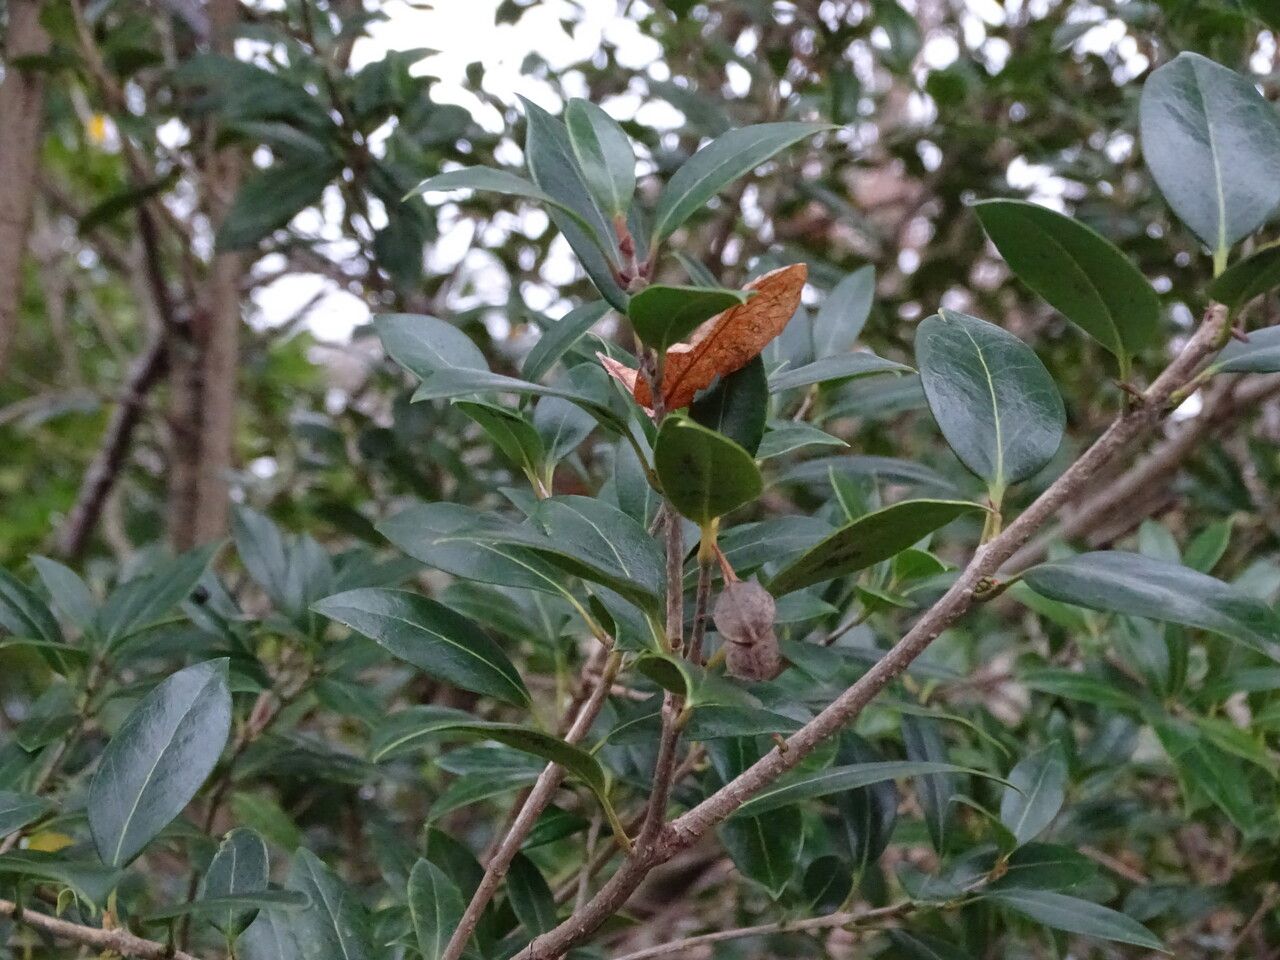
Taming the Mountain Holly: Propagating Olearia ilicifolia
Olearia ilicifolia, more charmingly known as the Mountain Holly, is a sight to behold. This New Zealand native enchants with its daisy-like blooms and hardy disposition. While finding this beauty in a nursery might be a stroke of luck, propagating your own is a rewarding challenge that even beginner gardeners can conquer. So, let’s explore how to successfully bring new Mountain Holly plants into the world!
Taking Cuttings: A Step-by-Step Guide
Propagation through cuttings is the most common and successful method for Olearia ilicifolia. Here’s how to do it:
1. Timing is Key: The best time to take cuttings is late spring or early summer when the plant is actively growing. Aim for a cool, overcast day to minimize stress on the cuttings.
2. Selecting the Perfect Cuttings: Look for healthy, non-flowering stems that are around 4-6 inches long. These young shoots are more vigorous and root readily.
3. Making the Cut: Use a sharp, sterilized pruning shears or knife to make a clean cut just below a leaf node. This is where the roots will emerge.
4. Preparing the Cuttings:
- Remove lower leaves: Strip off the bottom third of the leaves to prevent them from rotting in the rooting medium.
- Wound the stem (optional): For hardwood cuttings, make a small vertical cut at the base to encourage rooting hormone uptake.
- Apply rooting hormone (optional): While not entirely necessary, dipping the cut end in rooting hormone powder can significantly improve success rates.
5. Planting the Cuttings:
- Choose your medium: A well-draining mix is crucial. Use a combination of peat moss and perlite or a specialized seedling mix.
- Create a humid environment: Cover the pot with a clear plastic bag or use a propagator to maintain high humidity, essential for root development.
- Placement is everything: Place the pot in a bright location but out of direct sunlight.
6. Patience is a Virtue: Keep the soil consistently moist but not waterlogged. Root development can take several weeks to a few months. Once you see new growth, it’s a good sign that roots have formed.
7. Transplanting Success: Once the cuttings are well-rooted, gradually acclimatize them to outdoor conditions before transplanting them into individual pots or your garden bed.
Beyond Cuttings: Exploring Other Methods
While cuttings reign supreme, Olearia ilicifolia can also be propagated through seeds, although it’s less reliable and requires more patience. Sow seeds in a well-draining seed starting mix, keep them consistently moist and in a warm, bright location. Germination can be erratic, taking several weeks or even months.
A Note on Cultivar Variations:
Keep in mind that cultivars of Olearia ilicifolia, like the popular ‘Tauricola,’ may have different propagation success rates. Experimentation is key!
Reaping the Rewards:
Propagating your own Olearia ilicifolia is a rewarding endeavor. Not only will you expand your garden with these stunning plants, but you’ll also develop your gardening skills and connect with nature on a deeper level. So, roll up your sleeves, grab those cuttings, and watch your Mountain Holly collection flourish!