Taming the Mountain Holly: Your Guide to Propagating Olearia Macrodonta
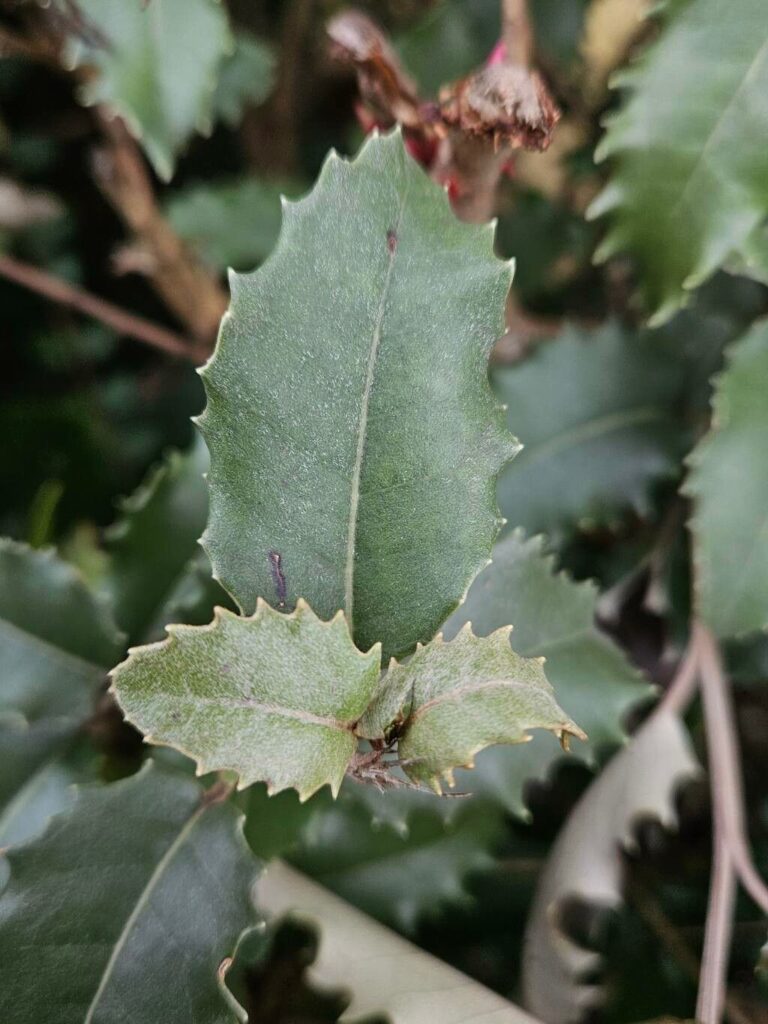
The Olearia macrodonta, more affectionately known as the Mountain Holly, is a visual delight. This New Zealand native enchants with its holly-like leaves and explodes with daisy-like flowers in the summer. While admiring it in a garden center is a treat, wouldn’t it be something to have this beauty grace your own space? Thankfully, propagating Olearia macrodonta isn’t as daunting as you might think. Let’s dive into the how-to, empowering you to welcome this captivating plant into your home or garden.
Two Routes to Rooting Success
You can propagate Olearia macrodonta in two main ways:
-
Cuttings: This popular method uses stem sections to grow new plants.
- Seed: While less common, growing from seed offers a rewarding (though often lengthier) experience.
Conquering Cuttings
Timing is key when taking cuttings. Aim for late spring or early summer when the plant is actively growing. Here’s a step-by-step guide:
-
Equip yourself: You’ll need clean, sharp pruning shears or a knife, a pot filled with well-draining seed-starting mix, and rooting hormone (optional but recommended).
-
Taking the cutting: Select a healthy, non-flowering stem. Make a clean cut just below a leaf node (where the leaf joins the stem), about 4-6 inches long. Remove the lower leaves, leaving only a couple at the top.
-
Hormone boost (optional) : Dip the cut end in rooting hormone, following the product instructions.
-
Planting: Make a small hole in your prepared pot and gently insert the cutting. Firm the soil around it, ensuring good contact.
-
Creating a humid environment: Cover the pot with a clear plastic bag or use a propagator to maintain moisture. Place it in a bright location, out of direct sunlight.
- Patience is a virtue: Cuttings can take several weeks to root. Check for resistance when gently tugging—a good sign roots are forming.
The Seed Route: A Labor of Love
-
Source your seeds: Purchase from a reputable supplier or collect from dried flower heads of an existing plant.
-
Sowing the seeds: Fill seed trays with seed-starting mix and sprinkle the seeds evenly. Lightly cover them with a fine layer of the mix.
-
Moisture is key: Mist the soil surface regularly to keep it evenly moist but not waterlogged.
-
Light and warmth: Place the tray in a bright spot, out of direct sunlight. Consider using a heat mat to provide bottom heat for optimal germination.
- Germination: This can be a waiting game, with some seeds taking several weeks to sprout. Be patient and continue providing moisture and the right environment.
Caring for Your New Arrivals
Once your cuttings have rooted or your seedlings have a few sets of true leaves, it’s time to transplant them.
- Potting Up: Choose pots slightly larger than the current root system. Use a well-draining potting mix.
- Gradual acclimatization: Whether grown from cuttings or seed, slowly acclimate your young Olearia macrodonta to outdoor conditions before planting them in the ground. This process, called “hardening off,” helps prevent transplant shock.
Basking in Success
Propagating Olearia macrodonta is a rewarding endeavor. With a little patience and the right know-how, you can cultivate these stunning plants, filling your surroundings with their unique beauty and charm. Remember, every successful propagation is a testament to your green thumb!