Unlock the Secrets of Growing More Operculina Macrocarpa: Easy Propagation Techniques
The Operculina macrocarpa, also known as the “Moonflower Vine,” is a captivating plant. Its large, fragrant blooms unfurl after sunset, filling the air with a sweet, tropical scent. But what if you could have more of these captivating blooms adorning your garden? Enter the world of plant propagation!
Propagation allows you to create new plants from established ones, essentially cloning them. For the Operculina macrocarpa, it’s a fantastic way to increase your collection, share with friends, or fill up empty spaces without spending a fortune on new plants.
Let’s explore the most effective methods for propagating your Moonflower Vine:
1. The Power of Cuttings:
This is the simplest and most common method. Here’s how to get started:
- Timing is Everything: The best time to take cuttings is in the spring or summer when the plant is actively growing.
- Cut it Right: Choose healthy, non-flowering stems that are about 4-6 inches long. Make a clean cut just below a node (the point where leaves grow).
- Root Boost: Dip the cut end of the stem in rooting hormone to encourage root growth.
- Prepare the Potting Mix: Use a well-draining potting mix like a mix of peat moss, vermiculite, and perlite. Fill a small pot or container with the mix.
- Plant and Care: Make a small hole in the potting mix and gently insert the cutting. Keep the soil moist but not soggy. Place the pot in a warm, bright location, but avoid direct sunlight.
- Patience is Key: In a few weeks, roots should start to form. You’ll know it’s successful when new growth emerges!
2. Layering for Easy Success:
This method works best with plants that have long, trailing stems:
- The Technique: Choose a healthy, flexible stem and gently bend it towards the ground. Scarify (scratch) the stem a few inches below the tip.
- Pin it Down: Lay the stem in a shallow trench, pinning it in place with a wire or rock. Cover the scratched area with soil.
- Let It Grow: Keep the soil moist and in a few weeks, roots will form at the scarred area. You can then carefully separate the rooted stem from the parent plant.
3. Seed Starting for the Adventurous:
While cuttings and layering are faster methods, growing from seeds provides a rewarding experience:
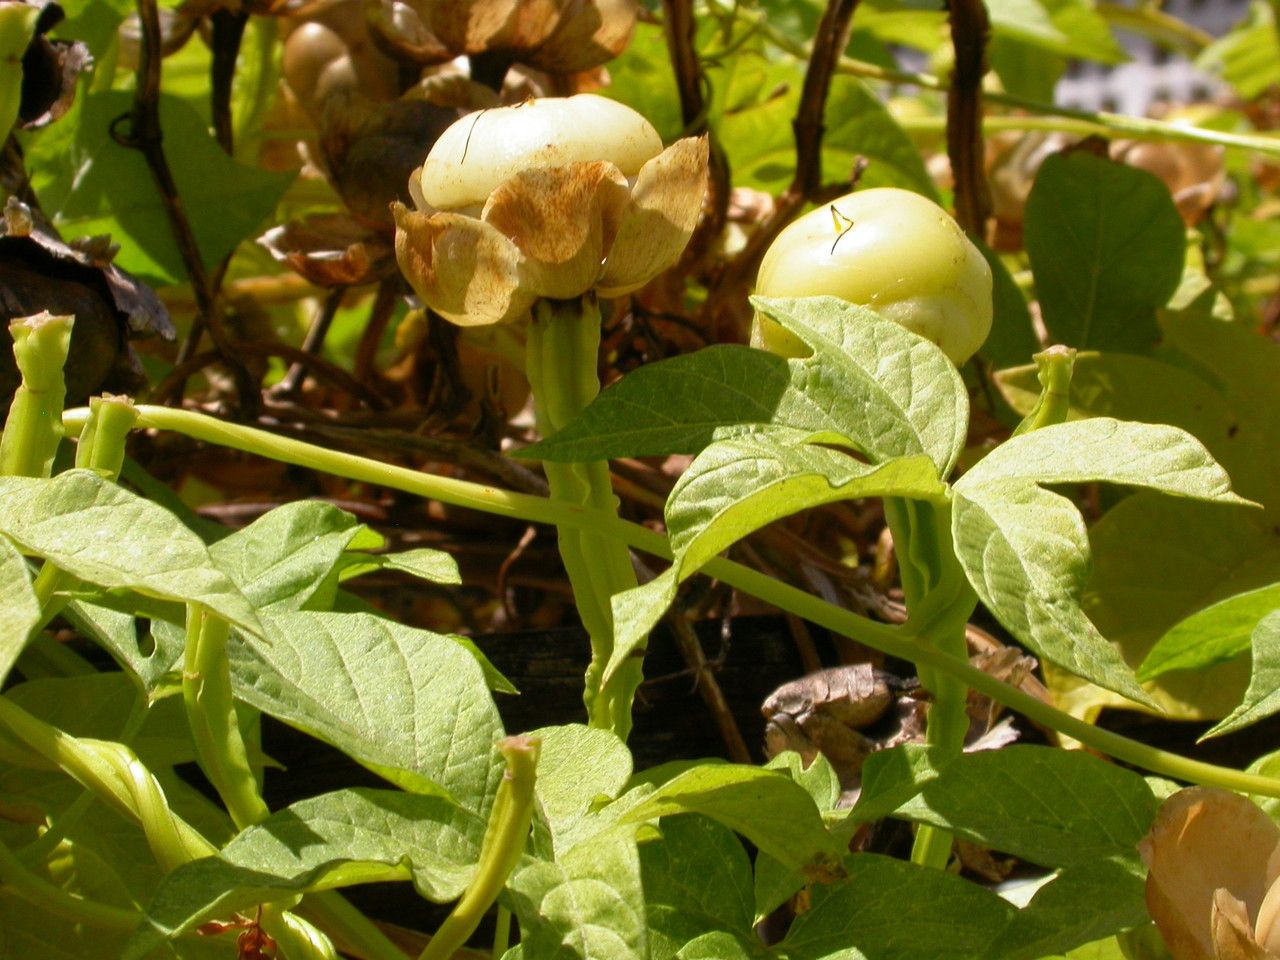
- Harvest the Seeds: Collect seed pods from your Operculina macrocarpa once they’re brown and dry. The seeds are small and black.
- Start Indoors: Plant the seeds in small pots filled with seed starting mix. Keep the soil moist and warm.
- Patience Pays Off: The seeds will germinate within 1-2 weeks, but the seedlings may take a couple of months to reach a reasonable size for transplanting outdoors.
Tips for Success:
- Ventilation: When propagating cuttings, provide good airflow. Avoid overcrowding and regularly check for signs of rot.
- Light is Key: Provide indirect bright light to newly propagated plants, especially cuttings.
- Time and Care: Be patient. Propagation takes time. Be consistent with watering and don’t be afraid to experiment.
With these methods, you can easily expand your collection of Operculina macrocarpa and enjoy their alluring beauty even more!