Raising the Prickly Pears: A Guide to Propagating Opuntia quitensis
The Opuntia quitensis, more commonly known as the Prickly Pear Cactus, conjures up images of arid deserts and resilient flora. But did you know this fascinating plant, with its striking appearance and delicious fruit, can be easily cultivated in your own backyard?
While starting from seed is an option, propagation through cuttings offers a quicker and more reliable way to expand your Prickly Pear collection. Here’s a comprehensive guide to help you successfully propagate your own Opuntia quitensis:
Understanding the Plant
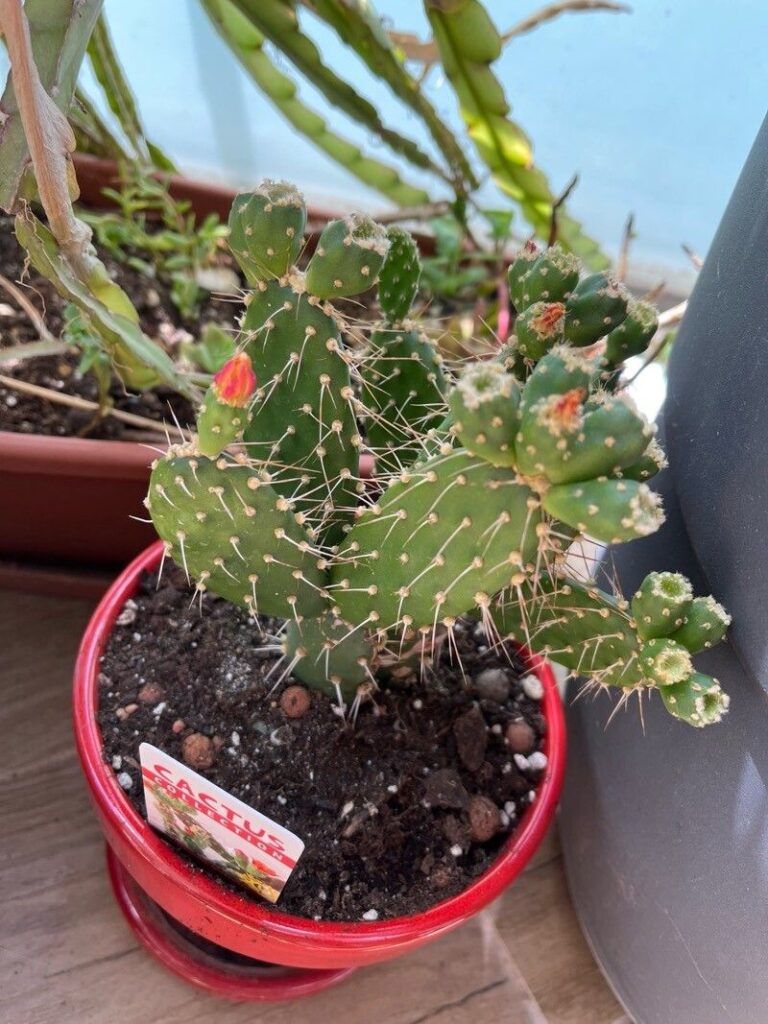
Before you grab your gardening gloves, it’s important to be familiar with the basic structure of the Opuntia quitensis. It’s composed of flat, pad-like segments called cladodes. These cladodes, often mistaken for leaves, are the powerhouses of propagation.
The Art of Taking Cuttings
- Timing is Key: The best time to take cuttings is during the plant’s active growing season—spring or early summer.
- Choose Your Weapons: You’ll need sharp, clean pruning shears or a knife to ensure a clean cut and minimize the risk of infection.
- Select Healthy Pads: Opt for mature, healthy cladodes that are firm to the touch and free of any damage or disease. Ideally, choose pads that are at least six months old.
- Make the Cut: Using your shears, carefully sever the entire cladode at its base where it connects to another pad. Avoid crushing the cladode during this process.
- Callus Over: Once you have your cuttings, lay them out in a warm, dry place for 7-10 days to allow the cut end to dry and form a callus. This is crucial in preventing rot when planted.
Planting Your Prickly Pear Cuttings
- Prepare the Potting Mix: Use a well-draining potting mix specifically designed for cacti and succulents.
- Shallow Planting: Plant the callused end of the cladode about an inch deep in the soil. Remember, these plants are used to arid environments and don’t appreciate being overly buried.
- Location, Location, Location: Place your pot in a brightly lit area but avoid direct sunlight initially as it can scorch the developing roots.
- Water Wisely: Unlike most plants, water your cutting sparingly. Wait until the soil is completely dry before watering again. Overwatering is a surefire way to kill your newly planted cladode.
- Patience is a Virtue: It may take several weeks or even months for roots to develop. Resist the urge to tug on the cutting to check for progress, as this can damage the delicate roots.
Signs of Success and Ongoing Care
Once your cutting shows signs of new growth, it’s a clear indication that rooting has been successful. You can now gradually introduce it to more sunlight and treat it like an established Opuntia quitensis.
Propagating Opuntia quitensis is an incredibly rewarding experience. By following these steps, you’ll not only be able to cultivate these fascinating plants but also share the joy of growing them with friends and family. So, why not try your hand at propagating these resilient beauties? You might be surprised at how easy and fulfilling it can be!