The Art of Multiplying Swords: Propagating Your Ornithocephalus Gladiatus Orchid
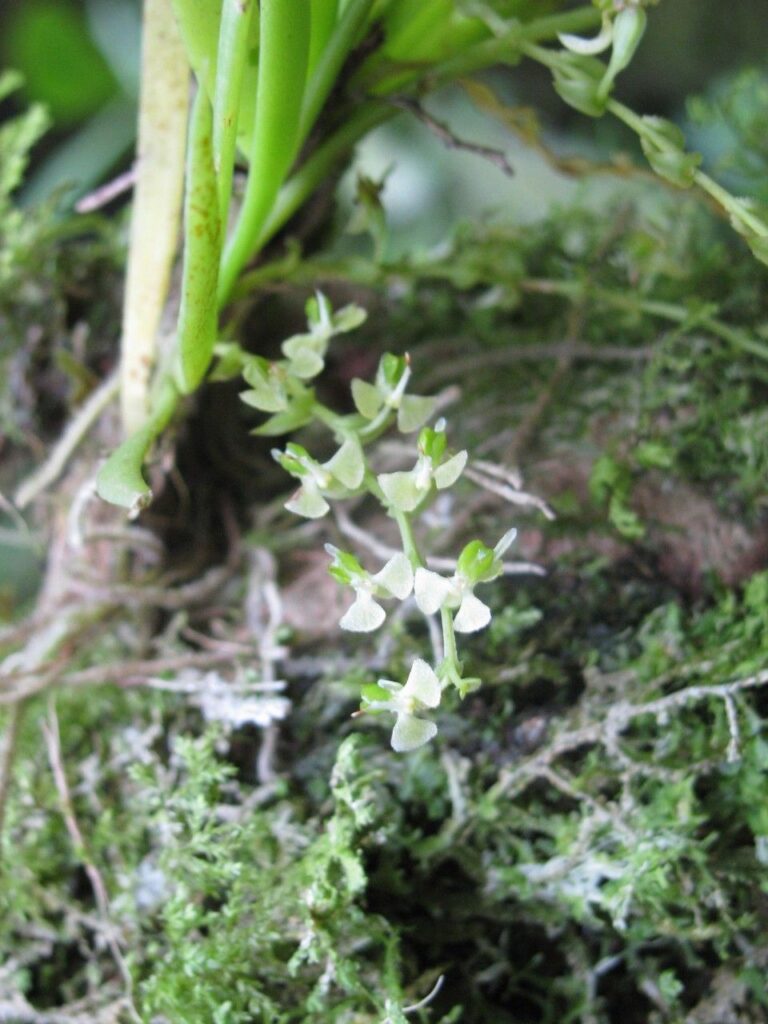
The Ornithocephalus gladiatus, with its charming miniature blooms resembling a flock of tiny birds, is a prized possession for many orchid enthusiasts. This unique species, native to the rainforests of Central and South America, can be a bit of a challenge to propagate. However, with the right knowledge and a touch of patience, you can multiply your “Sword-Carrying Bird Orchid” and share its beauty.
This article dives into two effective methods for propagating Ornithocephalus gladiatus: division and back bulbs.
Method 1: Division – Separating Mature Plants
Division is the most common and reliable way to propagate mature, healthy Ornithocephalus gladiatus orchids. Here’s how:
- Timing is Key: The best time to divide your orchid is during the spring or early summer, just as new growth begins.
- Healthy Start: Choose a plant with at least six pseudobulbs (the thickened, stem-like structures). This ensures that each division has enough energy reserves to thrive.
- Careful Extraction: Gently remove the orchid from its pot, taking care not to damage the roots.
- Identify Division Points: Look for natural separations between pseudobulbs with healthy root systems. Aim for divisions with at least 3-4 pseudobulbs each.
- Sharp Tool, Clean Cut: Using a sterilized sharp knife or shears, carefully separate the rhizome (the horizontal stem connecting the pseudobulbs) at the identified division points.
- Potting Up: Plant each division in a well-draining orchid mix, ensuring the base of the pseudobulbs is level with the potting medium. Avoid burying any pseudobulbs completely.
- Post-Division Care: Water sparingly for the first few weeks, allowing the divisions to establish themselves. Place the newly potted orchids in a humid environment with indirect, bright light.
Method 2: Back Bulbs – Nurturing New Growth
Back bulbs are older, leafless pseudobulbs that can potentially sprout new growths. While this method takes longer, it provides an opportunity to rescue an ailing plant or propagate a valuable specimen with fewer pseudobulbs.
- Selection: Identify plump, healthy back bulbs that are still firm to the touch.
- Preparation: Carefully detach the back bulbs from the main plant using a sterilized tool. If any roots are attached, try to preserve them.
- Creating the Ideal Environment: Place the back bulbs on top of a slightly moist bed of sphagnum moss within a closed container. You can also use a plastic bag to create a humid environment.
- Patience is Virtue: Place the container in a warm, shaded location, and mist the moss regularly to maintain humidity. It can take several months for new growth to emerge.
- Potting Up: Once new roots and shoots are visible, pot the developing plantlets in a well-draining orchid mix.
General Propagation Tips for Success:
- Hygiene is Paramount: Always sterilize your cutting tools with rubbing alcohol before and after each use to prevent the spread of diseases.
- Right Potting Mix: Use a well-draining orchid mix specifically designed for epiphytes, such as a blend of bark chips, perlite, and charcoal.
- Humidity is Key: Maintain a humid environment around the newly propagated plants. You can use a humidity tray or place them in a propagation box.
While propagating Ornithocephalus gladiatus requires a bit more finesse than some other orchid varieties, the reward of seeing these delicate beauties multiply is well worth the effort. With patience, the right knowledge, and a bit of green-thumb magic, you can ensure the continued legacy of your “Sword-Carrying Bird Orchid” for years to come.