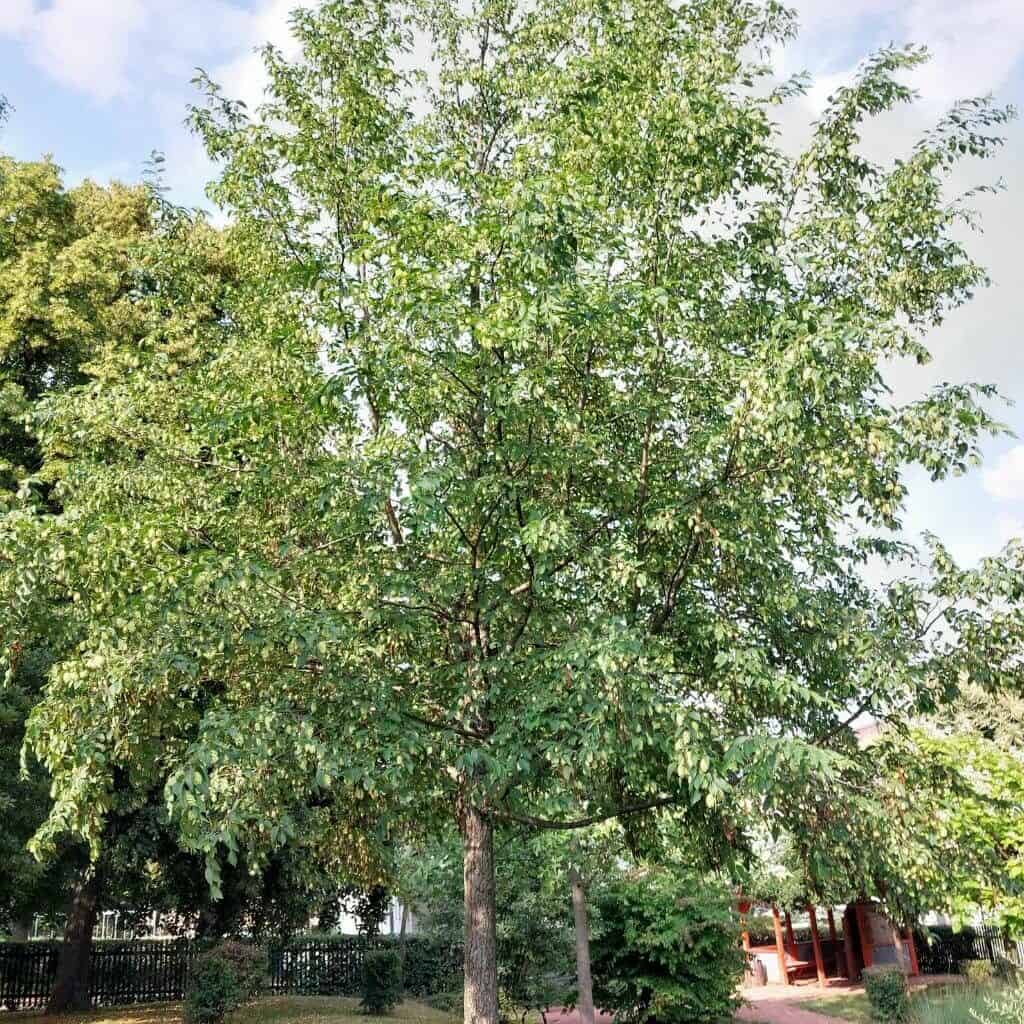
Unleashing the Power of Seeds: How to Propagate the Enchanting European Hop Hornbeam
The European Hop Hornbeam (Ostrya carpinifolia), with its graceful branching and distinctive hop-like fruit, adds a touch of woodland charm to any landscape. If you’re looking to welcome this handsome tree into your yard, propagating it yourself can be a rewarding experience. While it may seem daunting, propagating Ostrya carpinifolia is achievable even for amateur gardeners. Let’s delve into the secrets of successfully bringing new life to this captivating species.
The Seed Route: Your Path to Propagation Success
Propagation from seed is the most common and reliable method for Ostrya carpinifolia. Here’s a step-by-step guide to help you navigate the process:
1. Seed Collection and Preparation:
- Timing is Key: Collect mature seeds in autumn when the hop-like fruits turn from green to brown. They are ripe when they readily detach from the tree.
- Extraction: Gently crush the papery fruits to release the small, nut-like seeds inside.
-
Stratification: A Winter Slumber: Ostrya carpinifolia seeds require a period of cold stratification to break dormancy and enhance germination rates.
- Cold Storage Method: Mix seeds with moist sand or vermiculite, place them in a sealed plastic bag, and store them in your refrigerator (around 40°F or 4°C) for 60-90 days.
- Outdoor Sowing: Alternatively, you can sow the seeds directly outdoors in the fall. Winter’s chill will naturally stratify them.
2. Planting Time:
- Indoor Start: After stratification, sow the seeds indoors 6-8 weeks before the last expected frost. Use a well-draining seed starting mix and lightly press the seeds into the soil, covering them with a thin layer.
- Direct Sowing: You can directly sow stratified seeds outdoors in spring once the soil is workable.
3. Nurturing the Seedlings:
- Light: Place indoor seedlings in a bright location, out of direct sunlight. Outdoors, they tolerate partial shade to full sun.
- Moisture is Key: Keep the soil consistently moist but not waterlogged.
- Transplanting Time: When seedlings are large enough to handle (around 4-6 inches tall), transplant them into individual pots or outdoors after the last frost.
4. Patience is a Virtue:
- Germination can be slow, taking several weeks or even months.
- Don’t be discouraged if not all seeds sprout; nature has its own timeline.
Alternative Propagation: Exploring Hardwood Cuttings
While less common, propagating Ostrya carpinifolia from hardwood cuttings is also possible. This method works best during the dormant season:
- Take Cuttings: In late fall or early winter, select healthy, dormant shoots. Make cuttings about 6-8 inches long, cutting just below a node.
- Hormone Boost (Optional): Dip the cut end in rooting hormone to encourage root development.
- Plant and Protect: Plant the cuttings in a well-draining mix, leaving at least two nodes above the soil line. Water well and protect them from harsh winter conditions.
Reaping the Rewards: Patience Yields Green Treasures
Propagating Ostrya carpinifolia does require patience, but the rewards are well worth the wait. Whether you choose the seed route or experiment with cuttings, watching new life emerge is incredibly gratifying. With a little care and attention, you can cultivate these fascinating trees, adding their unique beauty and character to your own outdoor sanctuary.