From One to Many: Propagating the Enchanting Paepalanthus Bifidus
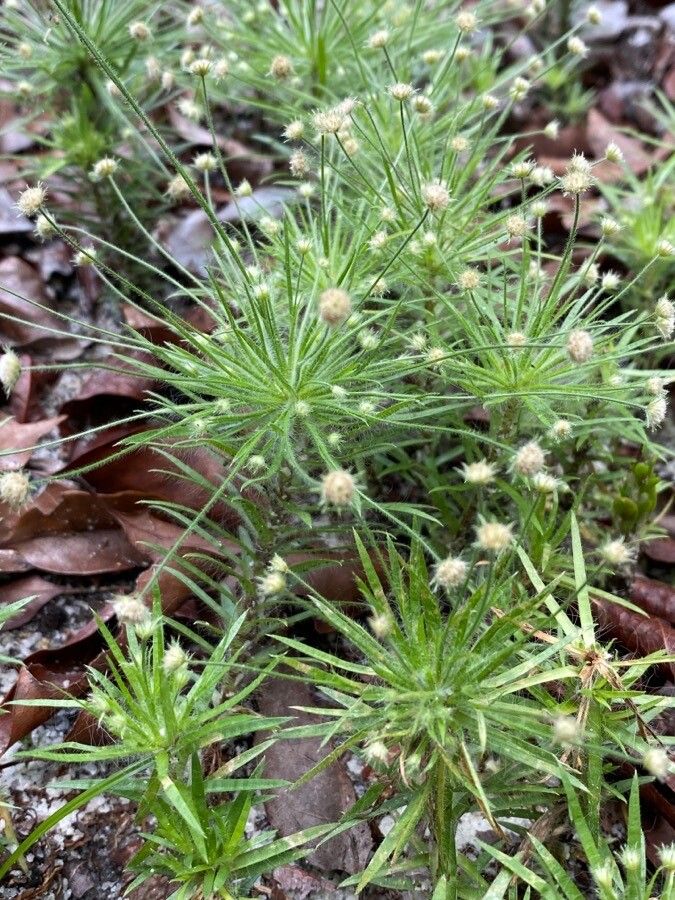
The Paepalanthus bifidus, with its delicate, star-shaped blooms and vibrant green foliage, is a captivating sight to behold. But did you know that you can share this beauty with others – and even expand your own collection – by learning how to propagate it?
This bromeliad, native to Brazil, thrives in humid and warm environments, mimicking its natural habitat. While the process might seem daunting, propagating Paepalanthus bifidus is relatively easy and rewarding. Here’s a breakdown of the most common methods:
1. The Offspring Approach: Division
Paepalanthus bifidus, like many bromeliads, produces offsets, also known as pups, at the base of the plant. These little clones are a perfect way to create new plants.
- When to Divide: The best time to divide is when the pups have developed a good root system, usually about a third to half the size of the mother plant.
- The Process:
- Gently separate the pup from the mother plant using a sharp, clean knife or scissors. Be sure to leave some roots attached to the pup.
- Plant the separated pup in a well-draining potting mix, ideally one formulated for bromeliads.
- Water it generously and place it in a humid, warm environment.
- Be patient! It might take a few months for the pup to establish itself and start to grow.
2. Seeds of Success: Seed Propagation
While not the most common method, propagating Paepalanthus bifidus from seeds can be a fun and rewarding experience.
- Seed Sourcing: Obtaining seeds is trickier than finding pups. You can either find them online from specialty plant sellers or carefully gather them yourself after your plant blooms.
- Prepare the Seeds: Prepare the seeds for germination by soaking them in a solution of water and a few drops of hydrogen peroxide for 24 hours. This helps to disinfect the seeds and encourage germination.
- Sowing Seeds: Sow the seeds in seed trays filled with a well-draining potting mix, lightly covering them with the soil. Maintain a consistently moist environment and provide bright, indirect light.
- Patience is Key: Germination can take several weeks or even months, so don’t lose hope! Once the seedlings have established, you can transplant them into individual pots.
3. The Art of Patience: Leaf Cuttings
While not as widely practiced for Paepalanthus bifidus, some bromeliad enthusiasts have successfully propagated them using leaf cuttings.
- Selecting the Cuttings: Cut healthy, mature leaves from the base of the plant. Make sure the cuttings are at least 4 inches long.
- Prepare the Cuttings: Remove the lower part of the leaf to expose the vascular tissue. Dust the exposed area with rooting hormone to encourage root development.
- Planting the Cuttings: Insert the cuttings into a well-draining potting mix, ensuring the vascular tissue side is buried in the soil. Maintain a humid environment with indirect light, and be patient. Rooting can take a few months.
Tips for Success
- Humid Enviornment: Paepalanthus bifidus thrives in high humidity. You can create this by placing the plant near a humidifier or by setting its pot on a tray filled with pebbles and water.
- Water Wisely: Avoid overwatering. Allow the potting mix to dry out slightly between waterings.
- Bright Indirect Light: Provide your Paepalanthus bifidus with bright, indirect light. Avoid exposing it to direct sunlight, which can scorch the leaves.
- Well-Draining Soil: Use a well-draining potting mix formulated for bromeliads. This will prevent root rot, which can be detrimental to the plant.
Propagating your Paepalanthus bifidus is a fulfilling experience, allowing you to share its beauty and witness the fascinating cycle of plant life. With a little patience and care, you can enjoy this unique bromeliad for years to come. Who knows, maybe you can even create a whole new collection of these enchanting little gems!