Unveiling the Secrets of Paphiopedilum glanduliferum: A Guide to Propagation
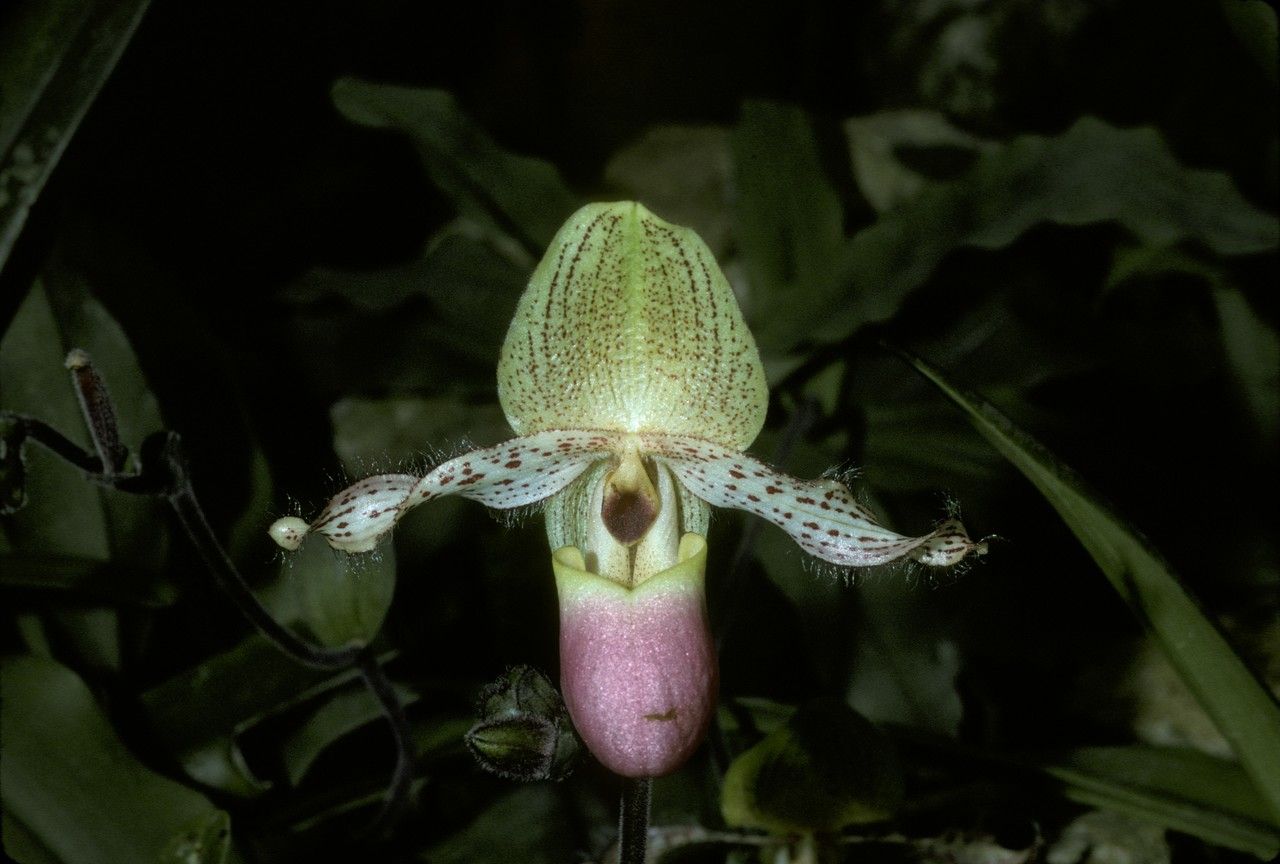
The captivating Paphiopedilum glanduliferum, also known as the “Glandular Slipper Orchid,” is a treasure for any orchid enthusiast. Its alluring blooms, with their distinctive pouch-like lip and intricate patterns, make it a real showstopper. But what if you could share the beauty of this orchid with others or simply expand your own collection? The good news is that you can – through propagation!
While propagation can be a rewarding experience, the Paphiopedilum glanduliferum, like many orchids, presents unique challenges. Unlike some plants that readily sprout from cuttings, orchids require a more nuanced approach. Fortunately, this article will guide you through the intricacies of propagating this enchanting species, enabling you to unlock its reproductive potential.
Understanding the Basics:
Paphiopedilum glanduliferum propagation primarily relies on two methods: division and tissue culture. Let’s break down each one:
Division: This method involves separating the orchid’s plantlets (baby plants) from the mother plant. While seemingly simple, it necessitates careful handling to avoid damaging the delicate roots. Look for mature plants with multiple growth points and ensure that each division has a healthy root system.
- Tissue Culture: This advanced method involves growing new plants from a small piece of tissue, typically from the orchid’s leaves or meristem (growing point). It’s a time-consuming process that requires specialized equipment and sterile conditions, often reserved for commercial growers or laboratories.
Focusing on Division: A Practical Approach
For home enthusiasts, division is the more feasible option for propagating Paphiopedilum glanduliferum. Here’s a step-by-step guide:
- Time it right: Spring or early summer, just after the orchid has finished blooming, is ideal.
- Choose a suitable plant: Select a mature plant with well-developed pseudobulbs and multiple growth points.
- Prepare your materials: You’ll need a sharp, sterilized knife or pruning shears, fresh sterilized potting mix, and pots with drainage holes.
- Gently separate: Carefully remove the plant from its pot and assess the growth points. Gently tease apart the plant, ensuring each division has a healthy root system.
- Repot: Plant the divisions in fresh potting mix, ensuring the upper portion of the pseudobulbs remains uncovered. Water thoroughly and place in a well-lit, warm location.
Post-Care and Success Tips:
- Maintain high humidity: Paphiopedilum glanduliferum thrives in humid environments. Misting regularly or placing the pot on a pebble tray with water can help.
- Avoid direct sunlight: These orchids prefer bright, indirect light. Too much sun can scorch their leaves.
- Water judiciously: Allow the potting mix to dry slightly between waterings, but ensure the roots don’t completely dry out.
- Be patient: Propagation takes time. Don’t be disheartened if it takes a while for your divisions to establish themselves.
Conclusion:
Propagating Paphiopedilum glanduliferum can be an enriching experience. By following these guidelines, you’ll gain insight into the fascinating world of orchid propagation, allowing you to cultivate these captivating beauties and share their splendor with others or simply admire them within your home. Remember, patience and a touch of care will nurture your Paphiopedilum glanduliferum, rewarding you with a thriving collection of these unique and valuable orchids.