Unlocking the Secrets of Passiflora Candollei: A Guide to Propagation
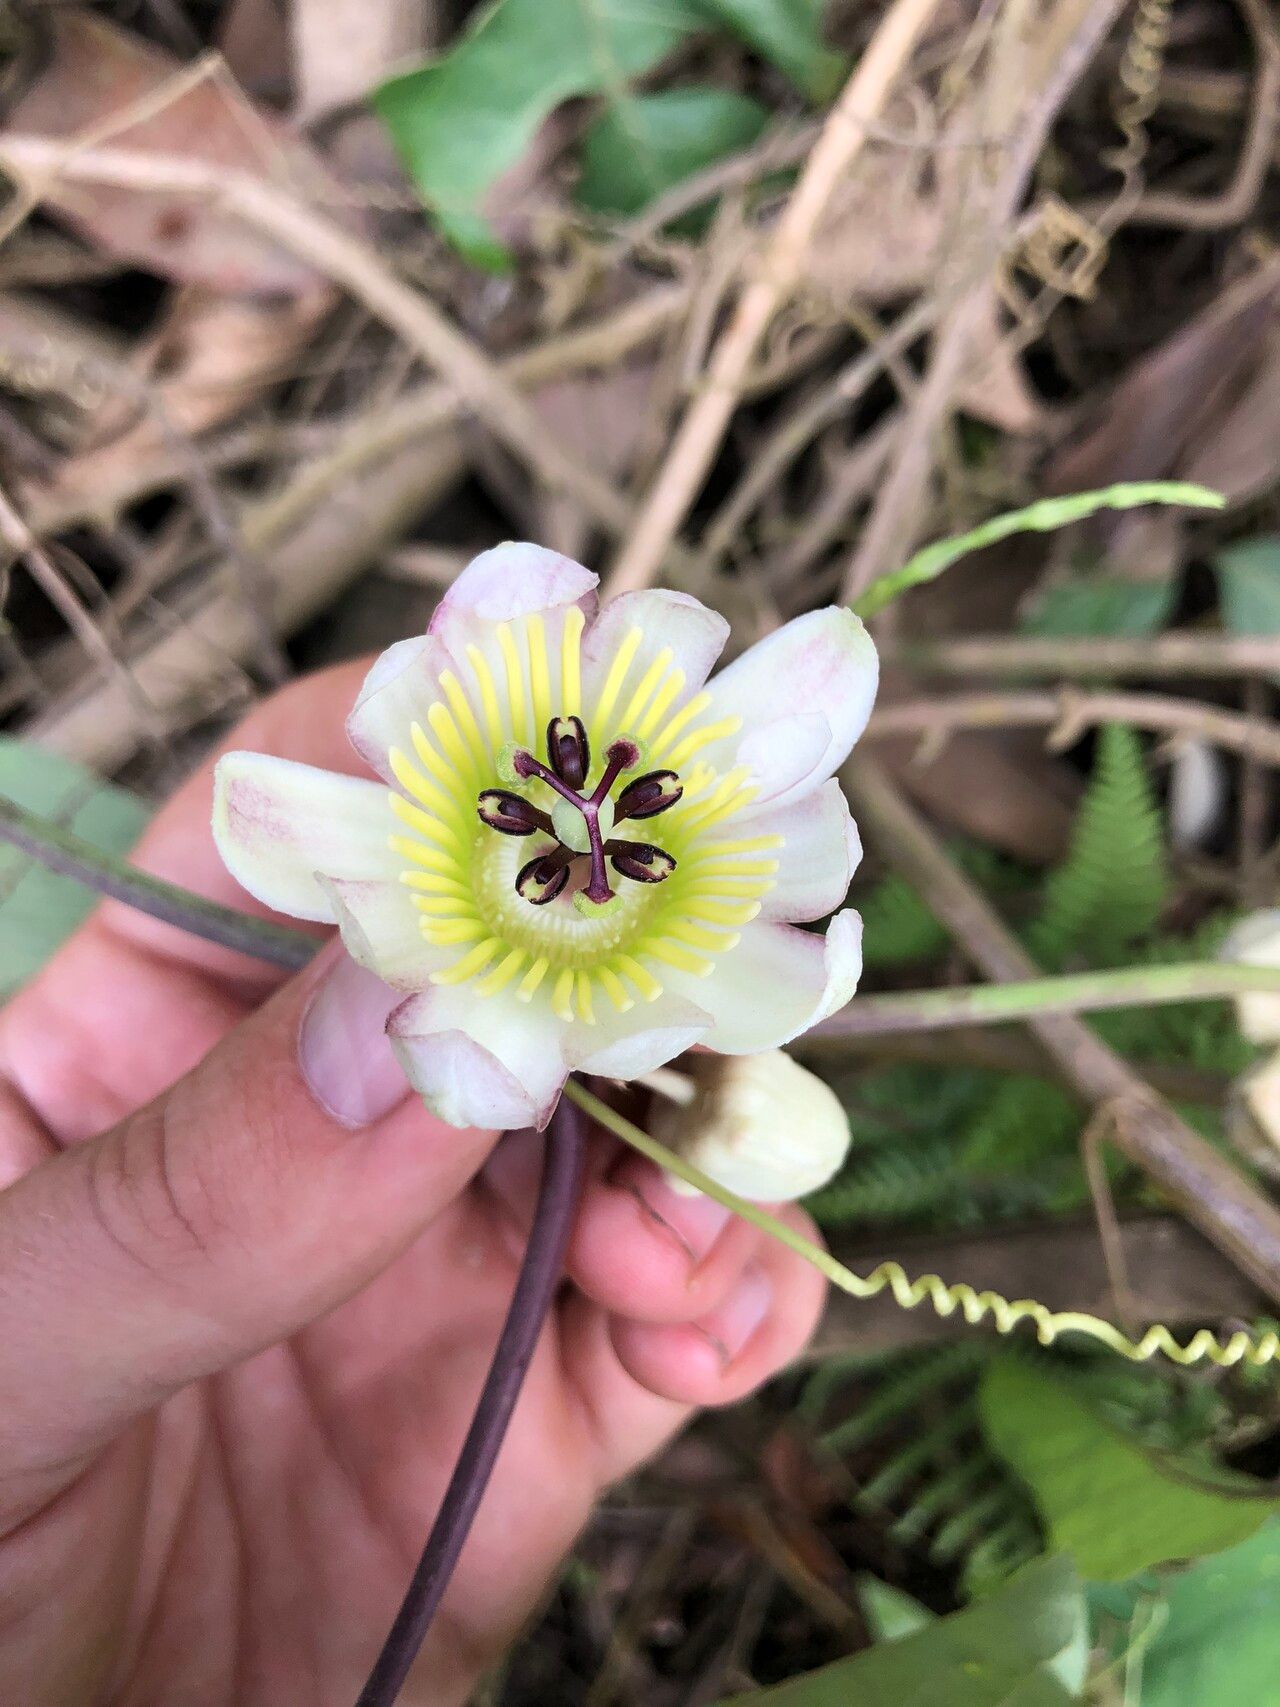
The Passiflora candollei, also known as the “Panama Passionflower,” is a breathtaking vine with vibrant flowers and delicate foliage. Its captivating beauty makes it a popular choice for gardeners looking to add a touch of tropical elegance to their spaces. Whether you’re a seasoned green thumb or a budding plant enthusiast, propagating your own Passiflora candollei is a rewarding experience. This guide will explore the different methods of propagation, providing you with all the knowledge you need to successfully grow this captivating climber.
1. The Power of Seeds:
The most common and straightforward approach is to propagate Passiflora candollei from seeds.
- Harvesting Seeds: After the vibrant blossoms fade, the plant produces fruit. Collect the ripe fruit and carefully extract its seeds. Allow them to dry for a day or two in a well-ventilated space.
- Sowing Seeds: Fill a small pot or seed tray with a well-draining seed starting mix. Gently press the seeds into the soil, about ¼ inch deep. Cover the container with a clear plastic dome or wrap to create a humid environment.
- Patience is Key: Germination usually takes 2-4 weeks, but it can take up to a month. Maintain a warm and bright location, ensuring consistent moisture. Once seedlings emerge, provide them with plenty of light and transplant them into individual pots when they develop a few true leaves.
2. The Art of Cuttings:
Vegetative propagation using cuttings is another popular option. Stem cuttings are the most effective method.
- Taking Cuttings: Select healthy, non-flowering stems, preferably with new growth. Cut them with a sharp, clean blade, ensuring each cutting has at least 2-3 nodes (points where leaves emerge).
- Preparing Cuttings: Remove the lower leaves from the cutting, leaving just the topmost set. Dip the cut end in rooting hormone powder to encourage root development.
- Rootage: Plant the cuttings in a mixture of perlite and vermiculite. Alternatively, water propagation is also an option. Place the cuttings in a vase or jar filled with clean water.
- Creating the Right Environment: Cover the container with a plastic bag or dome to create a humid environment. Place the cuttings in bright indirect light and maintain consistent moisture.
- Root Check: Within a few weeks, roots should start to develop. Once the roots are about an inch long, the cuttings are ready to be transplanted into individual pots filled with a well-draining potting mix.
3. The Less Common, Yet Effective – Air Layering:
Air layering is a unique technique that allows you to propagate new plants without removing the cutting from the parent plant.
- Choosing a Stem: Select a healthy, non-flowering stem on your Passiflora candollei. Make a horizontal cut around the stem and gently peel away a thin strip of bark.
- Encouraging Rooting: Moisten the wounded area with rooting hormone and wrap it in damp sphagnum moss. Secure the moss in place with plastic wrap.
- Monitoring the Growth: Keep the moss consistently moist and the plastic wrap intact. Over time, roots will emerge from the wounded area.
- Separation: Once the roots are well-established, carefully cut the layered stem below the roots and pot the new plant in a suitable container.
Tips for Success:
- Moisture and Drainage: Passiflora candollei prefer well-draining soil and consistent moisture. Water thoroughly when the top inch of soil dries out.
- Light Requirements: Ensure your plant receives plenty of bright, indirect light. Direct sun can scorch the leaves.
- Fertilizing: During the growing season, feed your plant with a balanced liquid fertilizer every 4-6 weeks.
By following these methods, you can successfully propagate your own Passiflora candollei plants and enjoy the beauty of these captivating vines in your garden or home. Remember, patience and good care are key to achieving success in this rewarding hobby.