Taming the Wild Plum: A Guide to Propagating Pappea capensis
The Pappea capensis, more affectionately known as the "Jacket Plum" or "Indaba Tree," is a South African native prized for its lush foliage, unique flowers, and sweet, sticky fruit. This attractive evergreen can transform any garden into a miniature oasis, attracting birds and humans alike with its bounty.
While obtaining a mature Jacket Plum from a nursery is possible, there’s a certain satisfaction that comes from successfully propagating your own. Thankfully, the process isn’t as daunting as it might seem. Let’s explore the two most common methods of propagating Pappea capensis:
1. Seed Propagation: A Test of Patience and Timing
The most common and natural method of propagating Pappea capensis is through its seeds. However, a word of caution: patience is key!
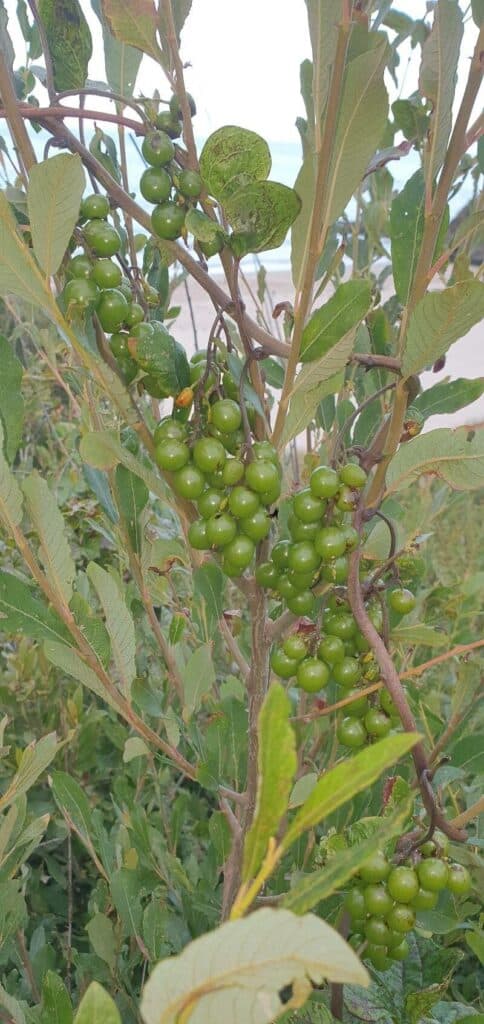
- Harvesting the Seeds: The adventure begins with harvesting mature fruit from an existing tree. Look for plump, reddish-brown fruits, typically appearing between January and April.
- Extracting and Cleaning: Inside each fruit, you’ll find a single, hard seed coated in a sticky pulp. It’s crucial to remove this pulp as it contains germination inhibitors. Soak the seeds in water for a few days, changing the water regularly to wash away the residue.
- Pre-treatment for Success: The seeds of Pappea capensis have a notoriously hard outer shell that needs a little "encouragement" to break through. Lightly nicking the seed coat with a nail clipper or sandpaper can significantly improve germination rates.
- Sowing and Patience: Plant the pre-treated seeds in a well-draining seed-raising mix, keeping the soil moist but not waterlogged. Be prepared to wait – germination can take anywhere from a few weeks to several months.
- Transplanting with Care: Once your seedlings have developed a strong root system and several true leaves, they’re ready to be transplanted into individual pots or directly into your garden. Choose a sunny location with well-drained soil.
2. Cutting Propagation: A Faster Track to Your Own Jacket Plum
If time is of the essence, propagating Pappea capensis from cuttings might be a more appealing option. This method typically yields faster results but requires a bit more finesse.
- Selecting the Right Cutting: Choose healthy, semi-hardwood cuttings from the current season’s growth. The ideal cutting should be around 10-15cm long and taken from a branch that is actively growing.
- Preparing the Cutting: Remove the leaves from the lower third of the cutting and dip the cut end in rooting hormone powder to encourage root development.
- Creating the Ideal Environment: Plant the cuttings in a pot filled with a well-draining rooting mix. Ensure the potting medium remains consistently moist and provides good drainage to prevent rot.
- The Waiting Game (Shorter This Time!): Keep your cuttings in a warm, humid environment with bright, indirect sunlight. With patience, you should see new growth emerge in a few weeks, indicating successful rooting.
- Transplanting and Care: Once your cuttings are well-rooted and showing vigorous new growth, they can be transplanted into larger pots or a sunny spot in your garden.
Enjoy the Fruits (and Shade) of Your Labor!
Whether you choose the patience-testing path of seed propagation or the slightly quicker route of cuttings, the reward of nurturing your own Pappea capensis is undeniable. With proper care and attention, your Jacket Plum will thrive, providing you with years of shade, beauty, and of course, a taste of its unique, sticky-sweet fruit.