Unveiling the Secrets to Multiply Your Majestic Pavonia Peruviana
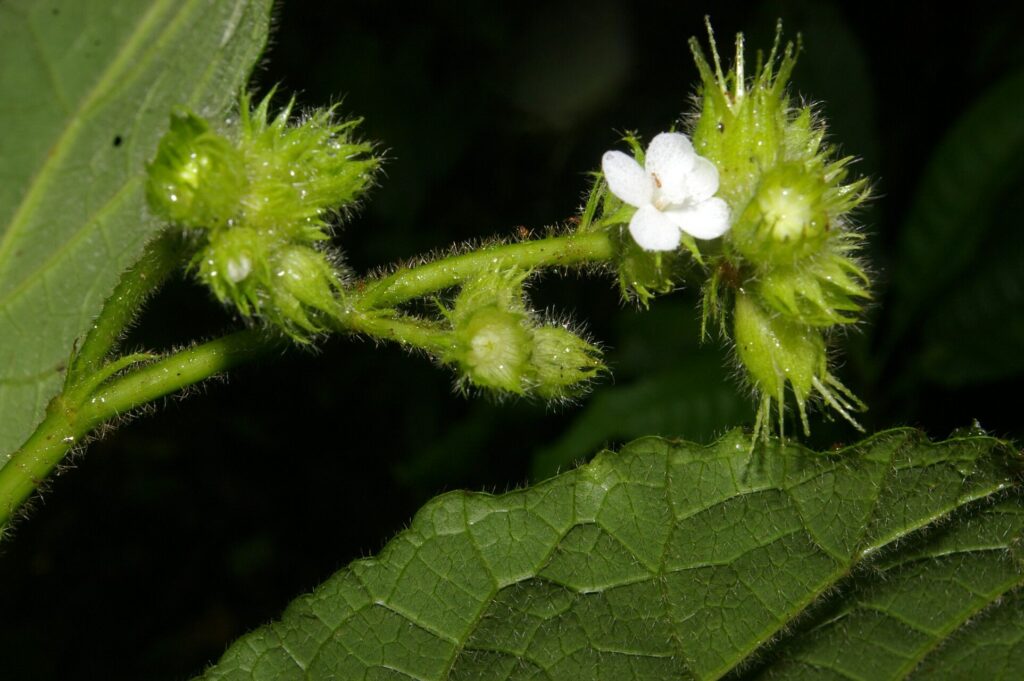
The Pavonia peruviana, with its vibrant, hibiscus-like flowers and lush foliage, is a showstopper in any garden. Native to South America, this tropical beauty adds a touch of exotic allure to any landscape. But did you know that propagating this stunner is easier than you think? Let’s delve into the world of Pavonia peruviana propagation and unveil the secrets to creating more of these captivating plants.
Two Paths to Propagation
While Pavonia peruviana readily produces seeds, the most effective and efficient propagation method is through cuttings. This technique offers faster results and ensures you retain the parent plant’s unique characteristics.
1. The Art of Propagation through Cuttings
Timing is Key: Spring or early summer, when the plant is actively growing, is the ideal time for taking cuttings.
Gather your Tools: You’ll need:
- Sharp, sterilized pruning shears or a knife: Cleanliness is crucial to prevent infections.
- Rooting hormone (optional but recommended): This helps speed up the rooting process.
- A well-draining potting mix: Choose a blend specifically formulated for cuttings or seedlings.
- Small pots or seed trays: Choose containers with good drainage.
Let’s Propagate:
- Select a healthy stem: Look for a stem that is at least 4-6 inches long, free of flowers or buds, and shows vigorous growth.
- Make the Cut: Using your sterilized shears, make a clean cut just below a leaf node (the point where a leaf emerges from the stem).
- Prepare the Cutting: Remove the leaves from the bottom inch or two of the stem. If desired, dip the cut end in rooting hormone, following the product instructions.
- Plant the Cutting: Plant the treated end of the cutting into the prepared potting mix, burying the first set of leaf nodes. Gently firm the soil around the cutting.
- Create a Humid Environment: Cover the pot with a clear plastic bag or a humidity dome to maintain moisture around the cutting.
- Provide Indirect Light: Place the pot in a well-lit area, but out of direct sunlight. Direct sun can scorch the developing roots.
- Water Consistently: Keep the soil consistently moist, but not waterlogged.
- Be Patient: Rooting can take several weeks. You’ll know your cutting has rooted when you see new growth emerging from the stem.
2. Propagating from Seeds: A Longer Journey
While slightly more challenging, growing Pavonia peruviana from seed offers a rewarding experience.
Sourcing Seeds: You can collect seeds from your existing plant or purchase them from reputable suppliers.
Sowing the Seeds:
- Prepare Seed Trays: Fill seed trays with a well-draining seed-starting mix.
- Sow Seeds: Sprinkle seeds evenly over the surface of the soil, covering them lightly.
- Water Gently: Mist the soil with water to prevent dislodging the seeds.
- Warmth and Light: Place the tray in a warm, brightly lit location. A heating mat can be beneficial for germination.
- Patience is Key: Germination can take several weeks to a few months, so be patient and keep the soil consistently moist.
- Transplant Seedlings: Once seedlings develop a few sets of true leaves, transplant them into individual pots filled with a well-draining potting mix.
Nurturing Your New Pavonia Peruviana
Whether you propagate through cuttings or seeds, provide your new plants with plenty of bright, indirect light and well-draining soil to thrive. Water regularly, allowing the soil to dry slightly between waterings, and fertilize regularly during the growing season.
With a little care and attention, you’ll soon have a flourishing collection of these exotic beauties to grace your garden. So, go ahead and multiply the magic of Pavonia peruviana!