Decoding Dove’s Foot Geranium: A Guide to Propagating Pelargonium columbinum
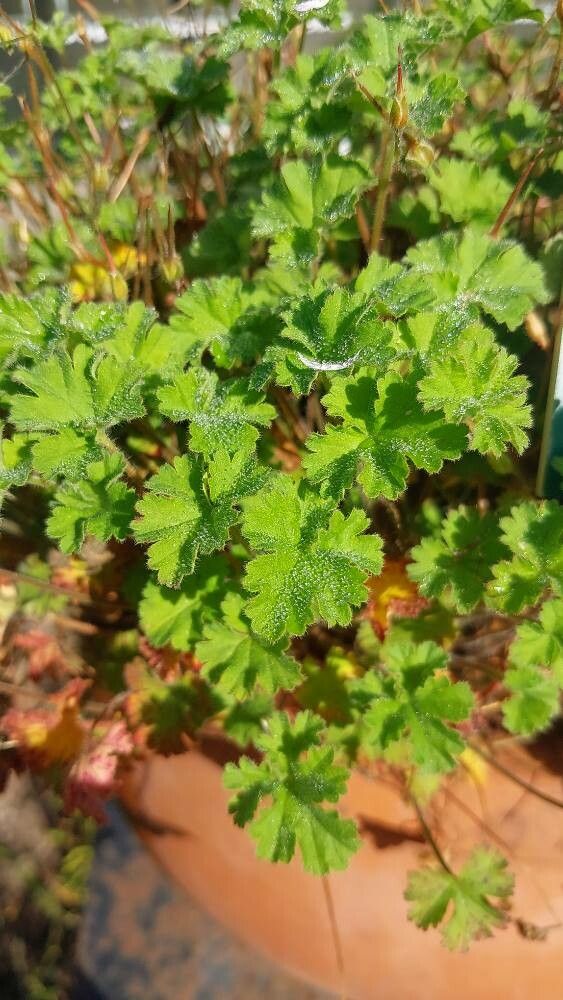
Beloved for their delicate, bird’s-foot shaped leaves and charming blooms, Dove’s Foot Geraniums (Pelargonium columbinum) bring a touch of whimsy to any garden. These low-growing beauties are a favorite among gardeners, not just for their visual appeal, but also for their relatively easy care and propagation. Whether you’re looking to expand your collection or share the joy of this unique plant with a friend, propagating Pelargonium columbinum is a rewarding endeavor for gardeners of all levels.
Two Routes to Root: Seeds vs. Cuttings
While Pelargonium columbinum can be grown from seeds, propagation through cuttings is generally preferred. Why?
Speed and Predictability: Cuttings offer a faster route to a mature plant compared to starting from seed. Additionally, cuttings ensure you replicate the exact characteristics of the parent plant, which is especially desirable with specific cultivars.
- Seed Scarcity: Pelargonium columbinum seeds can be tricky to find commercially.
Mastering the Art of Dove’s Foot Geranium Cuttings
Successfully propagating Pelargonium columbinum from cuttings hinges on a few key steps:
1. Timing is Key: The ideal time for taking cuttings is late spring or early summer when the plant is actively growing. This ensures the cuttings have the best chance of rooting successfully.
2. Choosing the Right Cuttings:
- Select healthy, non-flowering shoots from the parent plant. Look for stems that are about 3-4 inches long.
- Make a clean cut just below a leaf node using sharp, sterilized pruning shears or a knife.
- Remove the lower leaves, leaving 2-3 leaves at the top of the cutting. This minimizes water loss and encourages root development.
3. The Rooting Medium:
- Pelargonium columbinum enjoys well-draining soil.
- Create a mix of equal parts perlite or vermiculite and peat moss or seed-starting mix.
- Moisten the mixture thoroughly before inserting the cuttings.
4. Potting Up Your Cuttings:
- Dip the cut end of the stem in rooting hormone (optional but beneficial)
- Make a small hole in the prepared potting mix using a pencil or your finger.
- Gently insert the cutting into the hole, burying at least one leaf node.
- Firm the soil around the base of the cutting.
5. Creating a Conducive Environment:
- Place the potted cutting in a bright location but out of direct sunlight.
- Maintain a consistently moist environment by covering the pot with a humidity dome or clear plastic bag. This helps retain moisture and encourages root development.
- Mist the cuttings regularly to prevent drying out.
6. Patience is a Virtue:
- Rooting can take anywhere from 2-4 weeks.
- Resist the urge to tug! Gently tugging on the cutting to check for roots can damage delicate new growth.
7. Transplanting to their forever home:
- Once roots have developed and new growth appears, your Pelargonium columbinum cuttings are ready for transplanting.
- Choose pots with good drainage and fill them with a well-draining potting mix.
- Water thoroughly after transplanting and place in a location that receives ample but indirect sunlight.
With proper care and a bit of patience, you can easily propagate Pelargonium columbinum and enjoy their unique beauty for seasons to come. Not only will you be rewarded with a flourishing display of these charming plants, but you’ll also be mastering valuable gardening skills that will enhance your green thumb journey!