
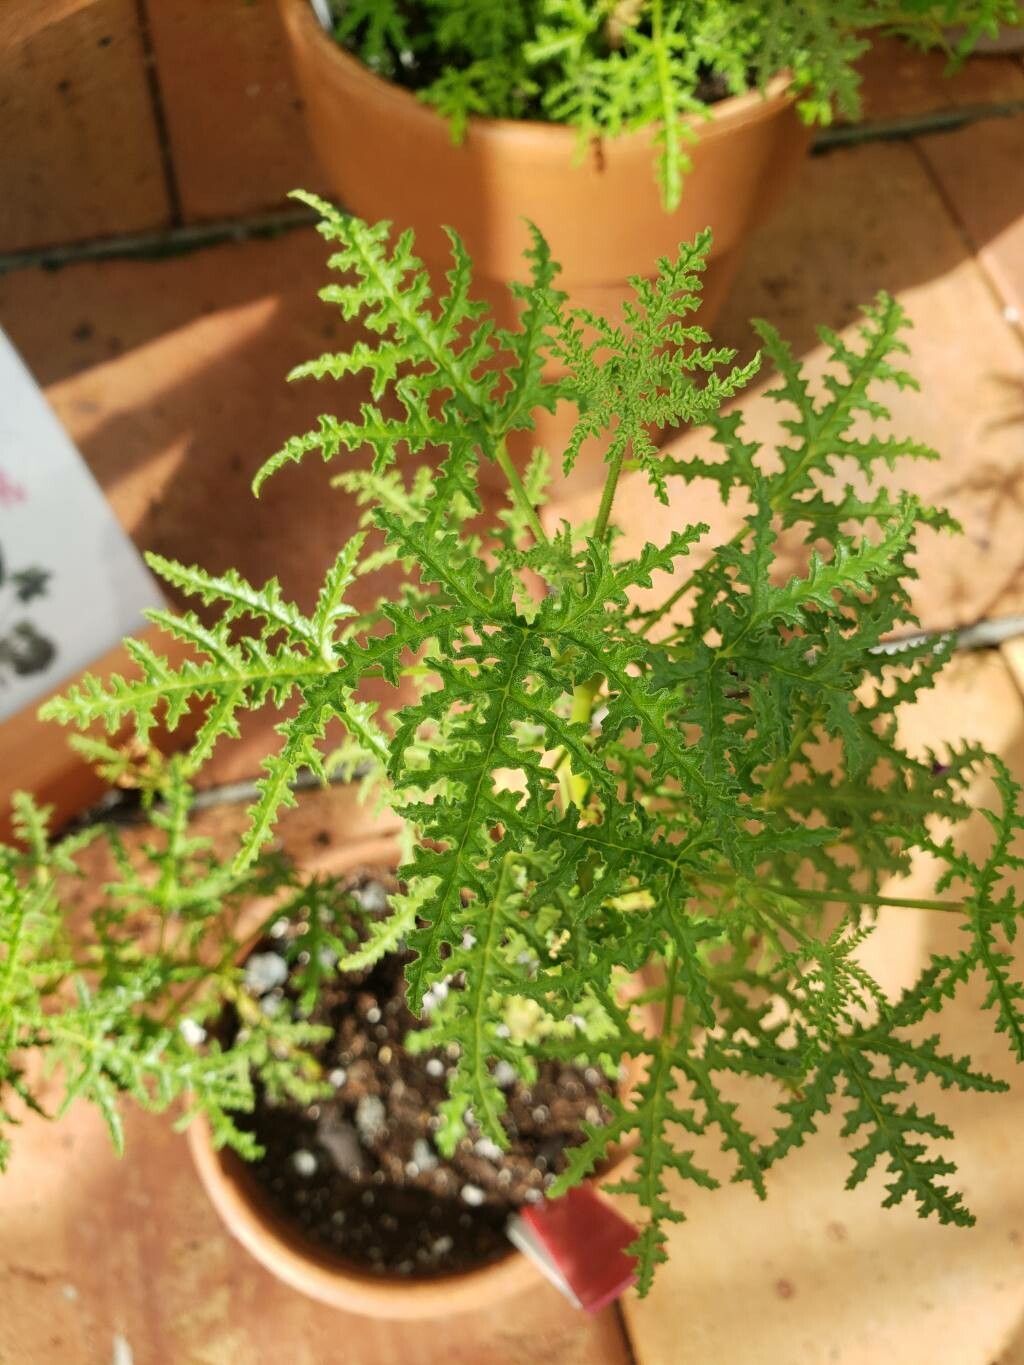
Unlocking the Secrets of Propagation: Multiply Your Pelargonium Denticulatum with Ease!
The Pelargonium denticulatum, also known as the Pine-Scented Geranium, is a delightful addition to any garden. With its lacy, fern-like foliage and bursts of delicate pink to purple flowers, this South African native is sure to charm. But did you know that propagating your own Pelargonium denticulatum is surprisingly simple?
This guide will demystify the process, equipping you with the knowledge to multiply your collection and share the joy of this wonderful plant with others.
Two Roads to Success: Cuttings vs. Seeds
When it comes to propagating Pelargonium denticulatum, you have two primary options:
1. The Cuttings Route (Recommended)
Propagating from cuttings is the preferred method for most gardeners as it ensures a genetically identical plant and yields faster results. Here’s how to do it:
- Timing is Key: Spring and early summer, when the plant is actively growing, are the optimal times for taking cuttings.
- Selecting the Perfect Cutting: Choose a healthy, non-flowering stem that is about 4-6 inches long. Make a clean cut just below a node (the point where leaves attach to the stem).
- Preparing the Cutting: Remove the lower leaves, leaving 2-3 pairs at the top. If desired, dip the cut end in rooting hormone powder to encourage root development.
- Planting the Cutting: Plant the cutting in a well-draining potting mix. Moisten the soil and cover the pot with a clear plastic bag to create a mini-greenhouse.
- Patience is a Virtue: Place the pot in a bright location, out of direct sunlight. Keep the soil consistently moist but not waterlogged. Roots should develop in 4-6 weeks.
2. The Seedling Adventure
While slightly more challenging, propagating from seeds can be a rewarding experience:
- Sourcing Seeds: Pelargonium denticulatum seeds are available from reputable online vendors and nurseries.
- Sowing the Seeds: Sow the seeds in a seedling tray filled with seed-starting mix, pressing them gently onto the surface.
- Light and Warmth: Cover the tray with a humidity dome or plastic wrap and place it in a bright location, out of direct sunlight. Maintain a temperature of around 70-75°F.
- Germination Period: Be patient! Seed germination can take anywhere from 2 to 4 weeks.
- Transplanting Time: Once the seedlings have developed 2-3 sets of true leaves, transplant them into individual pots filled with a well-draining potting mix.
General Care Tips for Your New Progeny
Regardless of the propagation method you choose, providing the right care is crucial for healthy plant development:
- Sunlight: Pelargonium denticulatum thrives in bright, indirect light.
- Watering: Water thoroughly when the top inch of soil feels dry. Avoid overwatering, as this can lead to root rot.
- Fertilization: Feed your plants regularly during the growing season (spring and summer) with a balanced liquid fertilizer.
- Pruning: Pinch back growing tips to encourage bushier growth and remove any dead or faded flowers.
Propagating your own Pelargonium denticulatum is a rewarding way to expand your plant collection and share the beauty of this unique species. Whether you choose cuttings or seeds, with a little patience and care, you’ll be well on your way to growing thriving new plants!