
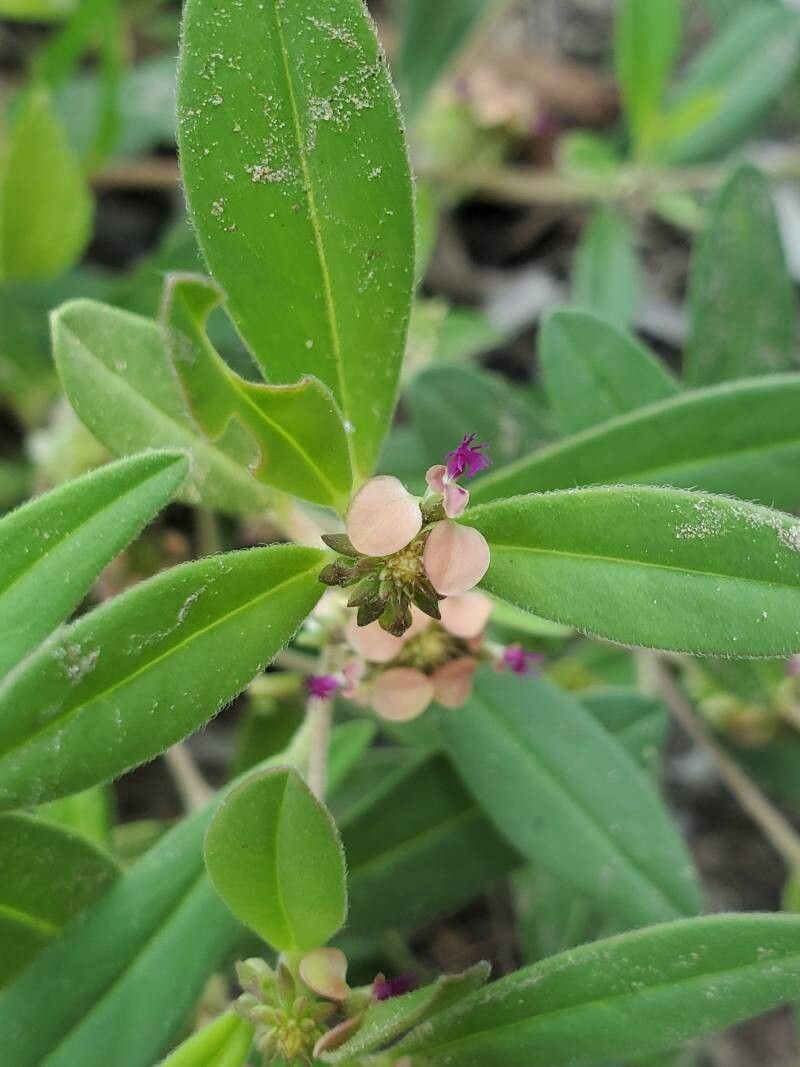
Taming the Tiny Tenacity: A Guide to Propagating Polygala arenaria
The world of gardening is filled with vibrant blooms and lush foliage, but sometimes, it’s the tiny, tenacious plants that steal our hearts. Polygala arenaria, commonly known as Sand Milkwort, is one such charmer. This low-growing, mat-forming perennial boasts delicate, vibrant pink flowers that emerge in spring, blanketing the ground with their cheerful hues. If you’re lucky enough to have this beauty gracing your garden, you’re likely eager to multiply your bounty. So, let’s explore the fascinating world of Polygala arenaria propagation.
Understanding the Basics
Before diving into the “how-to,” it’s crucial to understand the “when.” The optimal time to propagate Polygala arenaria is during its active growing season, which typically falls in spring or early summer. Why? This timing allows the new plants ample time to establish roots before the chill of winter sets in.
Two Paths to Propagation
There are two primary methods for propagating Polygala arenaria:
- Seed Propagation: This method involves collecting seeds from mature plants after flowering. However, it’s important to note that Polygala arenaria seeds can be finicky and may require special treatment to encourage germination.
- Seed Collection: Gather ripe seed pods (they will be dry and brown) gently crushing them to release the seeds.
- Cold Stratification: To mimic natural conditions and boost germination, mix the seeds with damp vermiculite or sand and store them in the refrigerator (around 40°F or 4°C) for 4-6 weeks.
- Sowing: After stratification, sow the seeds in a well-draining seed-starting mix, barely covering them with soil.
- Patience is Key: Keep the soil consistently moist but not waterlogged. Germination can take several weeks to a couple of months.
- Division: If you’re seeking a faster and often more reliable method, division is your best bet. This technique involves separating established plants to create new ones.
- Timing is Everything: Divide Polygala arenaria in early spring, just as new growth emerges.
- Dig Deep: Carefully dig up a healthy clump of Polygala arenaria, ensuring you get a good portion of the root system.
- Divide and Conquer: Gently pull apart the clump into smaller sections, making sure each division has a healthy amount of roots and shoots.
- Replant and Thrive: Replant the divisions at the same depth they were originally growing, spacing them around 6-12 inches apart. Water well and provide consistent moisture as they establish themselves.
Nurturing Your New Additions
No matter your chosen propagation method, remember that young Polygala arenaria plants thrive in well-draining soil and prefer a sunny to partially shaded location. Water regularly during the first growing season to help them establish strong root systems.
Reaping the Rewards
Propagating Polygala arenaria might require a bit of patience and a gentle touch, but the rewards are significant. As your little plants mature, they’ll grace your garden with their delicate beauty, creating a stunning carpet of color that attracts pollinators and sparks joy year after year. So, don your gardening gloves and embark on this rewarding journey of plant propagation – your garden will thank you!