Unveiling the Secrets of Pelargonium englerianum Propagation: A Guide to Growing More of this Unique Geranium
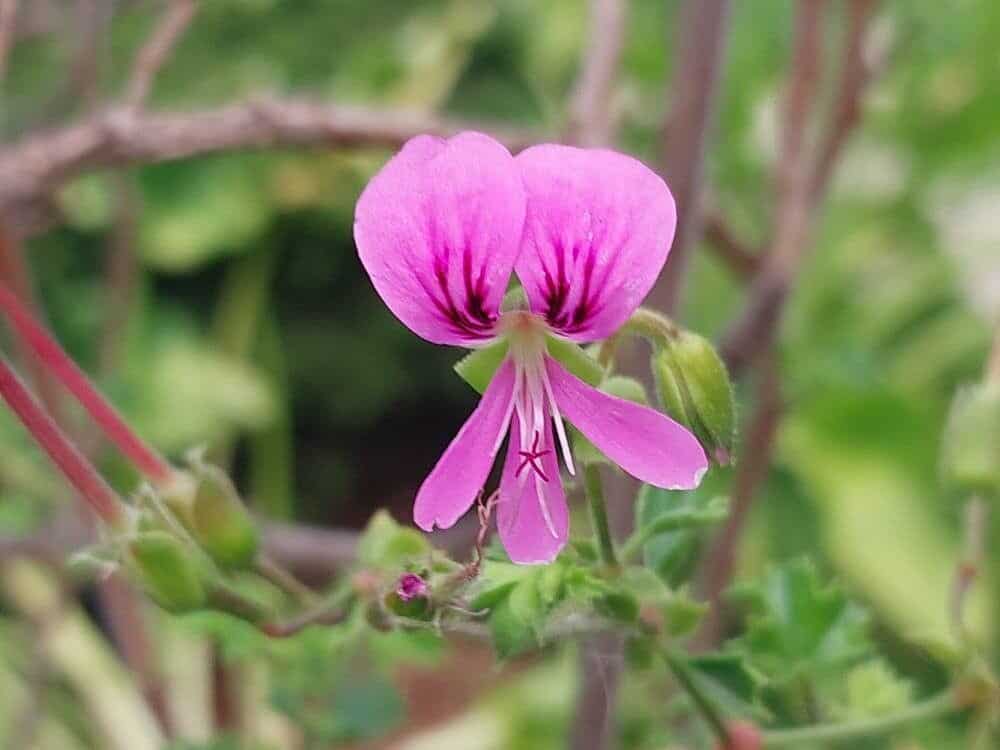
The world of geraniums extends far beyond the familiar red blooms gracing window boxes. One such fascinating species, the Pelargonium englerianum, captures attention with its succulent leaves and delicate white to pale pink flowers. Native to the Eastern Cape of South Africa, this unique geranium, while not as common as its zonal and ivy counterparts, offers a captivating presence in any collection.
If you’re lucky enough to own a Pelargonium englerianum or are considering adding one to your space, you’re probably wondering about the best ways to propagate this beauty. Good news! This article delves into the secrets of successfully multiplying your Pelargonium englerianum so you can share its charm with fellow plant enthusiasts.
Two Paths to Propagation: Cuttings vs. Seeds
When it comes to propagating Pelargonium englerianum, you have two primary options:
Stem Cuttings: The most popular and reliable method, offering quicker results and preserving the parent plant’s characteristics.
- Seeds: A viable option if you’re patient and enjoy the journey of growing from seed, though it may not always yield exact replicas of the parent plant.
Mastering the Art of Stem Cuttings:
Let’s explore the preferred method of stem cuttings with a step-by-step guide:
1. Preparation is Key:
- Timing: Spring and early summer offer the ideal conditions for successful rooting, as the plant is actively growing.
- Tools: Gather a sharp, sterile knife or pruning shears, a small pot, and a well-draining propagation mix (a blend of perlite and vermiculite works well).
2. Taking the Cutting:
- Select a healthy, non-flowering stem, ideally around 3-4 inches long.
- Make a clean cut just below a leaf node (the point where a leaf grows from the stem).
- Remove the lower leaves, leaving 2-3 leaves at the top.
3. Encouraging Root Development:
- Dip the cut end of the stem in rooting hormone (optional, but recommended for faster and more reliable rooting).
- Gently insert the cutting into the prepared pot with the propagation mix, ensuring the leaf nodes where you removed the leaves are buried.
- Water the cutting lightly.
4. Creating the Ideal Environment:
- Place the pot in a bright location with indirect sunlight.
- Maintain moderate humidity by covering the pot with a clear plastic bag or using a humidity dome.
- Water sparingly, keeping the soil lightly moist but not soggy.
5. Patience is Rewarded:
- Rooting typically takes about 4-6 weeks. You can gently tug on the cutting to check for resistance, indicating root development.
- Once roots are established, gradually acclimate the cutting to normal humidity levels before transplanting into a larger pot with well-draining soil.
Exploring the World of Seeds:
- Sourcing Seeds: You can harvest seeds from your Pelargonium englerianum (if it produces them) or purchase them from reputable suppliers.
- Sowing the Seeds: Sow seeds in late winter or early spring. Surface sow them on a seed starting mix, lightly pressing them down.
- Germination: Keep the soil consistently moist and provide warmth (around 70-75°F). Germination can take anywhere from a few weeks to a few months.
- Transplanting: Once seedlings have a few true leaves, transplant them into individual pots.
A Final Word:
Propagating Pelargonium englerianum, whether from cuttings or seeds, is a rewarding experience. By following these guidelines and arming yourself with patience, you’ll soon have a thriving collection of these unique geraniums to enjoy for years to come! Happy propagating!