From Tiny Seed to Lush Landscape: Propagating Persicaria Strigosa, the Plant with a Punch
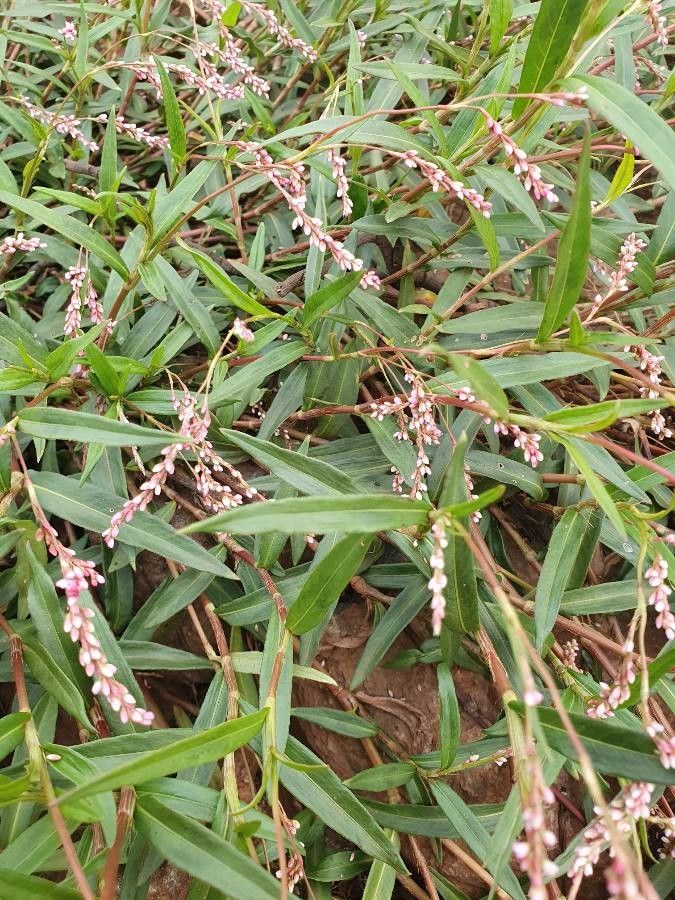
Persicaria strigosa, also known as “Pink Knotweed” or “Spotted Lady’s Thumb,” is a beautiful and vigorous plant that adds a splash of vibrant color to any garden. But did you know that you can effortlessly expand your own collection of this attractive plant? This article will guide you through the fascinating world of propagation, teaching you how to bring new life to Persicaria strigosa from seed and cuttings.
Seeds of Hope:
The most common method of propagating Persicaria strigosa is through seed. These tiny seeds are dispersed by wind and water, allowing the plant to colonize new areas readily. To start your own journey with seed propagation, follow these steps:
- Collect Seeds: Locate ripe seed pods on your mature Persicaria strigosa plants. These pods will be brown and dry, often bursting open to reveal the tiny black seeds.
- Prepare the Seedbed: Choose a pot or tray with well-draining soil. Lightly dampen the soil to ensure a consistent moisture level for germination.
- Sowing Seeds: Sprinkle the seeds directly on the surface of the soil, gently pressing them in but not burying them too deeply.
- Germination Conditions: Provide a warm and humid environment for the seeds. Cover the pot or tray with a clear plastic dome or wrap to trap moisture. Keep the soil moist but not soggy.
- Patience is Key: Germination can take a few weeks. Don’t give up hope! Once you see tiny seedlings poking through the surface, gradually introduce them to the outdoors, hardening them off before transplanting them into larger pots or your garden.
Taking Cuttings for Quick Results:
Another effective way to propagate Persicaria strigosa is through cuttings. This method allows you to quickly establish new plants from your existing stock.
- Select Healthy Stems: Choose healthy, non-flowering stems that are at least 6 inches long. Use sharp, sanitized shears or a knife to make a clean cut just below a leaf node.
- Prepare the Cutting: Remove the lower leaves from the stem, leaving a few leaves at the top. The cut end of the stem is the area that will develop roots, so it’s important to remove any leaves that might rot below the soil line.
- Rooting Medium: You can use a mixture of potting soil, peat moss, or vermiculite. Insert the cut end of the stem into the rooting medium, making sure it’s upright and stable.
- Maintaining Moisture and Humidity: Keep the rooting medium moist, but not waterlogged. Cover the potted cuttings with a plastic bag or dome to create a humid environment. Direct sunlight can be detrimental, so choose a shady spot.
- New Growth Indicates Success: In a few weeks, you should see new growth emerging from the cuttings, indicating that they have successfully rooted. Once the cuttings are well-established, you can transplant them into larger pots or directly into your garden.
Beyond the Basics:
- Persicaria strigosa can be grown in a variety of conditions, but it prefers a sunny or partially shaded location with well-drained soil.
- This plant is relatively drought-tolerant but benefits from regular watering, especially during hot, dry periods.
- Persicaria strigosa is an excellent choice for attracting pollinators and butterflies to your garden.
- Be aware that this plant can spread aggressively, so choose your planting site accordingly.
Whether you’re a seasoned gardener or a beginner, propagating Persicaria strigosa is a rewarding experience that allows you to create a beautiful, thriving garden. With these simple steps, you can easily multiply your plants and share the beauty of this vibrant species with others. So, what are you waiting for? Start experimenting with seed and cuttings, and soon you’ll have a vibrant, colorful collection of Persicaria strigosa to enjoy.