Whispers in the Sand: Propagating the Hardy Petalidium Canescens
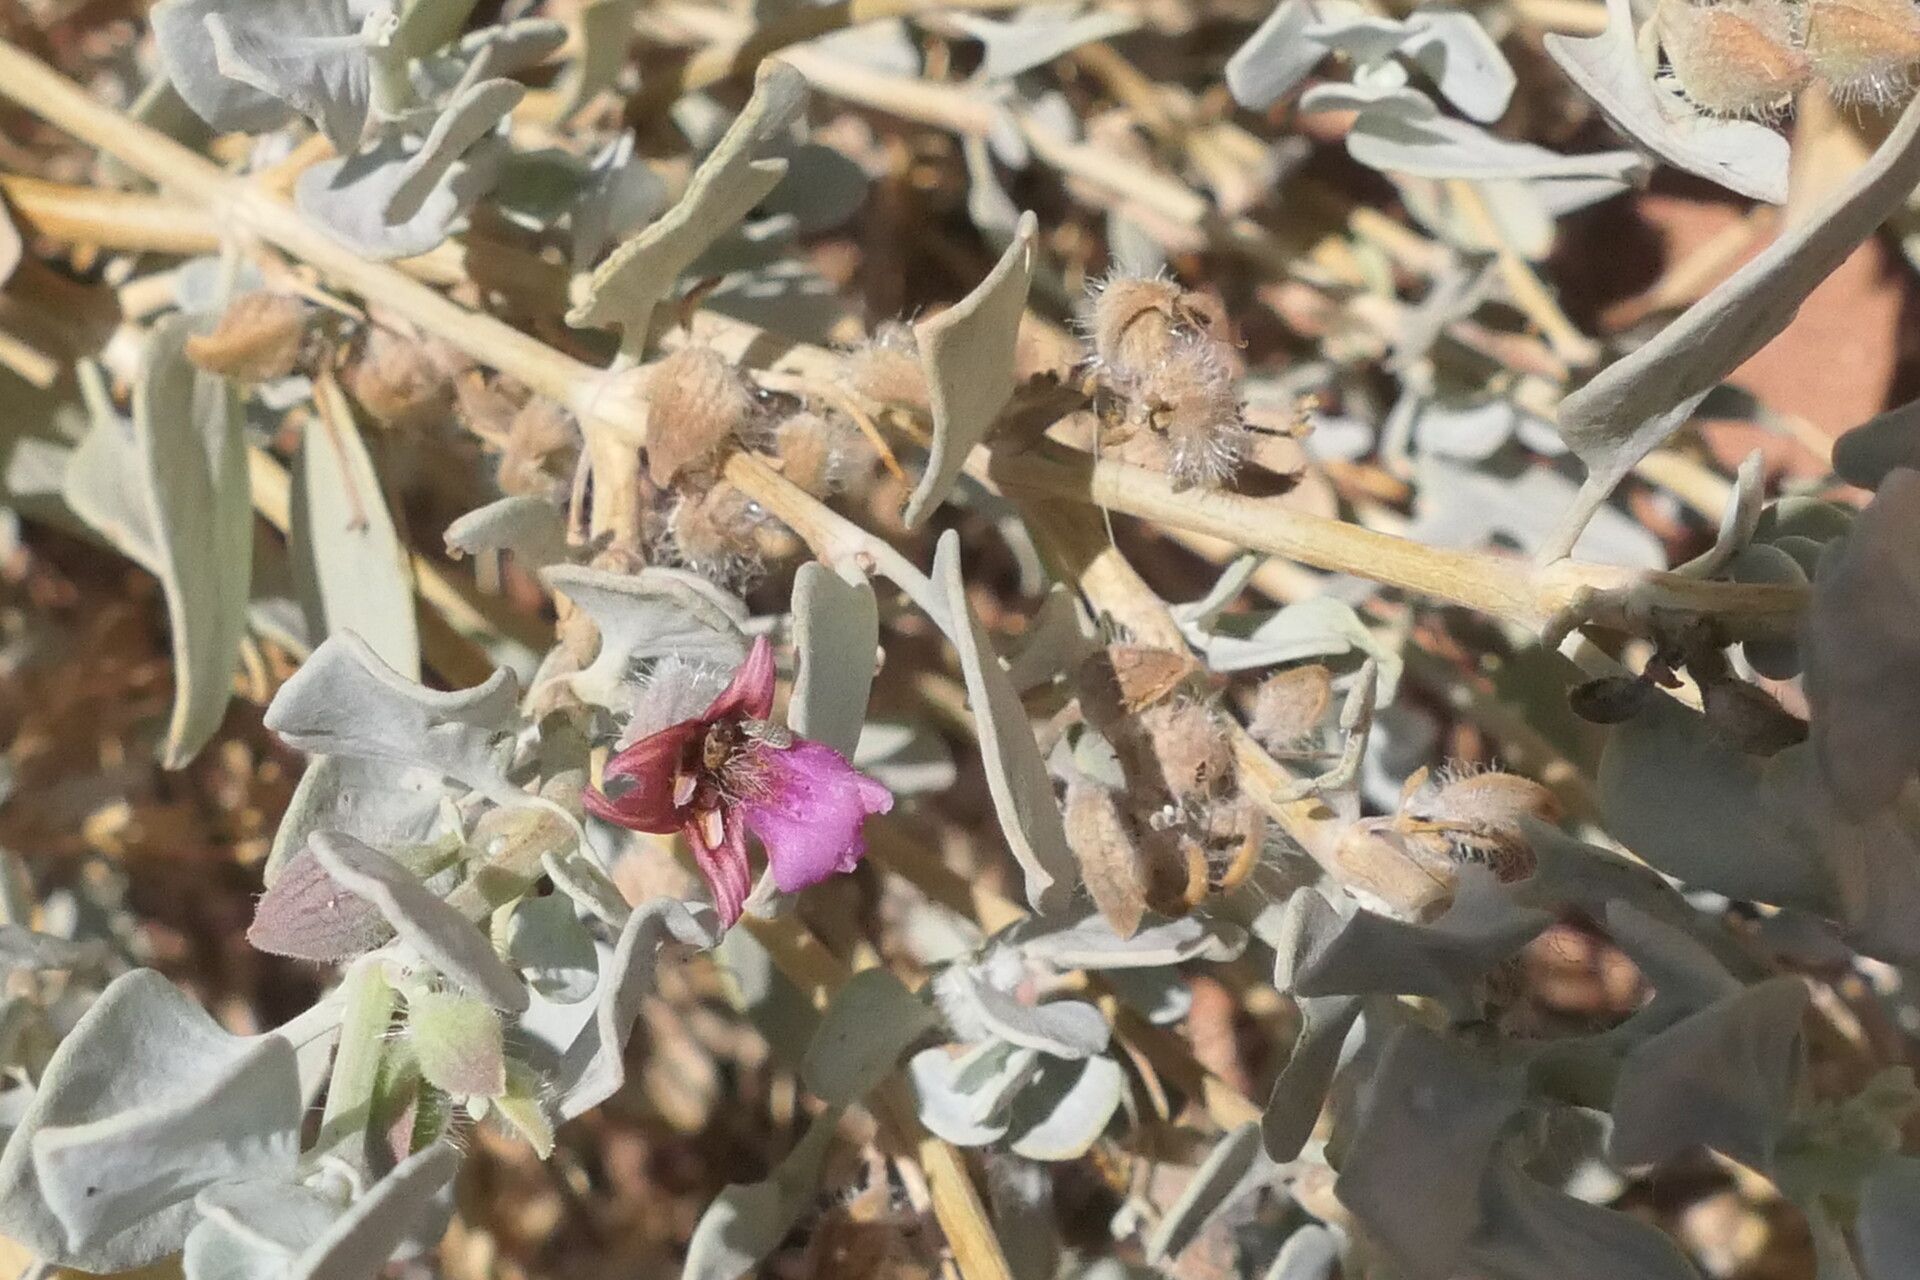
The Petalidium canescens, with its delicate purple blooms and silvery-green foliage, brings a whisper of the desert to any garden. But this South African beauty isn’t just another pretty face. Nicknamed the “Whispering Bells” for the soft rustling sound its papery seed pods make in the wind, this plant is surprisingly hardy and incredibly rewarding to propagate.
If you’re ready to welcome more of these enchanting plants into your life, you’ve come to the right place. This guide delves into the two most effective methods for propagating Petalidium canescens.
Method 1: Embracing the Power of Seeds
For those who enjoy the satisfaction of nurturing a plant from its very beginning, seed propagation is the way to go.
- Timing is key: Sow your seeds in late winter or early spring, providing them with ample time to establish themselves before the heat of summer arrives.
- Prepare your seedbed: Use a well-draining seed starting mix and moisten it thoroughly. Petalidium canescens thrives in sandy soils, so incorporating some coarse sand into your mix can be beneficial.
- Sow with care: Scatter the seeds on the surface and lightly press them into the soil. Don’t bury them too deep, as light aids germination.
- Warmth and humidity: Place the seed tray in a warm, bright location, out of direct sunlight. A heating mat can be used to ensure optimal germination temperatures (around 70-75°F). Mist the soil regularly to maintain humidity, or consider using a propagator lid.
- Patience is a virtue: Germination can take anywhere from 14 to 28 days. Be patient and continue to provide consistent moisture and warmth.
Method 2: Taking the Shortcut with Cuttings
If you’re looking for quicker results and a higher success rate, propagating from cuttings might be more your style.
- Choose your weapons wisely: In spring or early summer, select healthy, non-flowering stems around 3-4 inches long.
- Make a clean break: Use a sharp, sterilized knife or pruning shears to make a clean cut just below a leaf node.
- Hormone boost (optional): While not strictly necessary, dipping the cut end in rooting hormone can speed up the process and improve success rates.
- Potting up your cuttings: Insert the cut end into a well-draining potting mix, burying at least one leaf node. Water gently.
- Create a humid environment: Cover the pot with a clear plastic bag or use a propagator to maintain high humidity. Place in a bright location, but out of direct sunlight.
- Root development: Keep the soil consistently moist and be patient. In 4-6 weeks, your cuttings should develop roots and start showing new growth.
Caring for your Propagated Treasures
Once your seedlings or cuttings have developed a strong root system and show significant new growth, it’s time for transplantation. Choose individual pots or a sunny spot in your garden with well-draining soil. Water regularly, especially during the first year, allowing the soil to dry slightly between waterings.
With a little bit of effort and a dash of patience, you’ll be rewarded with a thriving collection of these whimsical beauties. The gentle whispers of the Petalidium canescens, a testament to your successful propagation, will soon be serenading your garden.