Untangling the Mystery: How to Propagate the Enchanting Phacelia Mutabilis
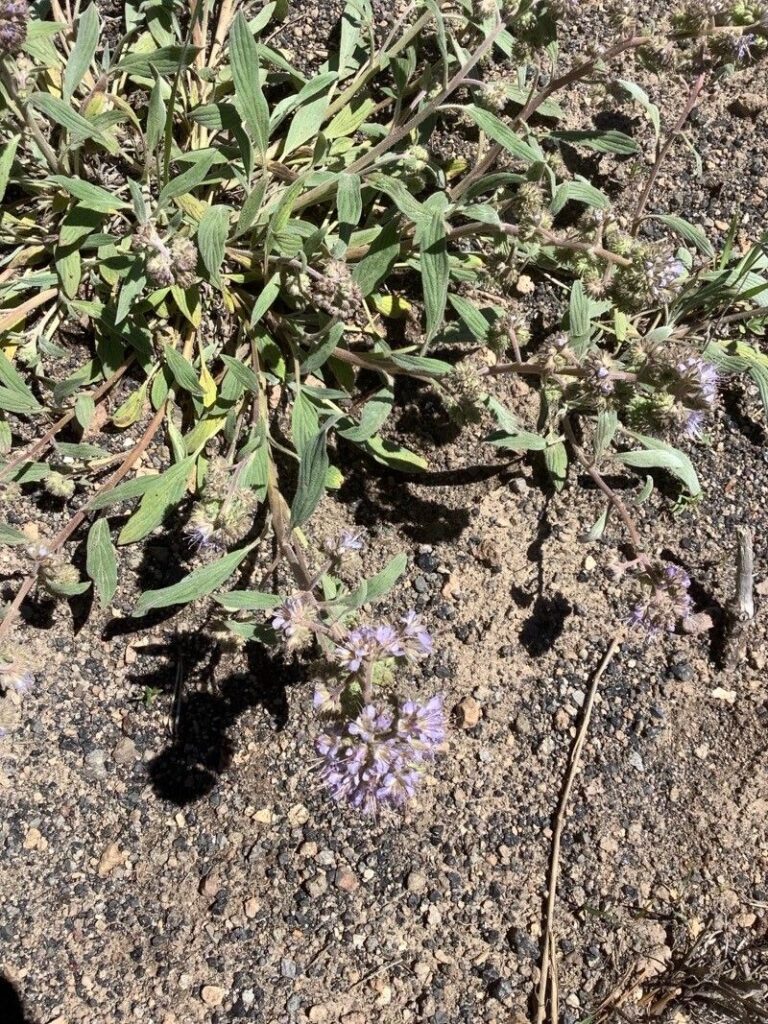
The Phacelia mutabilis, also known as the Changeable Phacelia, is a captivating wildflower native to California. With its captivating lavender blooms and delicate fern-like foliage, it effortlessly brightens any garden space. While readily available in nurseries, there’s a special satisfaction in propagating your own Phacelia mutabilis, and it’s easier than you might think!
This guide will delve into the two main methods of propagating this enchanting plant: seeds and cuttings.
Method 1: Seed Starting Your Phacelia Dreams
Propagating Phacelia mutabilis from seed is the most common and arguably easiest method.
Here’s what you’ll need:
- Phacelia mutabilis seeds: Source them from a reputable nursery or collect them from existing plants in late summer.
- Seed starting mix: Opt for a well-draining mix.
- Seed trays or small pots: Choose containers with drainage holes.
- Spray bottle: For gentle watering.
- Plastic wrap or humidity dome: To create a warm, humid environment.
Step-by-step guide:
- Sow the seeds: Sprinkle the seeds over the surface of your moistened seed starting mix. Don’t bury them – these seeds need light to germinate.
- Mist generously: Use your spray bottle to mist the seeds and surrounding soil.
- Create a humid environment: Cover the tray with plastic wrap or a humidity dome to trap moisture and warmth.
- Provide adequate light: Place the tray in a bright location, but avoid direct sunlight.
- Keep the soil moist: Check the soil daily and mist it whenever the surface feels dry.
- Be patient: Germination typically takes 10-14 days.
- Thinning out: Once the seedlings have developed a few sets of true leaves, thin them out, leaving the strongest one in each pot.
- Transplanting time: When the seedlings are a few inches tall and all danger of frost has passed, transplant them outdoors into their permanent location.
Method 2: Cuttings – A Quicker Route to Blooms
Taking cuttings from existing Phacelia mutabilis plants allows for faster blooming compared to starting from seed.
What you’ll need:
- Sharp, sterilized pruning shears or scissors
- Rooting hormone (optional, but recommended)
- Small pots filled with moist seed starting mix
Step-by-step guide:
- Select healthy stems: Choose non-flowering stems that are about 3-4 inches long.
- Make clean cuts: Cut just below a leaf node at a 45-degree angle.
- Remove lower leaves: Strip away the bottom third of the cutting’s leaves to prevent rotting.
- Apply rooting hormone (optional): Dip the cut end of the stem in rooting hormone to encourage faster root development.
- Plant the cuttings: Insert the prepared cuttings into the moist seed starting mix, burying at least one node.
- Water gently: Thoroughly water the cuttings.
- Provide humidity: Cover the pots with a plastic bag or humidity dome to retain moisture.
- Place in indirect light: Keep the cuttings in a bright location, but out of direct sunlight.
- Be patient: Roots should develop within a few weeks. You can check for root development by gently tugging on the cutting. If you feel resistance, roots have likely formed.
- Transplant outdoors: Once the cuttings are well-rooted and all danger of frost has passed, transplant them to their permanent location in your garden.
Tips for Success:
- Phacelia mutabilis thrives in full sun to partial shade and well-drained soil.
- Water regularly, especially during dry periods, but avoid overwatering.
- Consider pinching back the tips of young plants to encourage bushier growth and more blooms.
- Deadhead spent flowers to prolong the blooming period.
Propagating your own Phacelia mutabilis is a rewarding endeavor, allowing you to expand your flowerbeds with these enchanting beauties, attracting pollinators, and adding vibrant color to your garden space. So why not give it a try? The rewards are well worth the effort!