Unlock the Secrets of the Orange Velvet: Propagating Philodendron Aurantiifolium
If you’re captivated by the velvety charm of the Philodendron aurantiifolium, with its stunning orange-tinged foliage, you’re not alone! This popular houseplant is a favorite among many, but did you know that you can easily create new plants from cuttings? Propagating your Philodendron aurantiifolium is a rewarding experience, allowing you to expand your greenery and share the beauty with friends.
The Power of Propagation
Propagation is essentially the process of creating new plants from existing ones. This method is both cost-effective and allows you to expand your collection without spending a fortune on new purchases. It’s also a great way to share your love of plants with others!
Methods for Propagating Philodendron Aurantiifolium
There are two primary methods for propagating this captivating philodendron:
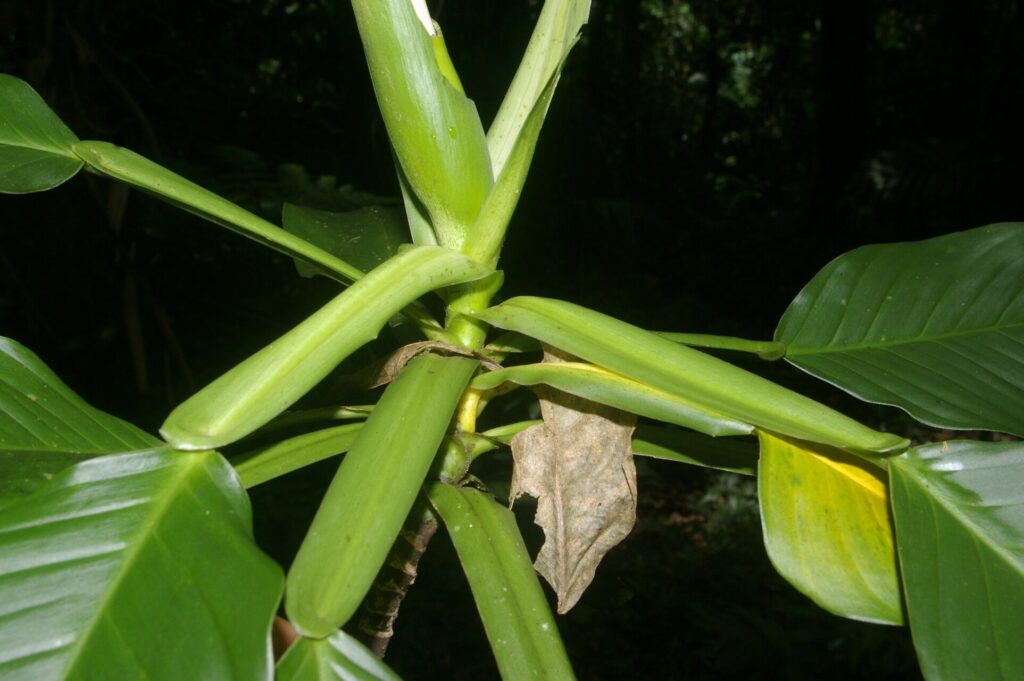
- Stem Cuttings: This is arguably the most common and straightforward method. It involves taking a piece of healthy stem with at least two nodes (leaf junctions). The nodes contain the plant’s growth points, essential for root development.
-
Air Layering: This technique is slightly more complex and involves encouraging roots to develop directly on the stem while it’s still attached to the parent plant. It’s particularly useful for hard-to-root species or those where stem cuttings tend to be less successful.
Let’s Get Started: Stem Cuttings
- Gathering the Necessary Ingredients: You’ll need sharp pruning shears or a clean knife, a rooting hormone (optional but recommended), and a clear plastic bag or a container with a lid.
- Selecting a Cutting: Choose a healthy stem with at least two nodes. Cut just below the node, leaving a few inches of stem. Remove any leaves that will be submerged below the waterline.
- Preparing the Cutting: To boost rooting success, dip the cut end of the stem into a rooting hormone powder or solution. This provides extra nutrients and growth stimulants.
- Water Propagation Method: Fill a clean glass or jar with water, ensuring it covers at least half of the stem. Place the cutting in the water, making sure the nodes are immersed. Change the water every few days to prevent bacteria growth.
- Soilless Propagation Method: Prepare a small pot with a well-draining potting mix. Make a small hole with your finger and insert the cut end of the stem. Cover the base of the cutting with soil and lightly water.
- Providing Optimal Conditions: Place the cutting in a warm, humid environment, ensuring the soil doesn’t dry out completely. Indirect sunlight is best.
-
Patience is Key: Roots generally develop within a few weeks to a month. Check periodically for root growth and transfer to a larger pot once the roots are established.
Time for Air Layering
- Selecting a Suitable Stem: Choose a stem that is flexible and has several nodes.
- Making an Incision: Using a sharp knife, make a small incision around the stem, just below a node.
- Encouraging Root Growth: Wrap the wounded area with moist sphagnum moss and secure it tightly with plastic wrap or aluminum foil.
- Maintaining Moisture: Keep the moss moist by regularly spraying it with water.
- Patience Pays Off: It might take several months for roots to develop with this method. Once the roots are well-established, cut the stem below the roots, and plant it in a pot.
Important Considerations
- Choose a Sterile Environment: Always use clean tools and sterilize them with alcohol to prevent diseases and infection.
- Provide Ample Light: Give your cuttings or air layers bright, indirect sunlight to encourage healthy growth.
- Stay Patient: Propagation takes time. Don’t be discouraged if it doesn’t happen overnight.
By following these simple steps and embracing the magic of propagation, you’ll soon be able to enjoy the beauty and lushness of multiple Philodendron aurantiifolium plants. Share your newfound knowledge with fellow plant enthusiasts and watch your collection flourish!