Unveiling the Secrets to Multiplying Your Philodendron Auriculatum: A Propagation Guide
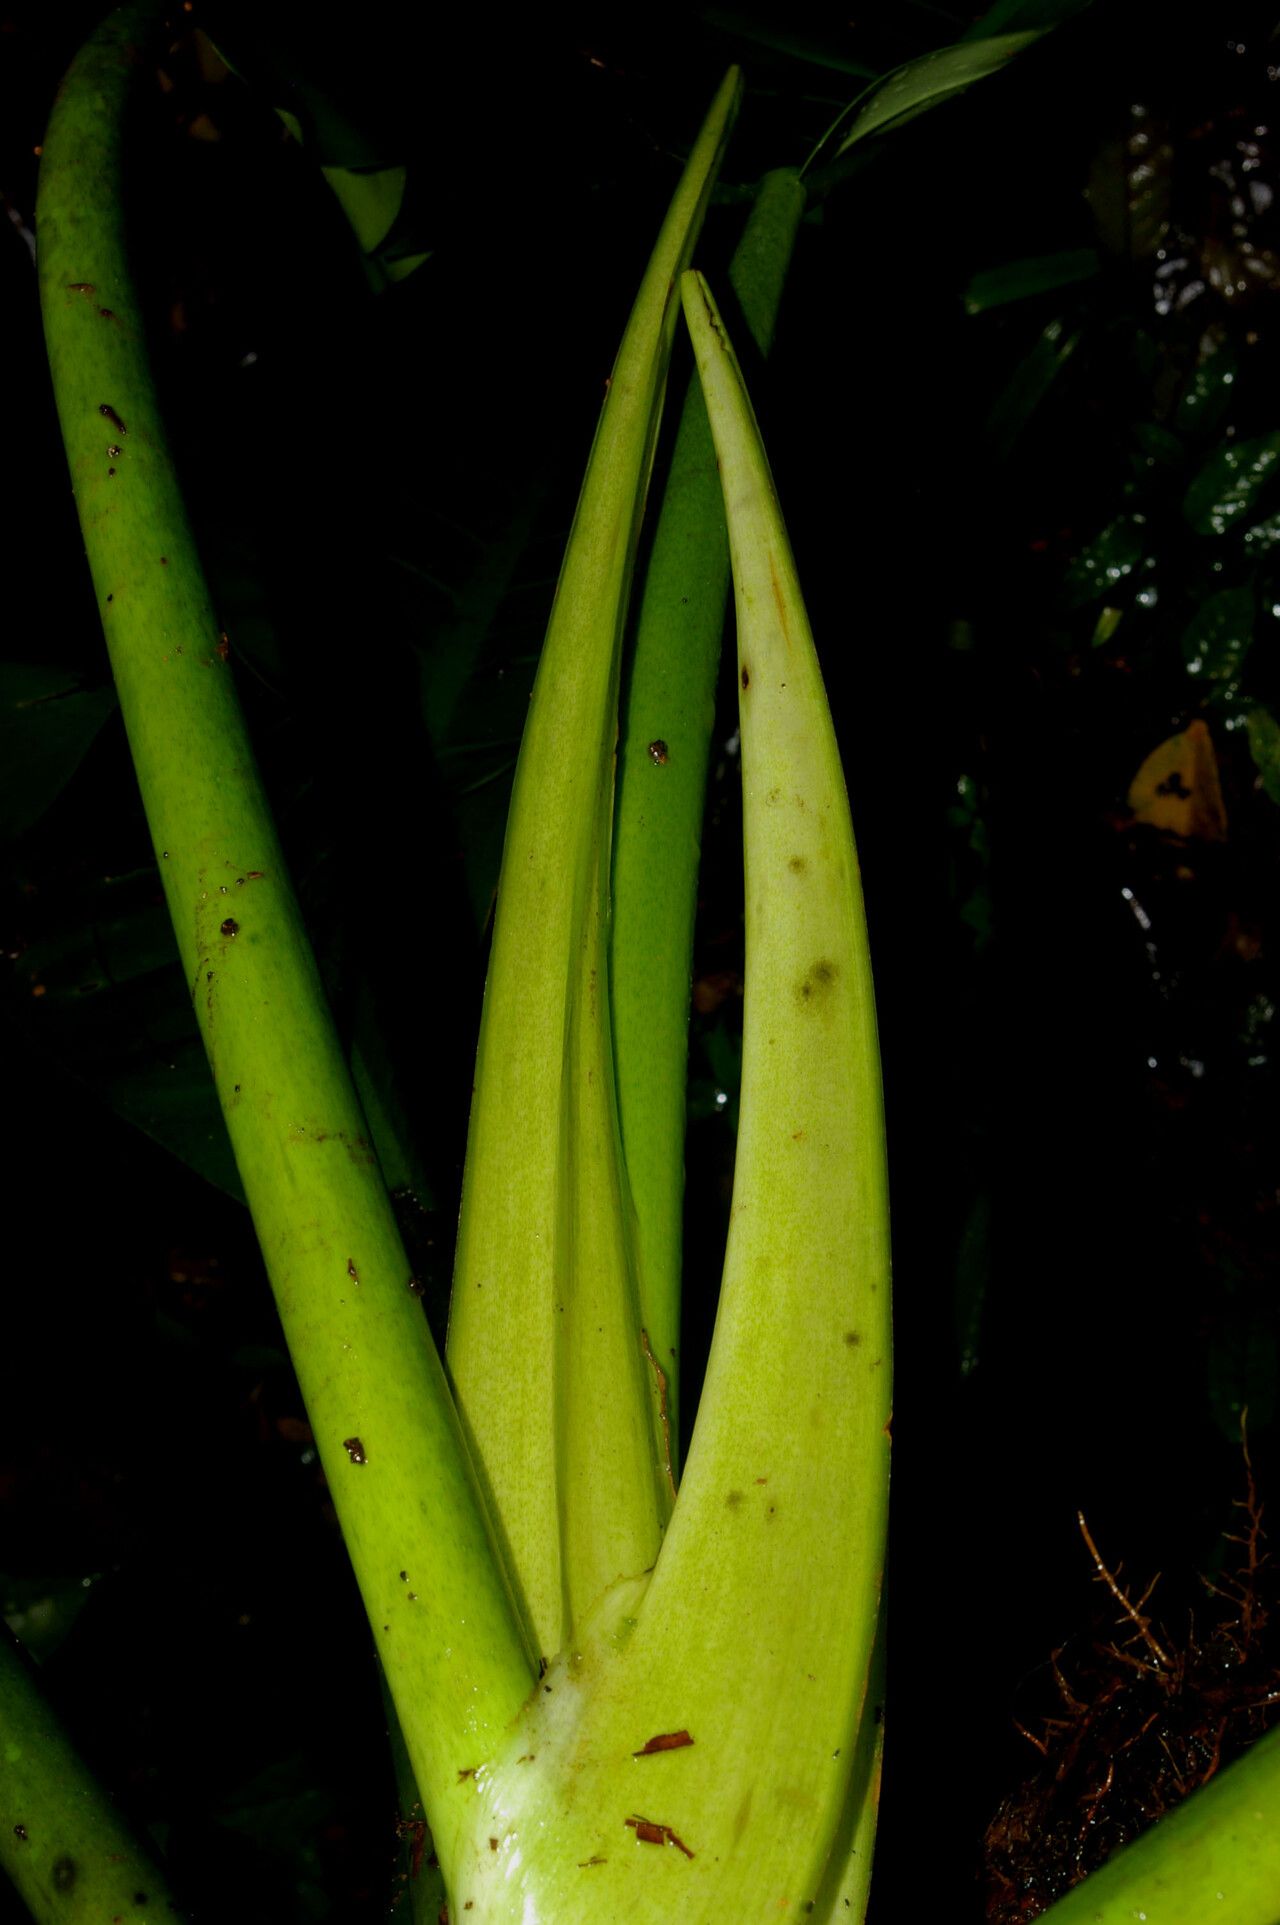
The Philodendron Auriculatum, with its captivating, elongated leaves that resemble outstretched hands, is a prized possession for any plant lover. And what could be more satisfying than expanding your plant family by propagating your own Philodendron Auriculatum? Luckily, this tropical beauty is relatively easy to propagate, allowing even novice gardeners to multiply their leafy companions. Let’s delve into the methods that will help you achieve propagation success.
Understanding the Best Time to Propagate
While you can technically propagate Philodendron Auriculatum any time of year, mimicking its natural growing season will provide optimal results. Spring and early summer, when the plant is actively producing new growth, is the ideal window for propagation.
Methods for Philodendron Auriculatum Propagation
1. Stem Cuttings in Water:
This is the most common and arguably easiest method for propagating your Philodendron Auriculatum.
* **Take the Cutting:** Using a clean, sharp knife or pruning shears, take a stem cutting about 4-6 inches long. Ensure your cutting includes at least one node (a small bump on the stem where leaves and roots emerge) and ideally, 2-3 leaves.
* **Prepare the Cutting:** Remove the bottom leaves closest to the cut end, leaving 2-3 leaves at the top.
* **Submerge in Water:** Place the cutting in a clear glass or jar filled with fresh water, ensuring the node is submerged.
* **Provide Light and Change Water:** Place the cutting in a spot with bright, indirect light, changing the water every 2-3 days to prevent bacterial growth.
* **Transplant to Soil:** After a few weeks, when roots are about 1-2 inches long, carefully transplant your cutting into a well-draining potting mix.
2. Stem Cuttings in Soil:
While slightly trickier, propagating directly in soil can be faster and less stressful on the cutting.
* **Prepare the Cutting:** Follow the same steps as for a water propagation.
* **Prepare the Potting Medium:** Use a well-draining potting mix, ideally one formulated for aroids or tropical plants. Moisten the mix before planting.
* **Plant the Cutting:** Make a small hole in the potting mix and carefully insert the bottom node of the cutting. Gently firm the soil around the cutting to secure it.
* **Create a Humid Environment:** Cover the pot loosely with a plastic bag or humidity dome to trap moisture and encourage root growth.
* **Transplant (if necessary):** Once new growth appears, your cutting has rooted and you can transplant it into a larger pot if desired.
Tips for Propagation Success:
- Sharp and Clean Tools: Using clean, sharp tools ensures a clean cut that minimizes the risk of infection.
- Choose Healthy Stems: Select stems that are firm, healthy, and free from any pests or diseases.
- Be Patient: Propagation takes time. Depending on the method, it can take anywhere from a few weeks to a couple of months for roots to develop.
Conclusion:
Propagating your Philodendron Auriculatum is a rewarding experience that allows you to expand your plant collection while learning about the fascinating world of plant reproduction. With a little patience and the right techniques, you can confidently multiply your leafy companions and enjoy their captivating beauty for years to come.