From Seed to Bloom: The Simple Charm of Propagating Phlomis herba-venti
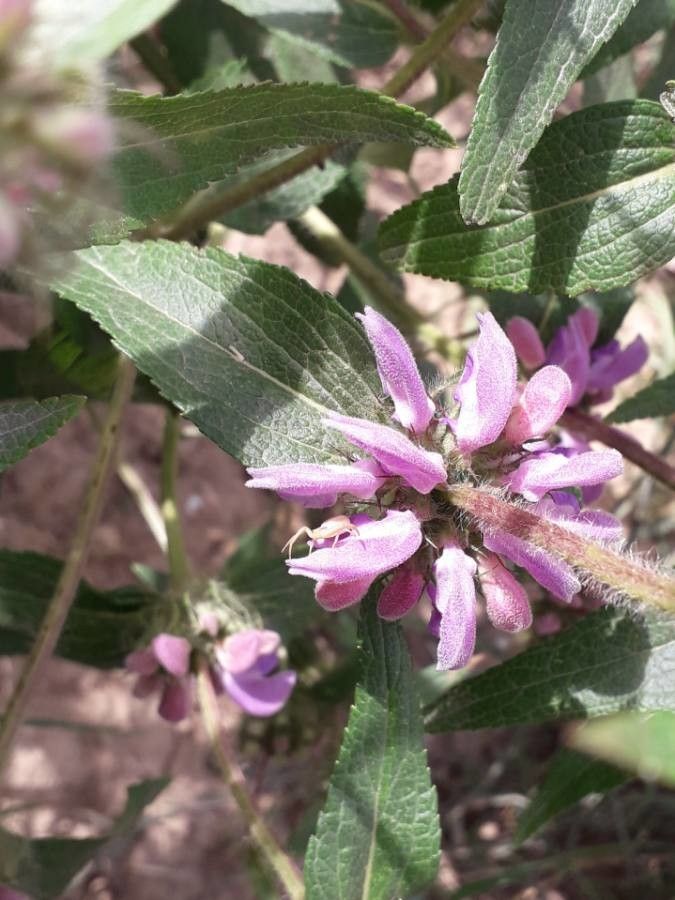
Phlomis herba-venti, also known as the “Jerusalem Sage,” is a captivating plant with striking, velvety foliage and charming flowers. If you’re itching to add this beauty to your garden, propagation offers a rewarding and cost-effective way to expand your collection. Let’s explore the methods for growing new Phlomis herba-venti from seed and cuttings, unlocking the secrets to vibrant blooms year after year!
From Seed to Sprout:
Starting Phlomis herba-venti from seed is a fulfilling journey. Here’s a step-by-step guide to ensure success:
- Timing is Key: Sow seeds indoors around 6-8 weeks before the last frost. This provides ample time for seedlings to establish before being transplanted outdoors.
- Prepare the Seedbed: Fill seed trays or pots with a well-draining seed starting mix. Water thoroughly, allowing excess water to drain.
- Sow the Seeds: Lightly press the seeds onto the surface of the seed starting mix, spacing them about an inch apart. Do not bury the seeds as they need light to germinate.
- Maintain Moisture and Warmth: Cover the trays with a clear plastic dome or wrap to create a humid environment. Place the seeds in a warm location where they receive indirect sunlight.
- Patience Pays Off: Germination typically takes 2-4 weeks. Once seedlings emerge, remove the plastic cover and ensure the soil remains consistently moist but not soggy.
- Hardening Off: Before planting seedlings outdoors, acclimate them to the elements by gradually introducing them to the sun and wind. Start with an hour of sun exposure each day, gradually increasing the time over a week.
- Planting Time: Once the threat of frost has passed, transplant seedlings into the garden, spacing them 1-2 feet apart. Keep the surrounding soil moist until they are well established.
Taking Cuttings for Quick Growth:
Propagation from cuttings offers a faster way to create new Phlomis herba-venti plants. Here’s how to get it done:
- Select the Right Cutting: Choose a healthy, non-flowering stem with at least 4-6 inches of growth.
- Make the Cut: Using a sharp knife or pruning shears, make a clean cut just below a node, which is a point where leaves grow from the stem.
- Prepare the Cutting: Remove the lower leaves from the stem, leaving only a few at the top. Dip the cut end in a rooting hormone powder or solution.
- Plant the Cutting: Insert the treated cutting into a pot filled with a well-draining potting mix. Keep the soil moist.
- Provide Ideal Conditions: Place the pot in a bright location with indirect sunlight and ensure consistent moisture, but avoid overwatering.
- Patience Is Key: Rooted cuttings typically emerge in 4-6 weeks. Once roots have developed, you can transplant Phlomis herba-venti into the garden.
Tips for Success:
- Phlomis herba-venti prefers a sunny location with well-draining soil.
- Regularly water your Phlomis herba-venti, especially during hot and dry weather.
- Prune after blooming to encourage bushier growth and promote future flowering.
- With proper care, Phlomis herba-venti can thrive for many years, offering a captivating display of beauty in your garden.
Whether you choose to propagate from seed or cuttings, embarking on this plant journey is a delight for any garden enthusiast. The satisfaction of nurturing new life from Phlomis herba-venti seeds or cuttings is an enriching experience, enriching your garden with elegant blooms and a touch of magic.