Unlocking the Secrets of Phlomis kotschyana: Propagation Made Easy
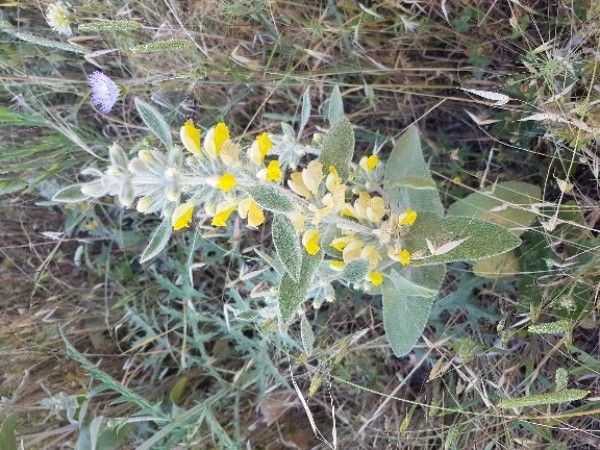
The Phlomis kotschyana, with its striking golden-yellow blooms and velvety silver foliage, is a captivating addition to any garden. But what if you could enjoy multiple plants of this beauty without spending a fortune on new ones? The answer lies in propagation! This fascinating process allows gardeners to create new plants from existing ones, expanding their plant collection and potentially saving money.
Let’s dive into the world of Phlomis kotschyana propagation, uncovering the secrets to success:
Seeds: A Journey from Tiny Seed to Blooming Plant
If you’re patient and enjoy the thrill of watching life emerge, seed propagation is an engaging option for Phlomis kotschyana. Here’s your roadmap:
- Harvest the seeds: Once your Phlomis kotschyana produces its beautiful blooms, wait for the seed capsules to turn brown and dry. Carefully collect the seeds from these capsules.
- Start indoors: Sow your seeds in seed trays or pots filled with a well-draining seed-starting mix. Gently press the seeds onto the surface, covering them with a thin layer of soil.
- Moisture and warmth: Keep the soil consistently moist but not waterlogged. Place the trays in a warm, sunny location or under a grow light. Seedlings typically emerge in a couple of weeks.
- Hardening off and transplanting: Once your seedlings have developed a few true leaves, gradually acclimate them to outdoor conditions by exposing them to increasing amounts of sunlight and wind. Once they’re strong enough, transplant them into your garden.
Cuttings: From Snip to Thriving Plant
For faster results and a little less patience, consider propagating your Phlomis kotschyana from cuttings:
- Choose your cuttings: Select healthy, non-flowering stems from your Phlomis. Cut them into sections about 4-6 inches long, making sure each cutting has at least two sets of leaves.
- Prepare your cuttings: Remove the lower leaves and dip the cut ends in rooting hormone to stimulate root growth.
- Potting and care: Pot your cuttings into a well-draining potting mix, ensuring the bottom node (where leaves have been removed) is buried in the soil. Water thoroughly and keep the cuttings in a bright, warm spot, but out of direct sunlight.
- Patience and perseverance: Be patient! Rooted cuttings usually emerge in about 4-6 weeks. Keep the soil consistently moist and let the cuttings develop their own root system. Once they’re well-established, transplant them outdoors.
Division: Sharing the Joy of Phlomis
For established Phlomis kotschyana plants, division is an excellent way to quickly multiply your stock.
- The right time: Opt for division in spring or early fall when your plants are actively growing.
- Dig it up: Gently dig up the Phlomis plant, making sure to avoid damaging the root system.
- Separate and replant: Using a sharp knife or spade, divide the plant into multiple sections, each containing healthy roots and foliage. Replant these divisions into well-prepared beds or containers, watering them thoroughly.
Final Tips for Success:
- Choose the right season: Spring and early fall often provide the ideal conditions for propagation.
- Sterilize your tools: Clean your tools before and after propagation to prevent the spread of disease.
- Promote drainage: Ensure your planting medium is well-draining to prevent root rot.
- Don’t overcrowd: Give newly planted Phlomis ample space to thrive.
Propagation isn’t just multiplying plants; it’s a rewarding process that deepens our connection with the natural world. So, gather your seeds, cuttings, or established plants, and embark on your propagation journey. Soon, you’ll be surrounded by the beauty and joy of multiple Phlomis kotschyana plants, all thanks to your green thumb and a little bit of know-how.