Unlocking the Secrets of Propagation: Grow a Garden Full of Jerusalem Sage
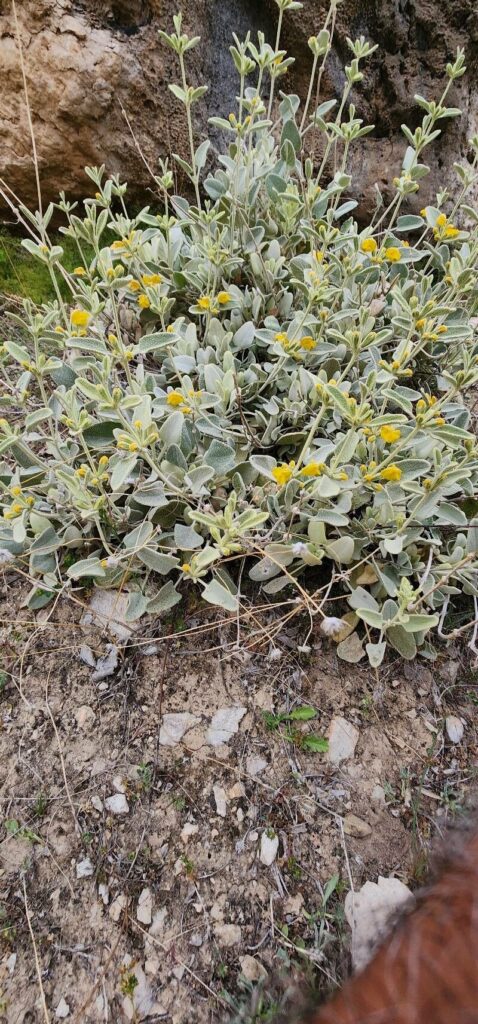
Phlomis olivieri, more affectionately known as Jerusalem sage, is a showstopper in any garden. This sun-loving perennial boasts dramatic, silver-green foliage and towering stems adorned with whorls of bright yellow flowers. While acquiring Jerusalem sage from a nursery is always an option, propagating your own plants is incredibly rewarding and allows you to expand your garden for a fraction of the cost. Let’s explore the two most effective methods:
Method 1: Taking Cuttings
- When and What: The optimal time for taking softwood cuttings is in late spring or early summer, just as new growth emerges. Look for healthy, non-flowering stems and aim for cuttings around 4-6 inches long.
- Making the Cut: Using a sharp, sterilized knife or pruning shears, make a clean cut just below a leaf node. Remove the lower leaves, leaving 2-3 pairs at the top.
- Hormone Power: While not strictly necessary, dipping the cut end in rooting hormone powder can significantly increase your success rate.
- Planting the Cuttings: Fill small pots or a seed tray with a well-draining potting mix. Moisten the mix and create holes for your cuttings using a pencil or your finger. Gently insert the cuttings, ensuring the leaf nodes are below the soil surface.
- Creating a Humid Environment: To encourage rooting, cover the cuttings with a clear plastic bag or place them in a propagator. This will create a warm, humid environment that mimics natural conditions. Mist the cuttings regularly to maintain moisture.
- Patience is Key: Place your cuttings in a warm, bright location out of direct sunlight. Be patient, as rooting can take anywhere from 4-8 weeks. You’ll know they’re ready when you feel resistance when tugging gently on the cuttings.
- Potting Up: Once roots have formed, carefully transplant the cuttings into individual pots filled with a well-draining potting mix.
Method 2: Dividing Established Plants
- Timing is Everything: Early spring or fall is the ideal time to divide established Jerusalem sage plants. This allows them ample time to establish roots before facing extreme temperatures.
- Unearthing the Clump: Carefully dig around the base of the plant, ensuring you don’t damage the roots. Gently lift the entire clump from the ground.
- Division Tactics: Using your hands or a sharp knife, divide the plant into smaller sections, ensuring each section has a healthy amount of roots and shoots.
- Replanting and Watering: Replant the divisions at the same depth they were originally growing, spacing them about 18-24 inches apart. Water them thoroughly after planting.
Caring for Your New Plants:
Whether you’ve propagated through cuttings or division, your young Jerusalem sage plants require similar care:
- Sunlight and Soil: Choose a location with full sun to partial shade and well-draining soil.
- Watering Wisely: Water regularly during the first growing season, allowing the soil to dry slightly between waterings. Once established, Jerusalem sage is relatively drought tolerant.
- Pruning for Success: Deadhead spent flowers to encourage more blooms and maintain a tidy shape.
Propagating your own Phlomis olivieri is a deeply satisfying experience, allowing you to multiply your garden’s beauty while honing your gardening skills. So why not give it a try? With a little patience and care, you’ll soon be enjoying a flourishing tapestry of these stunning plants.