Taming the Turkish Sage: Propagating Phlomis samia for a Bountiful Garden
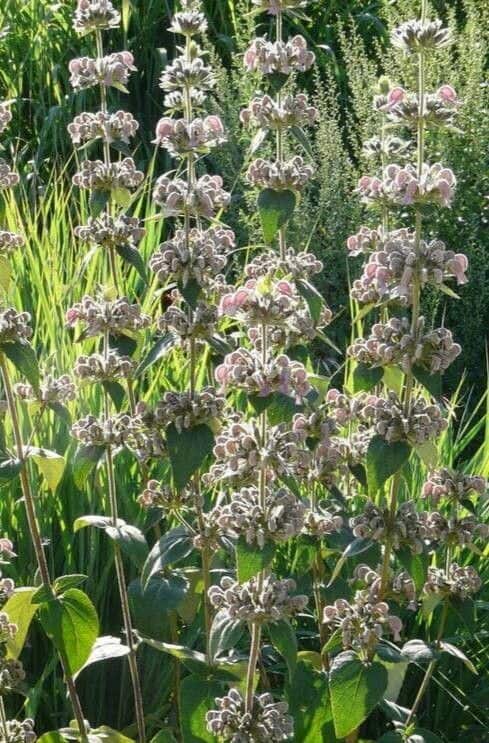
The Phlomis samia, affectionately known as the Turkish Sage or Jerusalem Sage (though not a true sage!), is a captivating plant with its velvety silver leaves and vibrant yellow flower spikes. This Mediterranean beauty brings a touch of exotic charm to any garden, and luckily for us, propagating it isn’t as daunting as you might think!
This guide will walk you through the two main methods of propagating Phlomis samia: taking cuttings and sowing seeds.
Cutting to the Chase: Propagating with Stem Cuttings
Taking cuttings is the most common and arguably easiest way to multiply your Phlomis stock. It ensures you get a genetically identical plant with the same striking characteristics as the parent. Here’s how:
When to Propagate:
- Spring is ideal: New growth is emerging, providing the best chance of success.
- Early fall is possible: Cuttings taken then have time to root before winter dormancy.
Taking the Cutting:
- Select a healthy, non-flowering stem: Aim for a side shoot that is around 4-6 inches long.
- Make a clean cut: Using a sharp, sterilized knife or pruning shears, cut just below a leaf node (the bump where leaves emerge).
- Prepare the cutting: Remove the lower leaves, leaving only 2-3 pairs at the top. This reduces moisture loss.
Rooting the Cutting:
- Hormone boost (optional): Dipping the cut end in rooting hormone powder can encourage faster and healthier root development.
- Planting medium: Use a well-draining mix like a blend of peat moss and perlite.
- Pot and position: Plant the cutting in a small pot, burying the bottom node. Place it in a warm, bright location out of direct sunlight.
- Keep it humid: Cover the pot with a plastic bag or use a propagator to maintain humidity. Mist regularly.
Aftercare:
- Patience is key: Rooting can take several weeks.
- Resist the urge to overwater: The soil should be moist but not soggy.
- Signs of success: New growth indicates successful rooting. Gradually acclimate the cutting to outdoor conditions before planting in the garden.
The Seeds of Success: Propagating from Seed
Starting Phlomis samia from seed can be a rewarding experience, though it requires more patience. Keep in mind that seedlings might not be identical to the parent plant.
When to Sow:
- Start indoors: Begin sowing in late winter (February-March) to give seedlings a head start.
Sowing the Seeds:
- Use a seed starting mix: Choose a well-draining mix.
- Sow thinly: Sprinkle seeds on the surface and lightly press them into the soil.
- Light is key: Phlomis samia seeds need light to germinate, so don’t bury them deep.
- Keep warm and moist: Maintain a temperature of around 65-75°F (18-24°C). Use a heat mat if necessary.
Aftercare:
- Germination takes time: It can be irregular and take anywhere from a few weeks to a couple of months.
- Thinning: Once seedlings have a few sets of true leaves, thin to leave the strongest ones.
- Transplanting: When seedlings are large enough to handle, transplant them into individual pots.
- Harden off before planting: Gradually acclimate seedlings to outdoor conditions before planting them in the garden.
Whether you choose to propagate Phlomis samia from cuttings or seeds, the rewards are plentiful. Soon you’ll be enjoying this stunning plant’s beauty and adding a touch of Mediterranean splendor to your own green haven!