Unleash the Crimson Tide: Propagating Your Very Own Photinia serratifolia
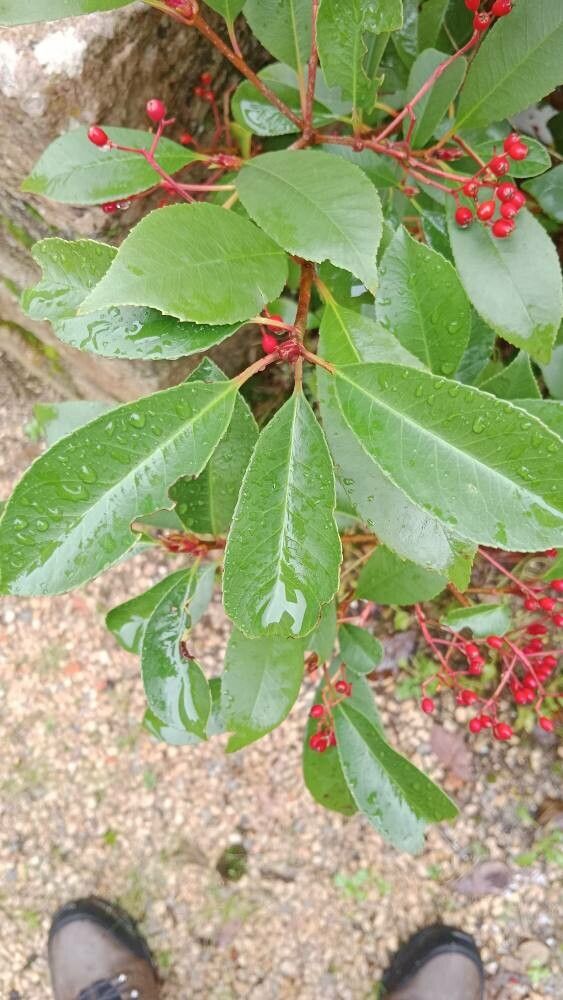
The Photinia serratifolia, also known as the Chinese photinia or red tip photinia, is a sight to behold. Its fiery new growth erupts in a vibrant crimson tide, contrasting beautifully with the established dark green foliage. It’s no wonder gardeners are eager to multiply their stock of this stunning evergreen shrub! If you’re looking to add more of this dramatic plant to your landscape without breaking the bank, propagation is the answer. Let’s dive into the world of propagating Photinia serratifolia.
Understanding the Two Main Methods:
While Photinia serratifolia can be grown from seed, it’s a less reliable method that often results in plants lacking the vibrant foliage color of their parent. For guaranteed success and true-to-type offspring, cuttings are the way to go.
1. Propagation from Cuttings:
- Timing is Everything: The ideal time to take cuttings is during the plant’s active growing season, late spring to early summer, when it’s bursting with energy for new growth.
- The Right Cut: Choose healthy, non-flowering shoots from this year’s growth. Look for stems that are somewhat firm but still flexible.
- Cut and Prep:
- Use clean, sharp pruning shears to take cuttings that are 4-6 inches long.
- Remove the leaves from the bottom third of the cutting to prevent them from rotting in the soil.
- Make a small cut or wound at the base of the cutting to expose more of the cambium layer, encouraging root development.
- Rooting Hormone Boost: While not strictly necessary, dipping the cut end in rooting hormone powder can significantly increase your success rate, especially for beginners.
- Planting the Cutting:
- Prepare a pot with a well-draining potting mix, ideally mixed with perlite or vermiculite for better aeration.
- Make a hole in the mix with a pencil or your finger and gently insert the cutting, ensuring at least one node is buried.
- Gently firm the soil around the cutting.
- Creating a Humid Environment:
- Moisture is crucial. You can create a mini-greenhouse by covering the pot with a clear plastic bag or using a humidity dome. This helps retain moisture and promotes rooting.
- Patience is Key: Place the pot in a bright location, out of direct sunlight. It will take several weeks, sometimes even a couple of months, for the cuttings to develop roots. Check the soil moisture regularly and mist the cuttings to maintain humidity.
2. Propagation from Seed (Less Common):
- Collecting Seeds: Photinia serratifolia produces small berries in the fall that contain seeds. Collect the berries when they are ripe and dry.
- Extracting and Stratifying: Extract the seeds from the berries and clean off any pulp. Many recommend cold stratification, which involves storing the seeds in a moist paper towel in the refrigerator for a few weeks to simulate winter conditions and enhance germination rates.
- Sowing the Seeds: Sow seeds in a seed starting mix, lightly pressing them into the soil. Keep the soil consistently moist and place the tray in a warm, brightly lit location.
- Germination and Growth: Germination can take several weeks. Once seedlings emerge and have a few sets of true leaves, they can be transplanted into individual pots and eventually outdoors.
Transplanting Your Success:
Once your cuttings or seedlings have developed a healthy root system and are showing robust growth, it’s time to transplant them to larger pots or a permanent location in your garden. Choose a spot with well-drained soil and full sun to partial shade for optimal growth.
Enjoy Your Crimson Bounty!
Propagating Photinia serratifolia might take a little patience and care, but the reward of witnessing those fiery new leaves unfurl makes it all worthwhile. You’ll soon have a flourishing hedge or a collection of these striking plants to brighten your landscape. So, grab your gardening gloves and start propagating!