From One Pilea to Many: The Easy Guide to Propagating Your “Friendship Plant”
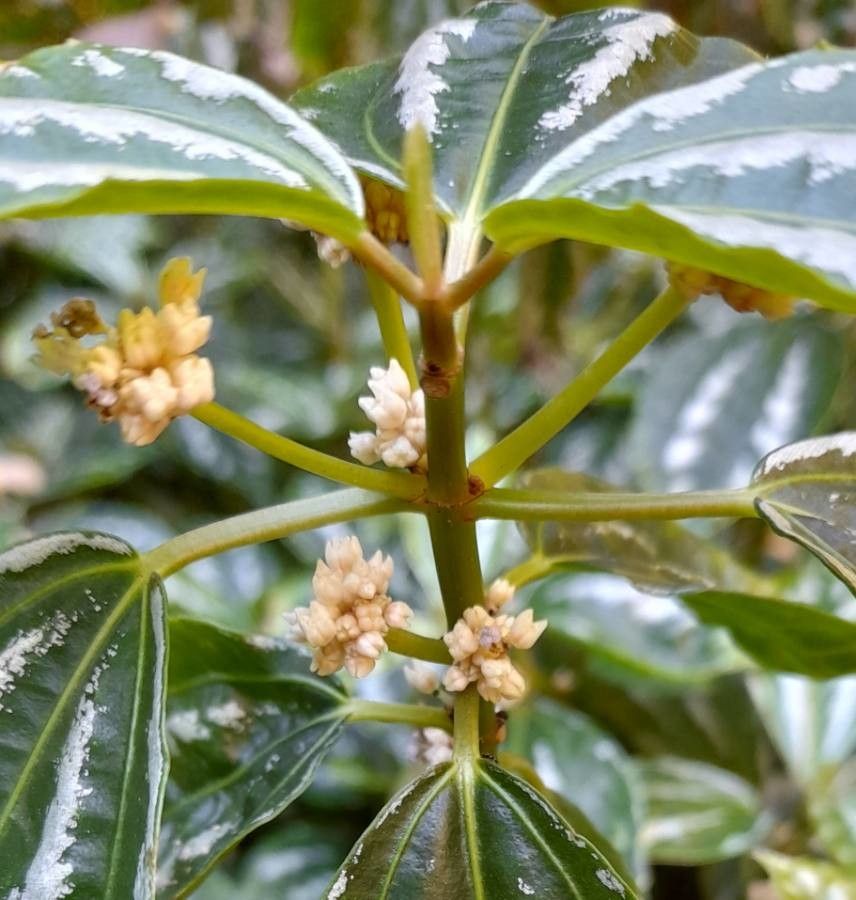
The Pilea cadierei, more affectionately known as the “Friendship Plant”, is a beloved houseplant for its easy care and striking appearance. Its silver-veined, green leaves add a touch of whimsy to any space. But what’s even more wonderful about the Pilea is its generous nature. You can easily propagate your existing plant, creating new ones to share with friends or add to your own growing collection.
This guide will walk you through the simple process of propagating your Pilea cadierei, allowing you to enjoy the joy of watching new life emerge from your beloved plant.
Methods of Propagation:
There are two primary methods for propagating Pilea cadierei:
- Leaf cuttings: This is the most common and straightforward method.
- Stem cuttings: This method yields a more established plant faster.
Leaf Cutting Propagation:
- Choose a healthy leaf: Select a mature, healthy leaf from your Pilea. Look for a leaf that is free from damage or disease.
- Cut the leaf: Using sharp scissors or a knife, cut the leaf just below the stem, leaving a small portion of the stem attached.
- Prepare the soil: Fill a small pot with a well-draining potting mix. You can even choose a seed tray or use a small plastic container filled with a moist mixture of peat moss and perlite.
- Insert the leaf: Gently push the stem end of the leaf cutting into the prepared soil, making sure it’s firmly in place.
- Provide moisture and humidity: Water the soil lightly and place the pot in a warm, bright location with indirect sunlight. Cover the pot with a clear plastic bag or dome to maintain humidity.
- Patience is key: Be patient! It can take several weeks for roots to develop. Keep the soil consistently moist but not soggy, and maintain the humidity by misting regularly.
- Transplant: Once you see new growth emerging, you can remove the plastic cover and gradually acclimate the new plant to open air. When the baby plant has a good root system, you can transplant it into a larger pot with fresh potting mix.
Stem Cutting Propagation:
- Take a cutting: Use clean scissors or a knife to cut a stem that includes at least two nodes (the points where leaves grow).
- Remove lower leaves: Remove the leaves from the bottom inch or two of the cutting.
- Prepare the soil: Fill a small pot with a moist growing medium.
- Insert the cutting: Place the cut end of the stem into the soil, ensuring the nodes are buried.
- Maintain humidity: Cover the pot with a plastic dome or bag to create a moist environment.
- Keep it consistent: Water the soil regularly, ensuring it stays consistently moist but not waterlogged.
- Transplant: As the stems develop roots and new growth, you can gradually remove the plastic cover and acclimate the new plant to its environment. Once the new plant has established roots, you can transplant it to a larger pot.
Tips for Success:
- Use clean tools: Ensure your scissors or knife are sharp and clean to prevent disease.
- Water carefully: Water only when the soil feels dry to the touch, avoiding overwatering.
- Provide adequate light: Place the new plants in indirect but bright light.
- Patience is a virtue: Be patient! Propagation can take time, but it’s a wonderfully rewarding process.
Enjoy your new plants!
Propagating your Pilea cadierei is a simple and rewarding experience. It’s a fantastic way to share your love of plants with others, or simply to expand your own collection. With a little care and patience, you’ll soon be enjoying vibrant, lush Pilea cadierei plants, all thanks to the magic of plant propagation.