From One to Many: Propagating Your Pinguicula Chilensis for a Carnivorous Garden
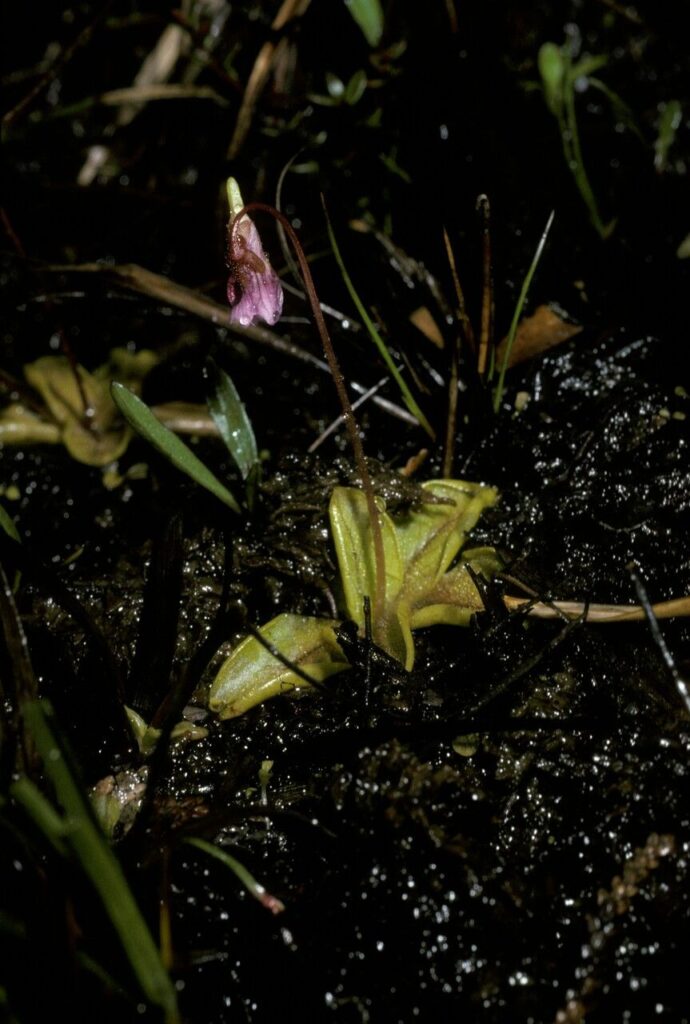
The Pinguicula chilensis, with its striking rosette of succulent leaves and captivatingly bright flowers, is a true gem among carnivorous plant enthusiasts. But what if you could share this beauty with others, or simply expand your own collection? That’s where propagation comes in.
This blog post will guide you through the fascinating world of Pinguicula chilensis propagation, showcasing the various methods you can employ to bring new life to this captivating species.
Leaf Cuttings: A Simple and Reliable Method
Leaf cuttings are arguably the most accessible and successful method for propagating Pinguicula chilensis. Here’s how:
- Select Healthy Leaves: Carefully remove a few healthy and well-developed leaves from your mature plant, ensuring they are free of any signs of disease or damage.
- Prepare the Cuttings: Gently snip off the leaves at their base using a sharp, sterilized blade. Allow the cut ends to dry for a few hours, forming a callous to prevent rot.
- Create a Moist Environment: Fill a shallow tray with a mix of peat moss and perlite. Gently press the leaf cuttings into the moistened medium, ensuring good contact with the soil.
- Maintain Humidity: Cover the tray with a plastic dome or lid to create a humid environment. Place it in bright, indirect light and maintain a temperature of 65-75°F.
- Patience is Key: New plantlets will emerge from the leaf bases within a few weeks, their appearance varying from tiny green specks to miniature versions of the adult plant.
Seed Propagation: A Longer Journey
Seed propagation is another option, offering greater control over future generations but also a higher level of difficulty and patience required.
- Gather Seeds: Once your Pinguicula chilensis blooms, hand-pollinate the flowers with a tiny paintbrush, ensuring the pollen is transferred from one flower to another.
- Prepare the Seed Mixture: Fill a shallow seed tray with a mix of finely sieved peat moss and perlite.
- Sow Carefully: Sprinkle the tiny seeds thinly across the surface of the medium, pressing them gently into the soil.
- Provide Ideal Conditions: Maintain a consistently moist environment, using a mist bottle or a humidity dome. Place the tray in bright, indirect light.
- Germination and Patience: Pinguicula chilensis seeds are known for their variable germination rates, with seedlings appearing anywhere from weeks to months.
Division: A Quick and Easy Option
If your Pinguicula chilensis has developed multiple rosettes, division offers a speedy method to increase your plant count.
- Carefully Extract the Plant: Gently remove the plant from its pot, minimizing stress on the roots.
- Divide the Rosettes: Use a clean, sterilized blade to separate the rosettes, taking care not to damage the roots.
- Repot Immediately: Plant each divided rosette individually in separate pots filled with appropriate potting mix.
Tips for Success:
- Sterilize Everything: Always use sterile tools and pots to prevent the spread of diseases and pests.
- Maintain High Humidity: Pinguicula chilensis thrive in humidity, making a mini greenhouse environment ideal.
- Provide Bright, Indirect Light: Mimic their natural habitat by giving them ample, but indirect, light.
- Water with Distilled or Rainwater: These plants prefer soft water and don’t tolerate high mineral content.
From Propagation to Enjoyment:
By mastering the art of propagation, you can transform your single Pinguicula chilensis into a flourishing collection. Witnessing the transformation of leaf cuttings into miniature plants or tiny seeds into thriving rosettes is an incredibly rewarding experience. So why not dive into the captivating world of Pinguicula chilensis propagation and enjoy the beauty of this fascinating carnivore?