
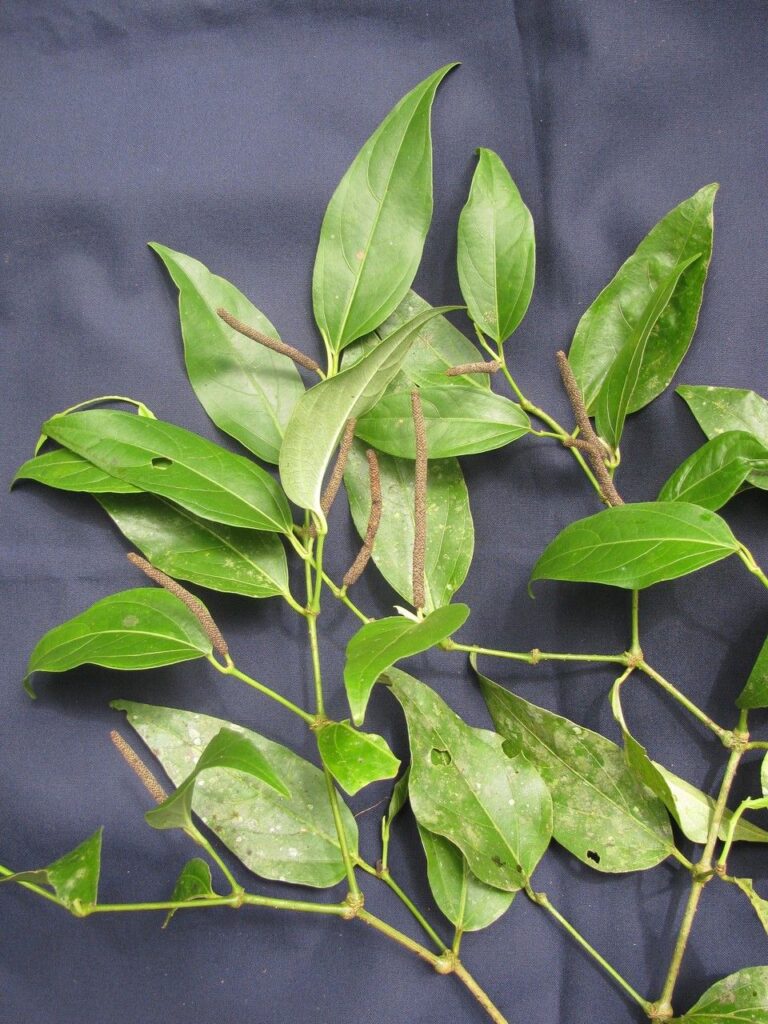
Unlocking the Secrets of Piper Asymmetricum: A Guide to Propagation
The captivating beauty of the Piper asymmetricum, with its distinctive heart-shaped leaves and cascading habit, has made it a treasured addition to indoor plant collections. But for many, the thought of propagating this tropical wonder can seem daunting. Fear not, plant enthusiast! In this guide, we’ll break down the secrets of propagating Piper asymmetricum, empowering you to grow your own stunning specimens.
Understanding the Art of Propagation
Propagation, in essence, is the process of creating new plants from existing ones. For Piper asymmetricum, we’ll focus on two popular methods: stem cuttings and air layering.
Stem Cuttings: A Simple Approach
Stem cuttings offer a straightforward and successful way to propagate Piper asymmetricum. Here’s a step-by-step guide:
- Choose Your Cuttings: Select healthy, non-flowering stems from your plant. Aim for segments about 4-6 inches long with at least two leaf nodes.
- Prepare the Cuttings: Make a clean cut just below a leaf node, using sharp, sterilized shears. Remove the lower leaves from the cutting to prevent rotting.
- Root Hormone (Optional): Applying a rooting hormone powder or gel can encourage faster root development.
- Planting Medium: Fill a pot with a well-draining potting mix. Insert the cutting directly into the soil, ensuring that the bottom node is buried.
- Create Humidity: Cover the cutting with a clear plastic bag or humidity dome to create a warm, humid environment. This will help retain moisture and encourage root growth.
- Patience and Observation: Place the pot in indirect light. Keep the soil consistently moist, but not waterlogged. Within a few weeks, expect to see new growth, signaling successful rooting. Once the plant is well-established, you can remove the humidity dome and gradually acclimate it to normal home conditions.
Air Layering: A More Advanced Technique
For seasoned propagators, air layering offers an intriguing alternative.
- Prepare the Branch: Choose a healthy, mature branch on your Piper asymmetricum. Using a sharp, sterilized knife, make a shallow cut about 1/3 of the way through the branch.
- Promote Rooting: Gently spread the cut edges apart and insert a small piece of rooting hormone or sphagnum moss into the wound to encourage root development.
- Wrap and Secure: Secure the cut portion with a clear plastic wrap around the branch, creating a mini-greenhouse. The plastic wrap helps to retain moisture and create a humid environment for rooting.
- Monitor and Maintain: Keep the sphagnum moss moist by misting it regularly. Within a few weeks, roots should start to emerge from the cut area.
- Separate and Pot: Once the roots have developed sufficiently, carefully cut the branch below the rooted area and pot the new plant in a suitable potting mix.
Tips for Success
- Sharp Tools Are Key: Sterilize your scissors or knife before each cut to prevent the spread of disease.
- Warmth Encourages Growth: Maintain a consistent temperature of around 70-75°F for optimal rooting.
- Watering Wisely: Water your cuttings or air layers when the soil feels dry to the touch, avoiding overwatering.
- Observe and Adapt: Pay close attention to your plants and make adjustments as needed. Experiment with different propagation methods and techniques to find what works best for you.
By following these detailed tips, you’ll be well on your way to expanding your Piper asymmetricum collection and sharing its beauty with others. Remember, patience and a little bit of care go a long way in the rewarding world of plant propagation!