
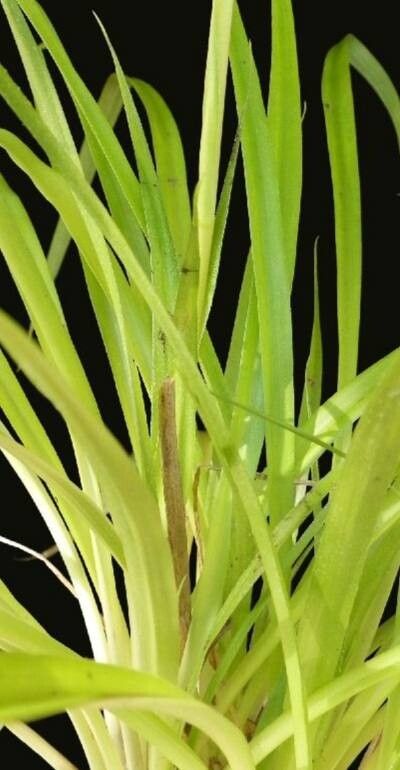
Unveiling the Secrets: Propagating the Rare Beauty, Pitcairnia capixaba
The plant world is full of hidden gems, and the Pitcairnia capixaba, with its vibrant blooms and tropical allure, is undoubtedly one of them. Native to the coastal rainforests of Brazil, this bromeliad species captivates with its unique charm but can seem intimidating to propagate. Fear not, fellow plant enthusiasts, for we’re about to demystify the process and equip you with the knowledge to expand your Pitcairnia capixaba family.
Understanding the Propagation Methods
While seeds are an option, the most effective and commonly employed methods for propagating Pitcairnia capixaba are through offsets (pups) and, less frequently, seed germination.
1. Propagating from Offsets (Pups)
Pitcairnia capixaba, like many bromeliads, produces offsets or “pups” at the base of the mother plant after blooming. These miniature versions are your ticket to creating new plants. Here’s how:
- Timing is Key: Wait until the pups are at least one-third the size of the mother plant and have developed their own root system. This usually happens a few months after the mother plant has flowered.
- Gentle Removal: Carefully separate the pup from the mother plant using a clean, sharp knife or pair of shears. Ensure you get a good portion of the pup’s roots for successful establishment.
- Potting Mix Matters: Choose a well-draining potting mix specifically designed for bromeliads or orchids. A mix of peat moss, perlite, and bark chips provides excellent aeration and moisture retention.
- Planting and Care: Plant the pup firmly in the potting mix, ensuring the base of the plant sits slightly above the soil line. Water thoroughly but allow the soil to dry slightly between waterings. Place the newly potted pup in a bright location, out of direct sunlight, and maintain humidity levels around 60%.
2. Propagating from Seeds (Awaiting the Miracle)
While possible, propagating Pitcairnia capixaba from seed is less common due to the rarity of seed availability and the longer germination period. If you do manage to acquire seeds, here’s a quick rundown:
- Sowing the Seeds: Use a seed-starting mix or a blend of peat moss and perlite. Sprinkle the seeds on the surface and lightly press them in without burying.
- Creating a Humid Environment: Cover the seed tray with a plastic dome or wrap to retain moisture. Place the tray in a well-lit area but out of direct sunlight.
- Patience is Virtue: Germination can take anywhere from a few weeks to several months. Maintain consistent moisture and warmth, and be patient!
Nurturing Your New Generations
Once your Pitcairnia capixaba propagations are settled, provide them with proper care to ensure their healthy development:
- Light: Bright, indirect light is ideal for these tropical beauties.
- Water: Water when the soil surface feels dry to the touch. Avoid overwatering, which can lead to root rot.
- Humidity: Maintain moderate to high humidity levels. Misting the leaves regularly or placing the pots on a pebble tray filled with water can help.
- Fertilizer: Feed your plants with a diluted bromeliad fertilizer every 4-6 weeks during the growing season (spring and summer).
Propagating Pitcairnia capixaba may seem like a delicate dance, but with patience and the right techniques, you can successfully cultivate these stunning bromeliads. Sharing the joy of these botanical wonders is a rewarding experience, and with these tips, you’ll be well on your way to becoming a true Pitcairnia capixaba enthusiast!