Unlocking the Secrets of Propagation: How to Grow Your Own Pittosporum brevicalyx
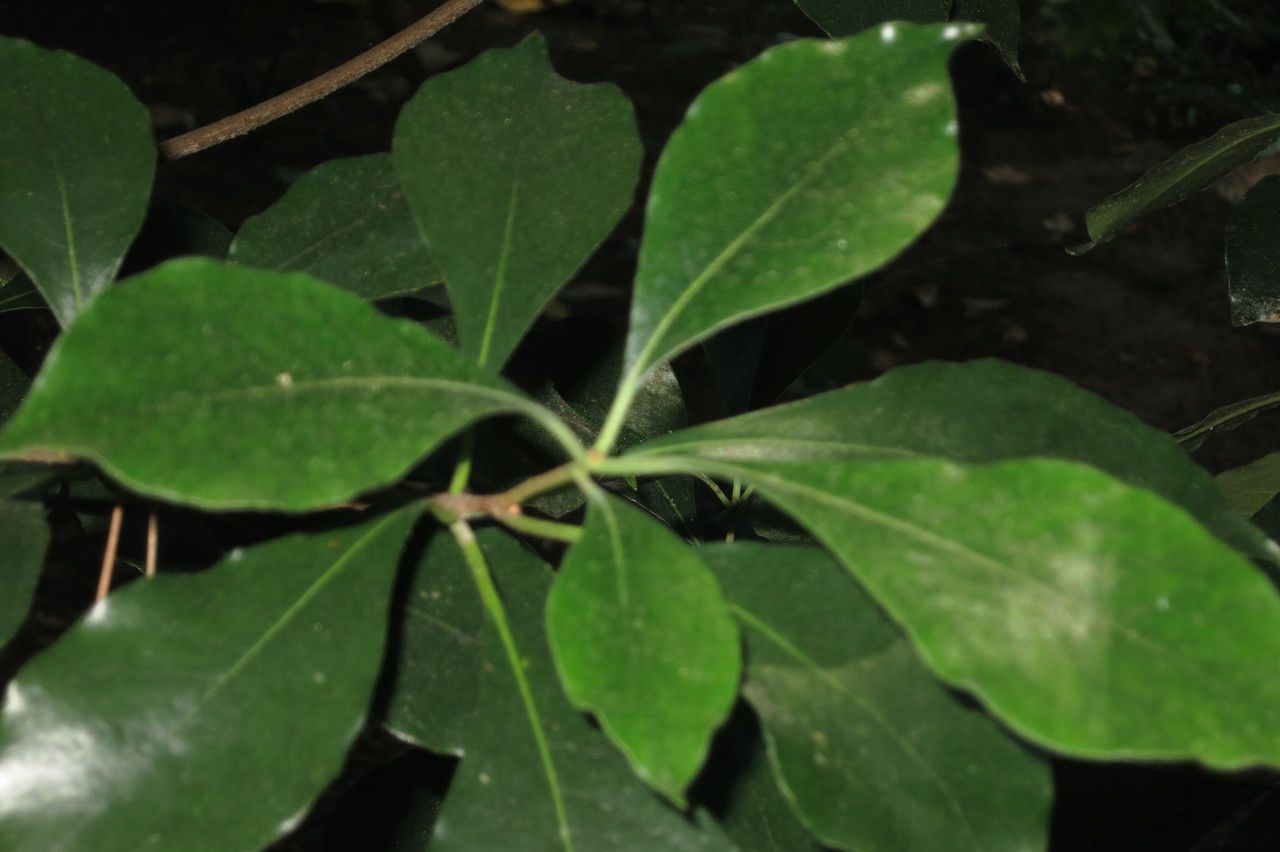
The Pittosporum brevicalyx, with its glossy, leathery leaves and fragrant blooms, is a stunning addition to any garden. But did you know you can easily share this beauty with others by learning the art of propagation? This simple process allows you to create new plants from cuttings, making it a rewarding and cost-effective way to expand your garden or give a unique gift.
Why Choose Propagation?
Propagating your own Pittosporum brevicalyx offers several benefits:
- Cost-effective: You don’t need to spend money on expensive seedlings or saplings.
- Variety control: You can select the specific plant you want to reproduce, preserving its unique features.
- Increased success: Plants propagated from cuttings often have stronger roots and are better adapted to your local environment.
- Enjoyment: The process itself can be incredibly rewarding, allowing you to witness the miracle of plant life.
The Right Time for Propagation
The optimal time for propagating Pittosporum brevicalyx is during the spring or early summer. This is when the plant is actively growing and has sufficient energy to support root development. Avoid propagating in the hottest months, as the cuttings may struggle to establish themselves.
Choosing the Perfect Cutting
For successful propagation, selecting the right cutting is paramount. Look for:
- Healthy, mature stems: Choose a stem that is at least 6-8 inches long and has a diameter of about ¼ inch.
- Vigorous growth: Look for stems with a bright green color and healthy leaves.
- No flowers or buds: Cuttings with flowers or buds will expend energy on blooming instead of root development.
The Propagation Process: A Step-by-Step Guide
- Prepare the Cutting: Using a sharp knife or pruning shears, make a clean, angled cut just below a node (where the leaves grow from the stem). Remove any leaves from the bottom two inches of the cutting.
- Choose the Right Medium: Sand and peat moss mixture provide excellent drainage and aeration for the developing roots. You can also use a specialized propagation mix.
- Create the Environment: Insert the cutting into the soil medium, ensuring the bottom half is completely covered. Gently pat the soil around the cutting to secure it.
- Mist and Cover: Mist the cutting regularly to maintain humidity and cover the pot with a plastic dome or bag to create a mini-greenhouse effect. This helps retain moisture and temperature.
- Location, Location, Location: Place the pot in a bright, shaded location with consistent temperatures around 70°F. Avoid direct sunlight, which can dry out the cutting.
- Patience is Key: Root development typically takes around 6-8 weeks. Be patient and monitor the cuttings carefully. New growth is a good sign that roots have formed.
- Time for Transplanting: Once the cutting has developed a healthy root system, it’s ready to be transplanted into its permanent pot.
Aftercare and Maintenance
After transplanting, provide regular watering and a balanced fertilizer solution to encourage healthy growth. You can gradually acclimate the young plant to full sun exposure as it establishes itself.
Congratulations! You’ve Just Grown a New Pittosporum
With a little time, care, and patience, you can successfully propagate your own beautiful Pittosporum brevicalyx. This is a relatively easy and rewarding process that lets you enjoy the beauty of this unique plant, share it with others, and add life to your garden for years to come. So go ahead and unlock the secrets of propagation and experience the joy of growing your own.