Unlocking the Secrets: How to Propagate the Unique Pittosporum oubatchense
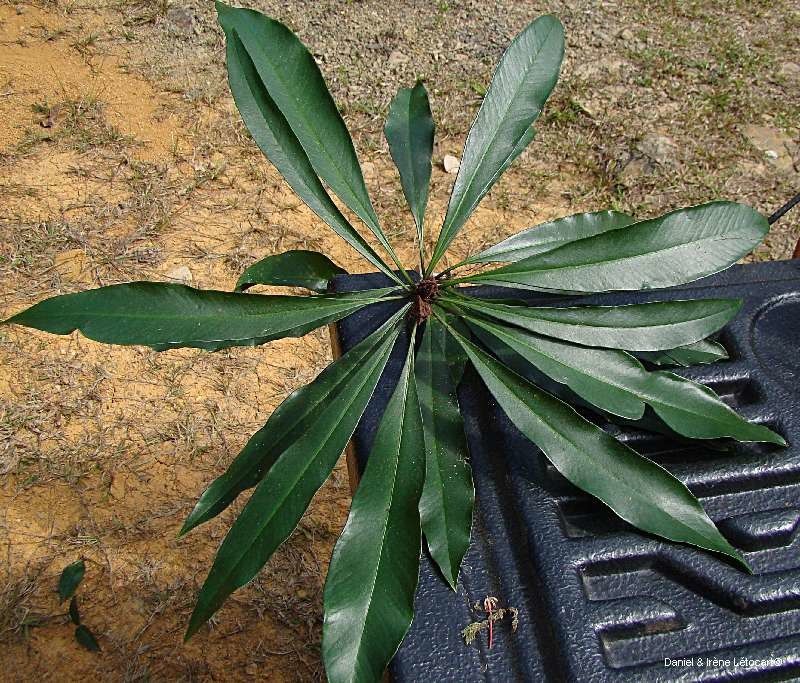
The world of gardening is brimming with hidden gems, and the Pittosporum oubatchense, with its intriguing foliage and subtle elegance, is undoubtedly one of them. Native to the tropical paradise of New Caledonia, this evergreen shrub charms with its glossy, wave-shaped leaves adorned with contrasting veins. If you’re feeling adventurous and want to multiply this botanical treasure, then understanding its propagation is key.
Decoding the Propagation Puzzle:
Propagating Pittosporum oubatchense can be a touch more challenging than other common shrubs, but don’t let that deter you. While seeds can be used, they are often difficult to obtain and have a low germination rate. This makes cuttings the most reliable method for propagation. Here’s a step-by-step guide to successfully propagate your very own Pittosporum oubatchense:
1. Timing is Everything:
The best time to take cuttings is during the active growth period, ideally in late spring or early summer. This is when the plant’s energy is high, increasing the chances of successful rooting.
2. Choosing the Right Cuttings:
- Select healthy, non-flowering stems that are semi-hardwood. These stems are firm but still have a slight bend to them.
- Cuttings should ideally be 4-6 inches long, taken just below a leaf node (where a leaf emerges from the stem).
3. Preparing the Cuttings:
- Remove the leaves from the bottom two inches of the cutting to prevent rotting.
- To further encourage rooting, lightly wound the base of the cutting by scraping away a small portion of the outer layer. This exposes the cambium layer, which is more likely to produce roots.
- Dip the wounded end in rooting hormone powder, which you can find at most garden centers. This step significantly increases the chances of successful rooting.
4. Planting the Cuttings:
- Prepare a pot with a well-draining potting mix specifically formulated for cuttings.
- Make a hole in the soil with a pencil or your finger and gently insert the cutting, burying the bottom two inches.
- Water thoroughly, ensuring the soil is moist but not waterlogged.
5. Creating the Perfect Environment:
- Humidity is crucial for rooting. Cover the pot with a clear plastic bag or use a propagation dome to create a humid microclimate.
- Place the pot in a warm, bright location, but out of direct sunlight which can scorch the young cuttings.
- Maintain consistent moisture in the soil without overwatering.
6. Patience is the Name of the Game:
Rooting can take anywhere from a few weeks to a couple of months. Be patient and resist the urge to pull on the cuttings to check for roots. Once you notice new growth, it’s a sign that rooting has been successful.
7. Transplanting and Beyond:
Once the cuttings have rooted well and show signs of healthy growth, they can be transplanted into individual pots or directly into the garden. Choose a well-drained location with dappled light and continue to provide consistent moisture, especially during the first year.
A Rewarding Endeavor:
Propagating your own Pittosporum oubatchense might require a bit of patience and effort, but the rewards are well worth it. Not only will you have successfully multiplied your collection, but you’ll also have gained valuable gardening skills and a deeper appreciation for the wonders of plant propagation. So, go ahead, unlock the secrets, and watch your very own Pittosporum oubatchense flourish!