Giving Wings to Your Garden: Propagating the Showstopping Pleroma Alatum
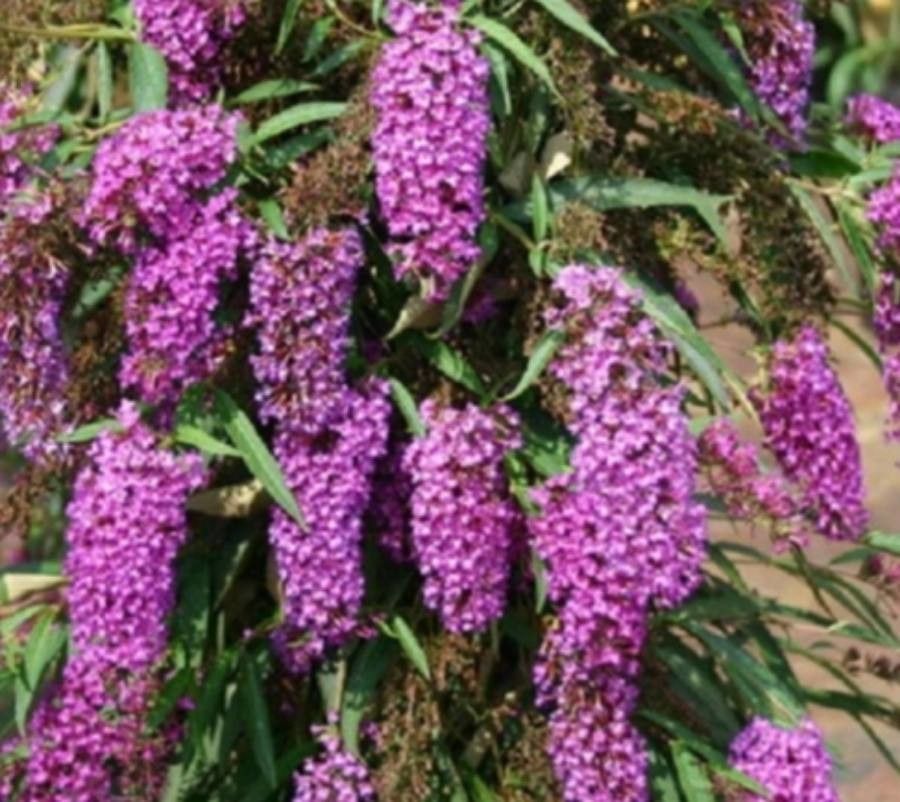
The Pleroma alatum, also known as the Winged Glorybush or Princess Flower, is a sight to behold. This Brazilian native boasts vibrant purple flowers that resemble butterflies, attracting hummingbirds and butterflies alike. But beyond its aesthetic appeal, the Pleroma alatum possesses another charming trait — it’s surprisingly easy to propagate! This means you can multiply your collection and share the joy of this magnificent plant with others.
Excited to unleash your inner plant parent? Let’s learn how to propagate Pleroma alatum using two effective methods:
Method 1: Stem Cuttings – A Classic Approach
Stem cuttings are the most popular method for propagating Pleroma alatum, and for good reason – it’s straightforward and yields consistent results. Here’s how to do it:
1. Timing is Key: The best time for taking cuttings is during the active growing season, ideally in spring or early summer. This ensures optimal conditions for root development.
2. Selecting the Right Cuttings: Look for healthy, non-flowering stems that are about 6-8 inches long. Aim for stems with at least two nodes (the points where leaves emerge).
3. Making the Cut: Using sharp, sterilized pruning shears, make a clean cut just below a node. Remove any leaves from the lower one-third of the stem.
4. Rooting Hormone (Optional): While not strictly necessary, dipping the cut end in rooting hormone powder can encourage faster and more robust root development.
5. Planting the Cuttings: Stick the prepared cuttings into a well-draining potting mix, burying at least one node. A mix of peat moss, perlite, and vermiculite works well.
6. Providing the Right Environment: Keep the cuttings consistently moist and in a warm, humid environment. A propagator with a heat mat can be beneficial but is not essential. Indirect sunlight is ideal.
7. Patience is Virtue: In about 4-6 weeks, you should start to see new growth, indicating successful rooting. At this point, you can gradually acclimate the cuttings to outdoor conditions before transplanting them into individual pots or your garden.
Method 2: Seeds – Embrace the Element of Surprise
Propagating Pleroma alatum from seeds can be a bit more challenging than cuttings, but it’s a rewarding experience, especially if you enjoy a touch of unpredictability. Here’s a step-by-step guide:
1. Seed Collection: After the flowers fade, Pleroma alatum produces small seed pods. Allow these pods to dry completely on the plant before collecting the seeds.
2. Sowing the Seeds: Fill seed trays with a well-draining seed starting mix. Sow the seeds on the surface and lightly cover them with a thin layer of the mix.
3. Light and Moisture: Keep the seed trays in a bright location, out of direct sunlight. Mist the soil regularly to maintain consistent moisture.
4. Germination Time: Be patient! Seed germination can take anywhere from a few weeks to a couple of months.
5. Transplanting Seedlings: Once the seedlings have developed a few sets of true leaves, carefully transplant them into individual pots filled with a well-draining potting mix.
Caring for Your New Propagations:
No matter which method you choose, your newly propagated Pleroma alatum will thrive in well-draining soil and a sunny location with some afternoon shade. Water regularly, allowing the soil to slightly dry out between waterings. Fertilize every 4-6 weeks during the growing season with a balanced fertilizer.
With proper care and attention, your propagated Pleroma alatum will reward you with stunning floral displays, adding a touch of tropical elegance to your garden haven. So, go ahead and try your hand at propagating these beauties— your garden (and maybe your friends’) will thank you!