Taming the Giant: A Guide to Propagating Pleurothallis gargantua
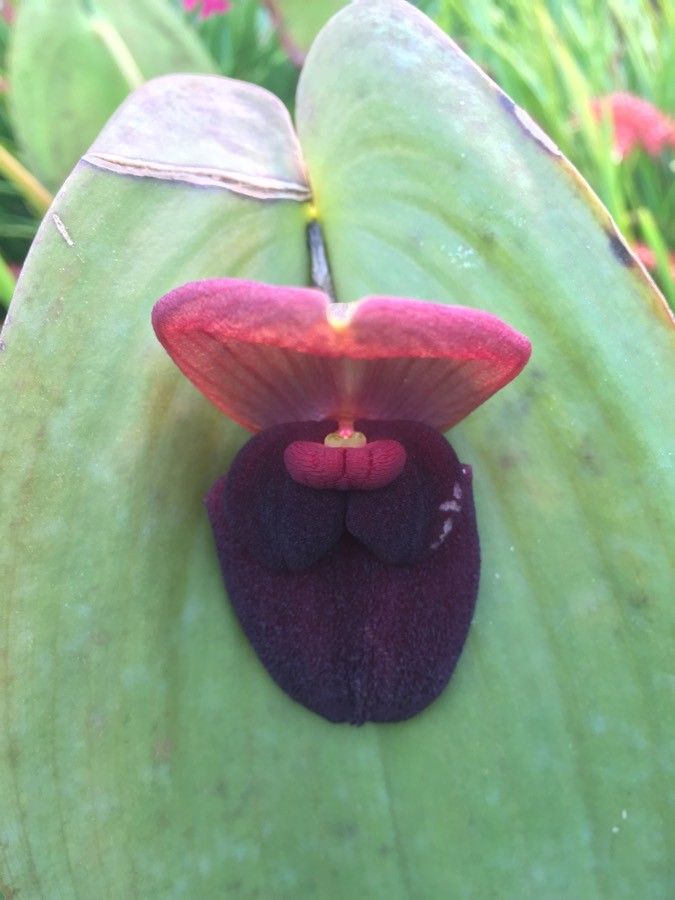
The orchid world is filled with fascinating characters, and Pleurothallis gargantua is no exception. This miniature marvel, with its charmingly oversized flowers relative to its petite frame, is a coveted treasure among orchid enthusiasts. While its care can be a bit particular, the reward of witnessing those stunning blooms is well worth the effort. And, believe it or not, even propagating this “giant” can be achievable with the right knowledge.
Understanding the Beast:
Before we delve into propagation, it’s crucial to understand Pleurothallis gargantua‘s growth habit. This epiphytic orchid naturally grows on trees in cloud forests, clinging to life with its roots exposed. Unlike orchids that grow from pseudobulbs, P. gargantua has a rambling, creeping rhizome from which new growths emerge. This rhizomatous growth pattern is key to successful propagation.
Methods for Multiplying Your Miniature Giant:
1. Division:
The most common and reliable method for propagating P. gargantua is through division. Here’s how:
- Timing is Everything: The best time for division is during the spring or early summer, when the plant is actively growing. Look for healthy sections of the rhizome with at least three mature growths.
- Tools of the Trade: You’ll need a sterilized, sharp knife or pair of pruning shears, a pot with fresh orchid mix (fine bark, sphagnum moss, and perlite are good components), and cinnamon or rooting hormone (optional).
- Making the Cut: Carefully cut the rhizome, ensuring each division has at least three growths and some healthy roots. Dust the cut ends with cinnamon or rooting hormone to prevent fungal infection.
- Potting Up: Plant each division in the prepared pot, ensuring the rhizome is level with the surface of the medium. Water thoroughly and place in a warm, humid environment with bright, indirect light.
2. Back Bulb Propagation:
While less common, P. gargantua can sometimes be propagated from back bulbs – older growths that have lost their leaves. This method is more unpredictable than division, but it can be a way to salvage a struggling plant or make use of an old growth.
- Identifying Viable Back Bulbs: Choose plump, firm back bulbs that show signs of life, such as new root tips or a green hue under the dry sheath.
- Providing the Right Environment: Pot the back bulb in a small pot with moist sphagnum moss, ensuring the base of the bulb is slightly buried. Place it in a warm, humid environment with indirect light and be patient – it can take months for a new growth to emerge.
Patience is Key:
No matter which method you choose, remember that propagating Pleurothallis gargantua requires patience. It can take weeks or even months for new roots and growths to establish. Maintain consistently warm temperatures, high humidity, and bright, indirect light throughout the process. Water when the potting mix approaches dryness.
Reaping the Rewards:
Propagating your own Pleurothallis gargantua is incredibly rewarding. Not only do you get to enjoy more of these captivating miniatures, but you also gain a deeper understanding of their growth habits and preferences. So go forth, embrace the challenge, and soon you’ll have a whole colony of miniature giants gracing your grow space.