Unleashing the Miniature Magic: Propagating Pleurothallis Radula
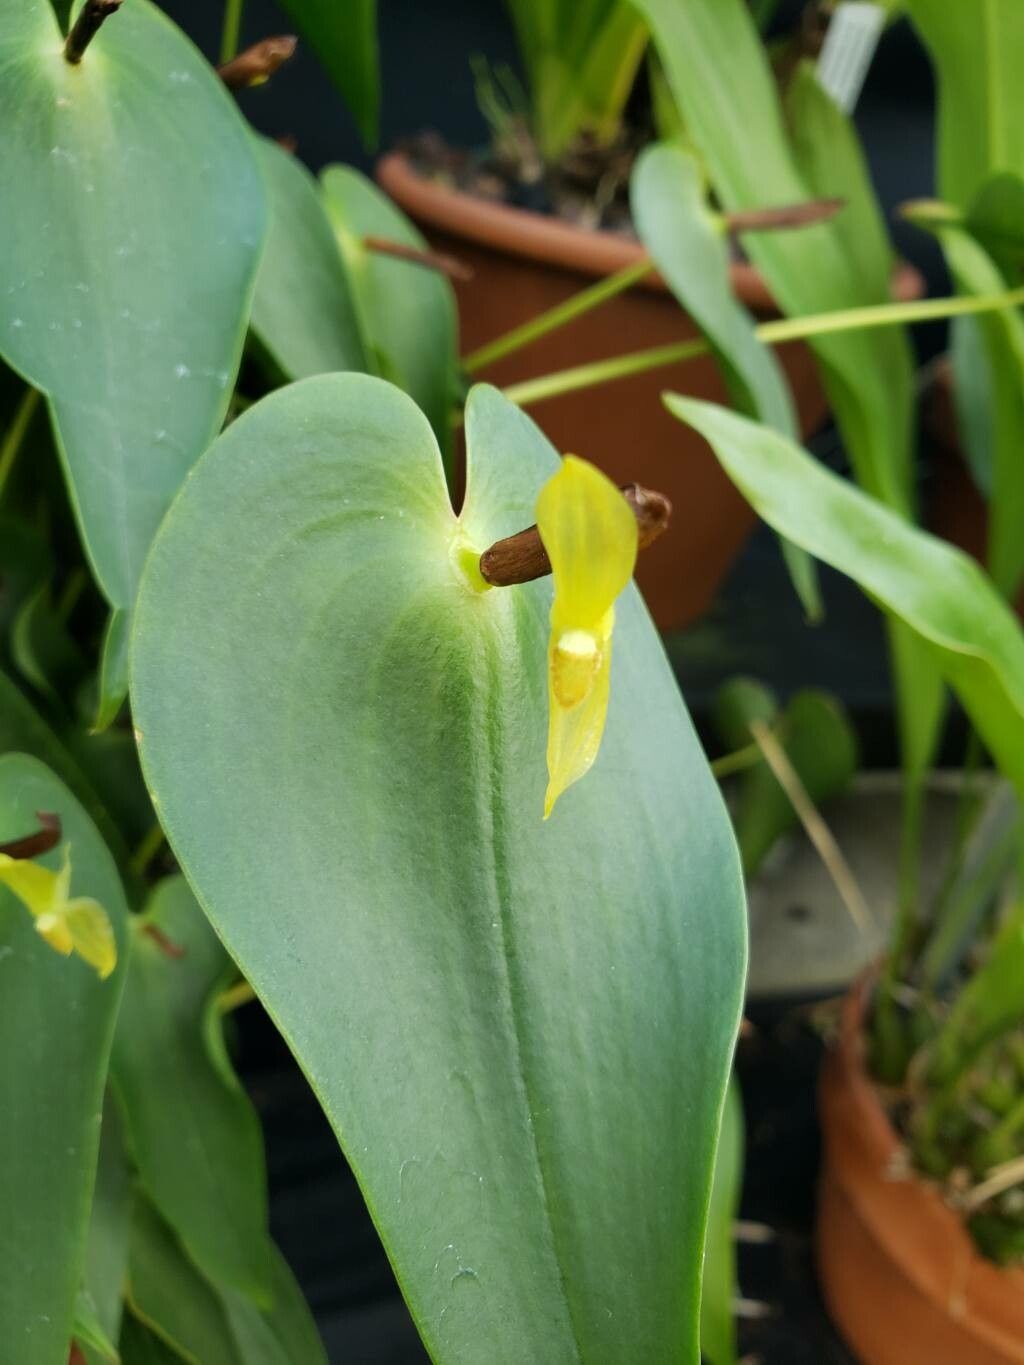
The Pleurothallis Radula, with its delicate chain-link foliage and charming miniature blooms, is a captivating jewel among orchid enthusiasts. But don’t let its intricate beauty intimidate you! Propagating this lovely orchid at home is entirely achievable, adding a rewarding dimension to your plant parenting journey.
Before we dive in, remember that patience is key in the world of orchids. Propagation takes time and dedication, but witnessing new growth emerge is a uniquely gratifying experience.
Three Primary Methods for Multiplying Your Radula:
1. Division: The most common and straightforward method, division takes advantage of the Radula’s clumping growth habit.
- Timing is Everything: Ideally, divide during spring or early summer when the plant is actively growing.
- Gentle Hands: Carefully remove the plant from its pot and examine the root system. Look for natural divisions in the rhizome (the horizontal stem) with at least 3-4 healthy pseudobulbs (the thickened stem sections).
- Sharp and Clean: Using a sterilized knife or shears, carefully separate the divisions.
- Pots and Planting: Pot each division in a well-draining orchid mix, ensuring the rhizome sits slightly above the potting medium. Water lightly and provide humidity.
2. Keiki Propagation: “Keiki” means “baby” in Hawaiian, and these miniature plantlets sometimes appear on the flower spikes of a mature Radula.
- Patience, Young Padawan: Wait until the keiki develops a few roots of its own (at least an inch long).
- Separation Anxiety: Carefully detach the keiki from the mother plant using sterile tools.
- A Nurturing Home: Plant the keiki in sphagnum moss or a fine orchid mix, keeping the medium consistently moist but not soggy.
3. Back Bulb Propagation: While less common and slightly more challenging, back bulb propagation utilizes older, leafless pseudobulbs to generate new growth.
- Identifying Potential: Choose healthy back bulbs that are plump and firm.
- Spa Day: Carefully remove any dried sheaths and soak the back bulbs in lukewarm water with a touch of rooting hormone (optional) for a few hours.
- Humid Haven: Place the back bulbs in a sealed container with moist sphagnum moss or perlite. Provide bright, indirect light and maintain high humidity.
Pro Tips for Propagation Success:
- Sterilization is Key: Always use sterilized tools and pots to prevent the spread of diseases.
- Mimic the Natural Environment: Provide bright, indirect light, high humidity (60-70%), and warm temperatures (70-80°F during the day).
- Water Wisely: Overwatering is a common pitfall. Water only when the potting mix is almost dry.
- Fertilize Lightly: During the active growing season, use a diluted orchid fertilizer every other week.
Propagating Pleurothallis Radula is an adventure, not a race. While success isn’t guaranteed, with patience, care, and a touch of green-thumb magic, you can multiply your miniature orchid collection and enjoy the satisfaction of nurturing new life from your existing plants.