Unlocking the Secrets of the Bowleaf Quiver Tree: A Guide to Propagating Plicosepalus sagittifolius
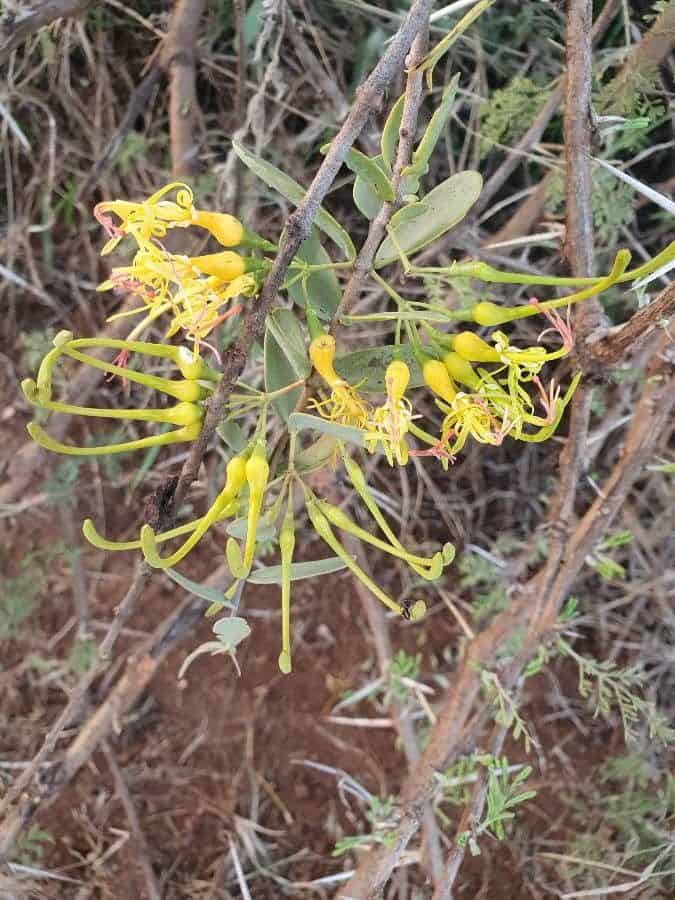
The Bowleaf Quiver Tree, also known as Plicosepalus sagittifolius, is a fascinating and striking succulent hailing from the arid regions of Southern Africa. With its architectural form, smooth, silver-green bark, and vibrant yellow blooms, it’s no wonder plant enthusiasts are eager to add this unique species to their collections. While finding one at your local nursery might be a challenge, propagating your own Bowleaf Quiver Tree is a rewarding endeavor.
Let’s demystify the process and equip you with the knowledge to successfully propagate your own Plicosepalus sagittifolius:
Understanding the Propagation Options
Seeds: The most common and reliable method for propagating Bowleaf Quiver Trees is through seeds. This approach offers the satisfaction of witnessing the entire growth journey, from tiny seedling to mature plant.
- Cuttings: While possible, propagating from cuttings can be trickier and is less reliable than seed propagation. However, it does offer a faster route to a larger plant.
Method 1: Seed Propagation
Sourcing Seeds: Reputable online seed retailers specializing in succulents are your best bet for obtaining fresh Plicosepalus sagittifolius seeds.
Preparing for Sowing:
- Choose a well-draining seed raising mix specifically formulated for succulents or cacti.
- Moisten the mix thoroughly but avoid making it soggy.
- Use shallow trays or small pots for sowing.
Sowing the Seeds:
- Sprinkle the seeds sparsely over the surface of the moist mix.
- Gently press them down, ensuring good contact with the mix, but avoid burying them too deeply. Light is crucial for germination.
Creating the Right Environment:
- Cover the tray or pot with a clear plastic wrap or humidity dome to create a warm, humid environment.
- Place the setup in a bright location, but avoid direct sunlight which can scorch the delicate seedlings.
- Maintain a consistently warm temperature between 70-80°F (21-27°C).
Germination and Early Care:
- Germination usually takes 2-4 weeks, but don’t be discouraged if it takes longer.
- Once the seedlings emerge, remove the plastic cover gradually to acclimate them to lower humidity levels.
- Water sparingly, allowing the soil surface to dry out slightly between waterings. Overwatering is a common pitfall, leading to root rot.
- Transplanting:
- After a few months, when the seedlings have developed a strong root system and several sets of true leaves, transplant them into individual pots filled with a well-draining succulent mix.
Method 2: Propagation from Cuttings
Taking the Cutting:
- During the active growing season (spring or summer), select a healthy branch from a mature plant.
- Using a clean, sharp knife or pruning shears, make a clean cut just below a node.
- Allow the cutting to callous over for a few days in a dry, shaded area. This helps prevent rot when planted.
Planting the Cutting:
- Fill a small pot with a well-draining succulent mix.
- Make a small hole in the center and gently insert the calloused end of the cutting.
- Water sparingly and place the pot in a bright location, out of direct sunlight.
- Rooting and Growth:
- Rooting can take several weeks. Be patient and maintain a consistently warm temperature.
- Once you notice new growth, it’s a good indication that roots have formed. You can then gradually increase watering frequency.
Nurturing Your Bowleaf Quiver Tree
Whether you choose to propagate from seed or cuttings, remember that Plicosepalus sagittifolius thrives in well-draining soil, bright light, and warm temperatures. Water deeply but infrequently, allowing the soil to dry out completely between waterings. With patience and care, you can witness the transformation of this remarkable succulent from its early stages to a majestic specimen in your own home.